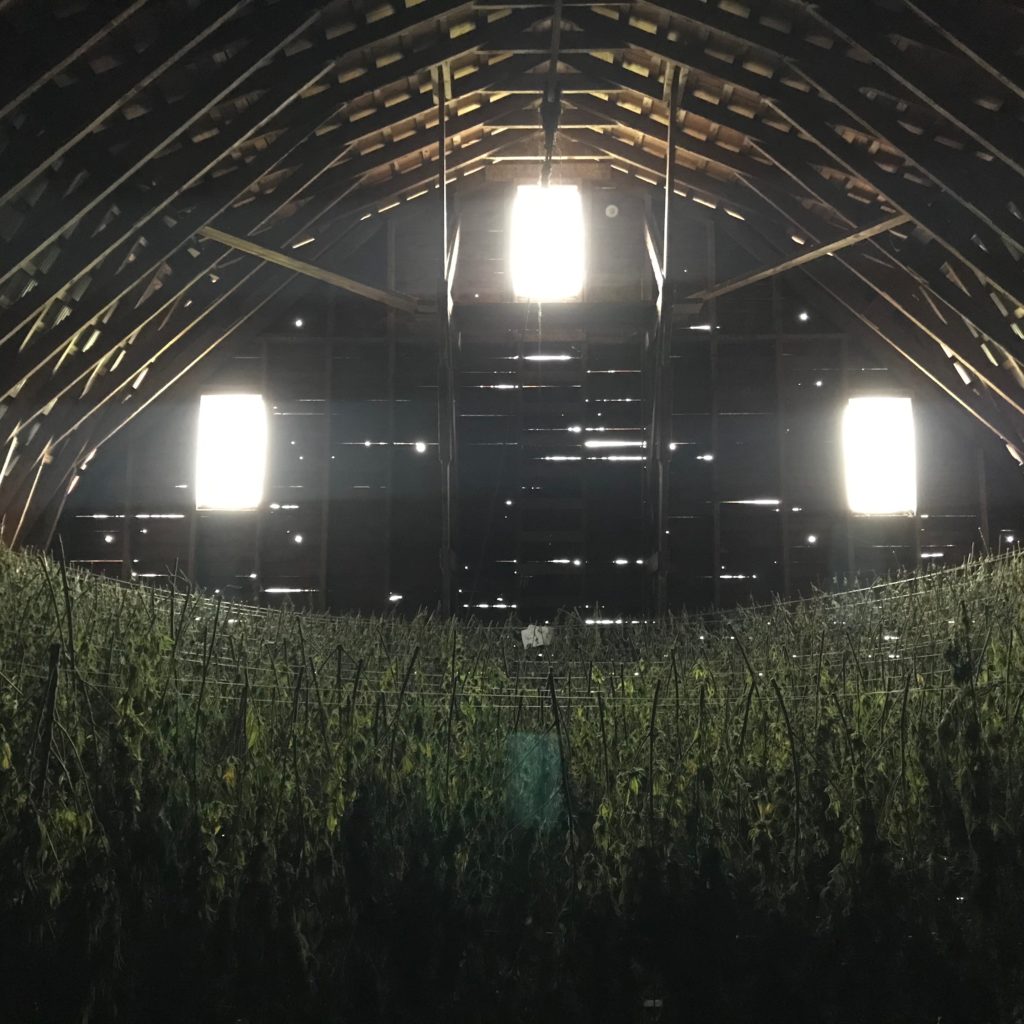
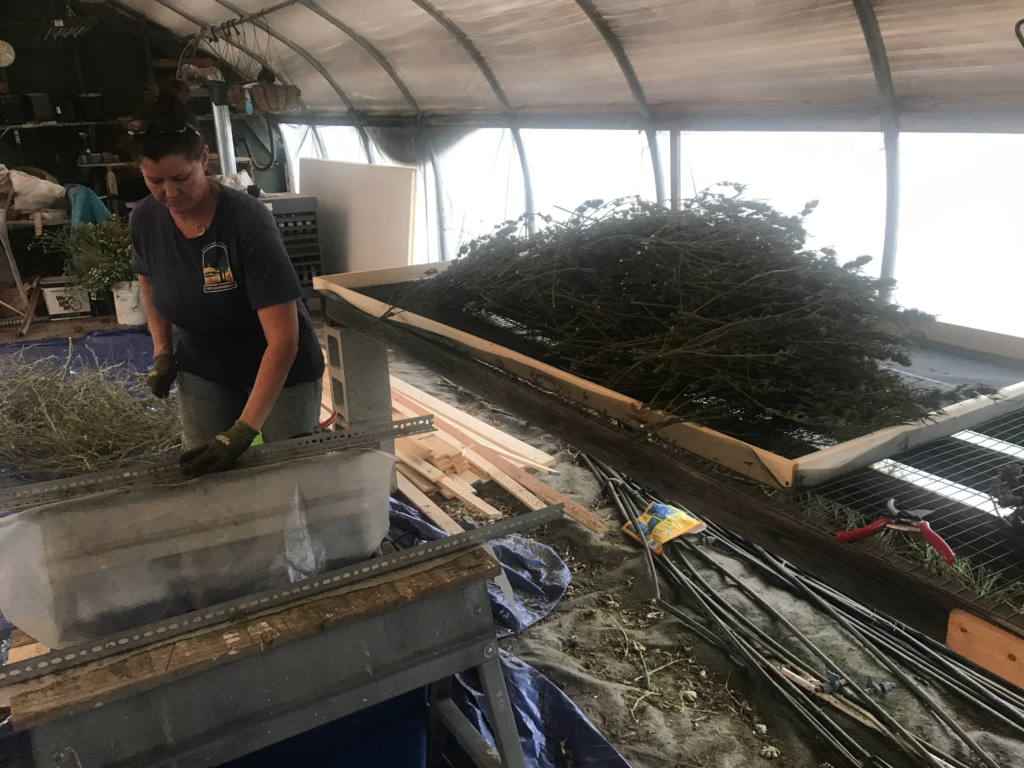
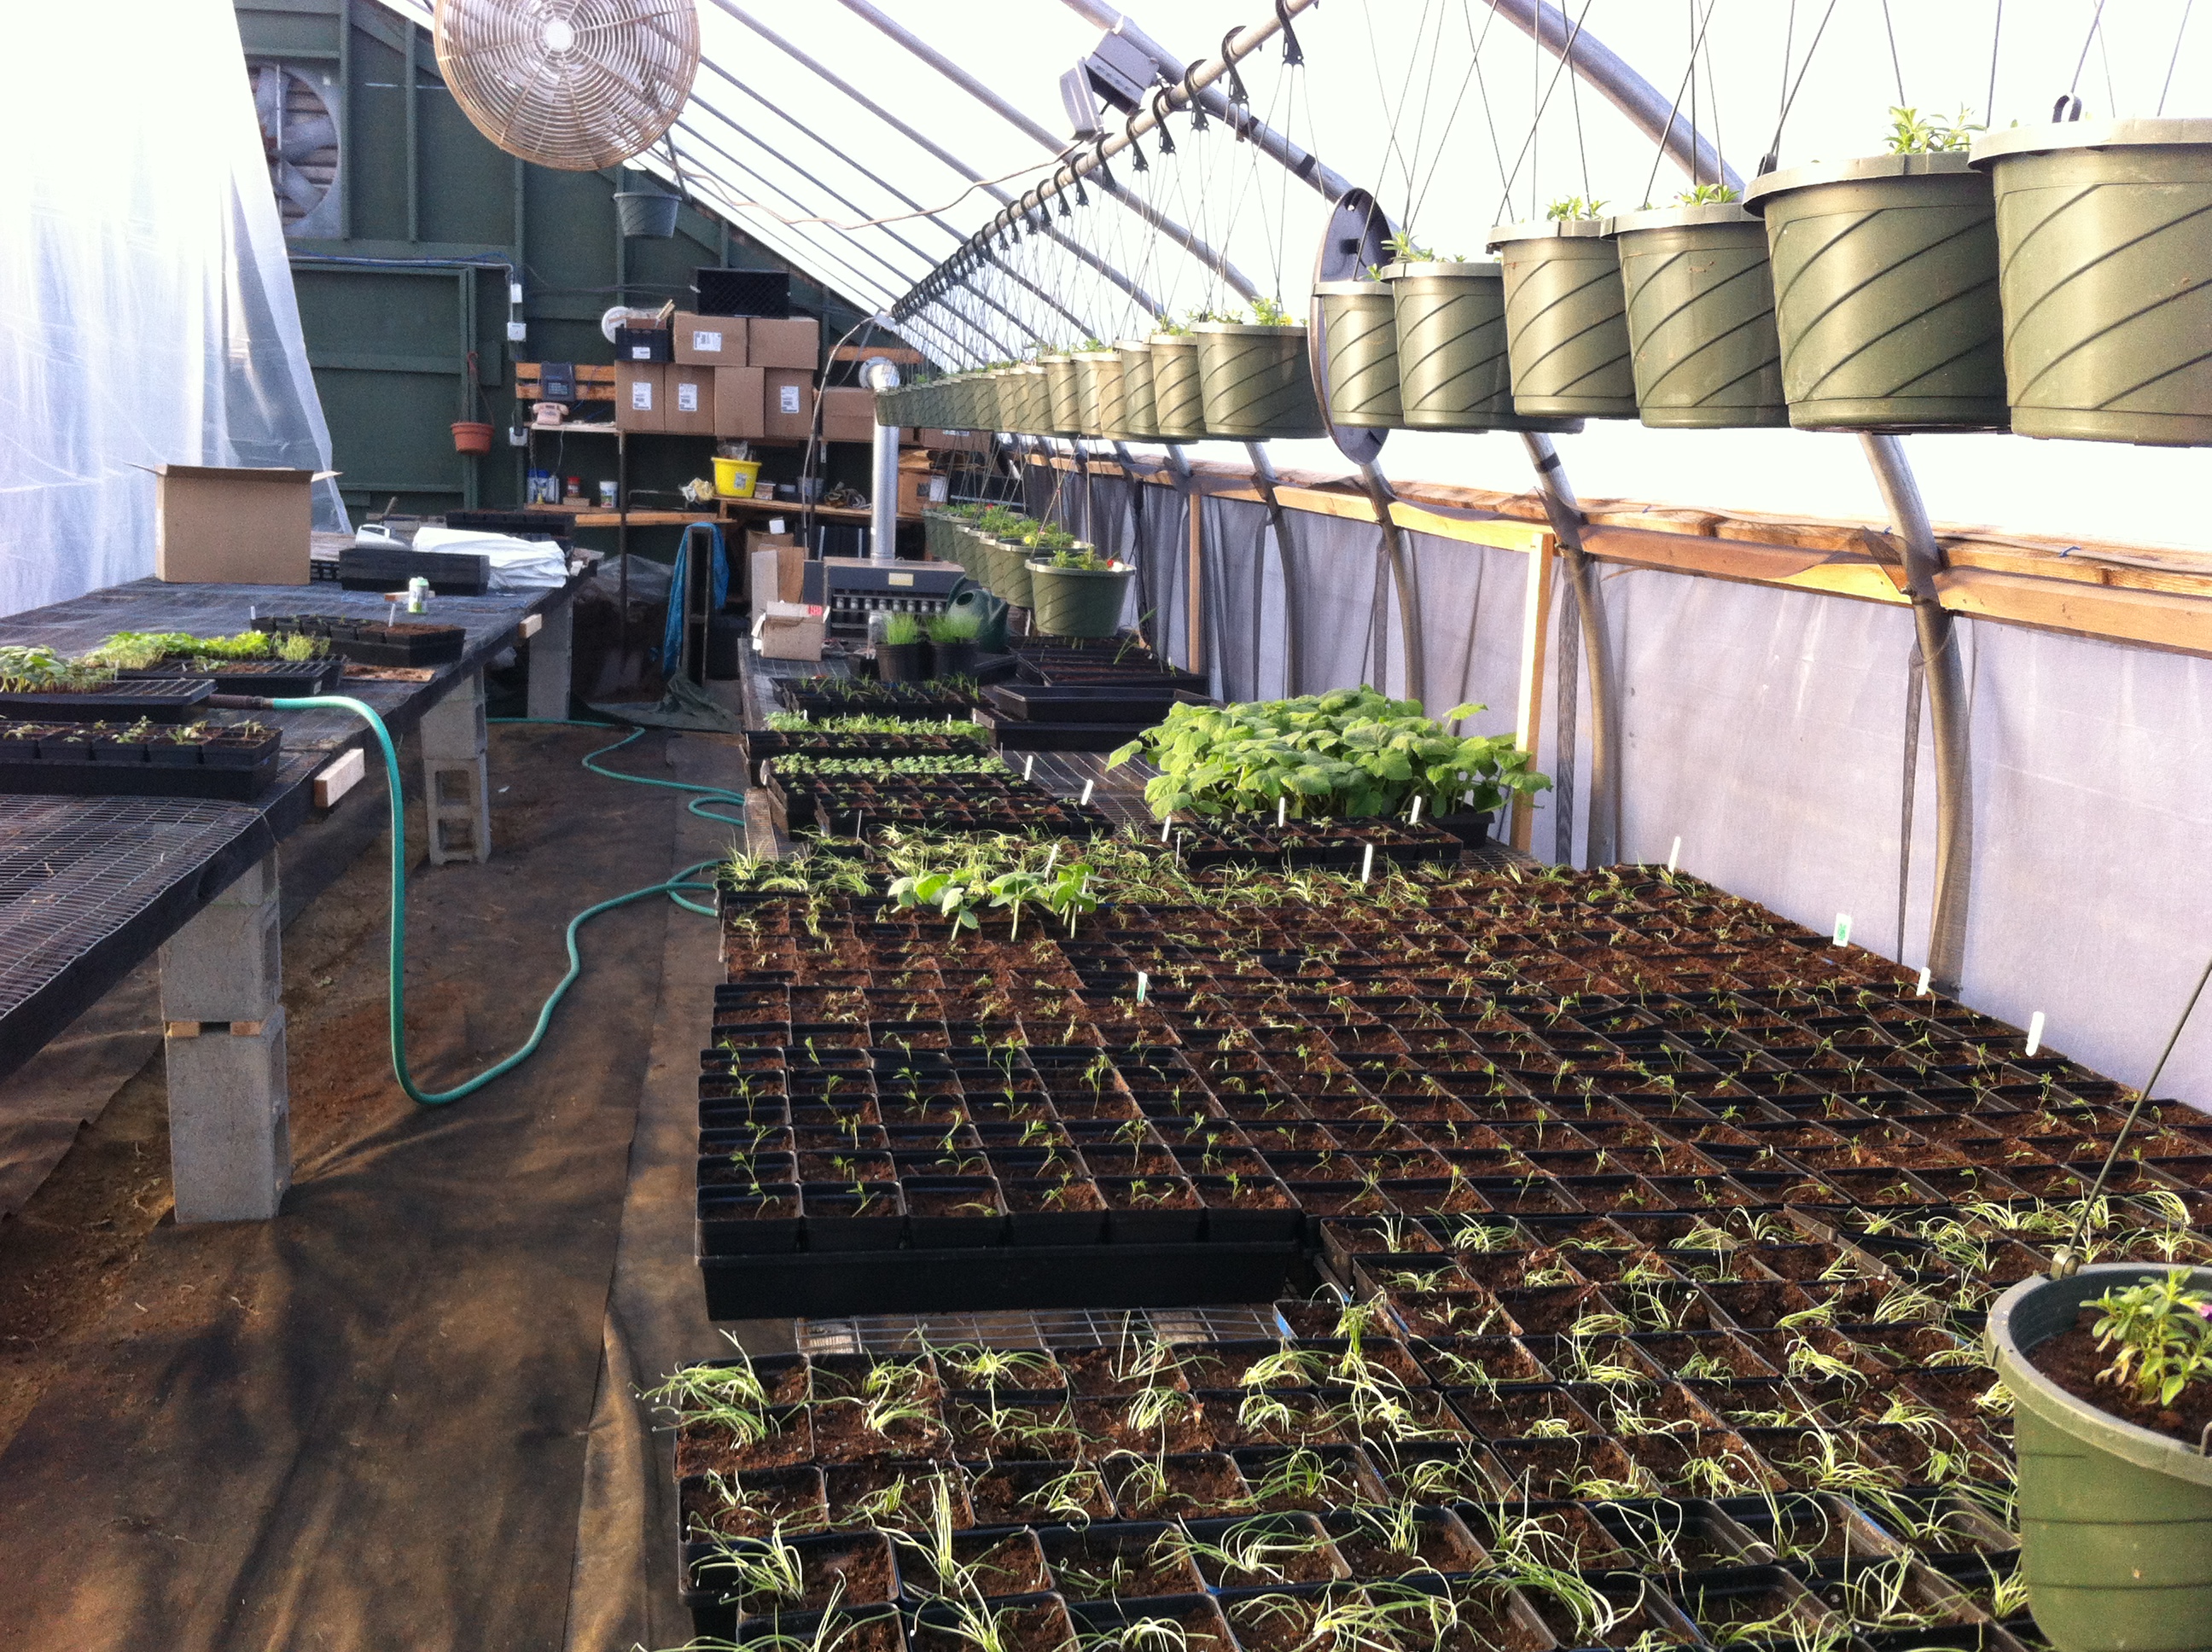
Here we go, again! Another spring on its way and we’re growing plants! Of course, all this stuff is in the greenhouse at this point. We’ve reclaimed our living room!!
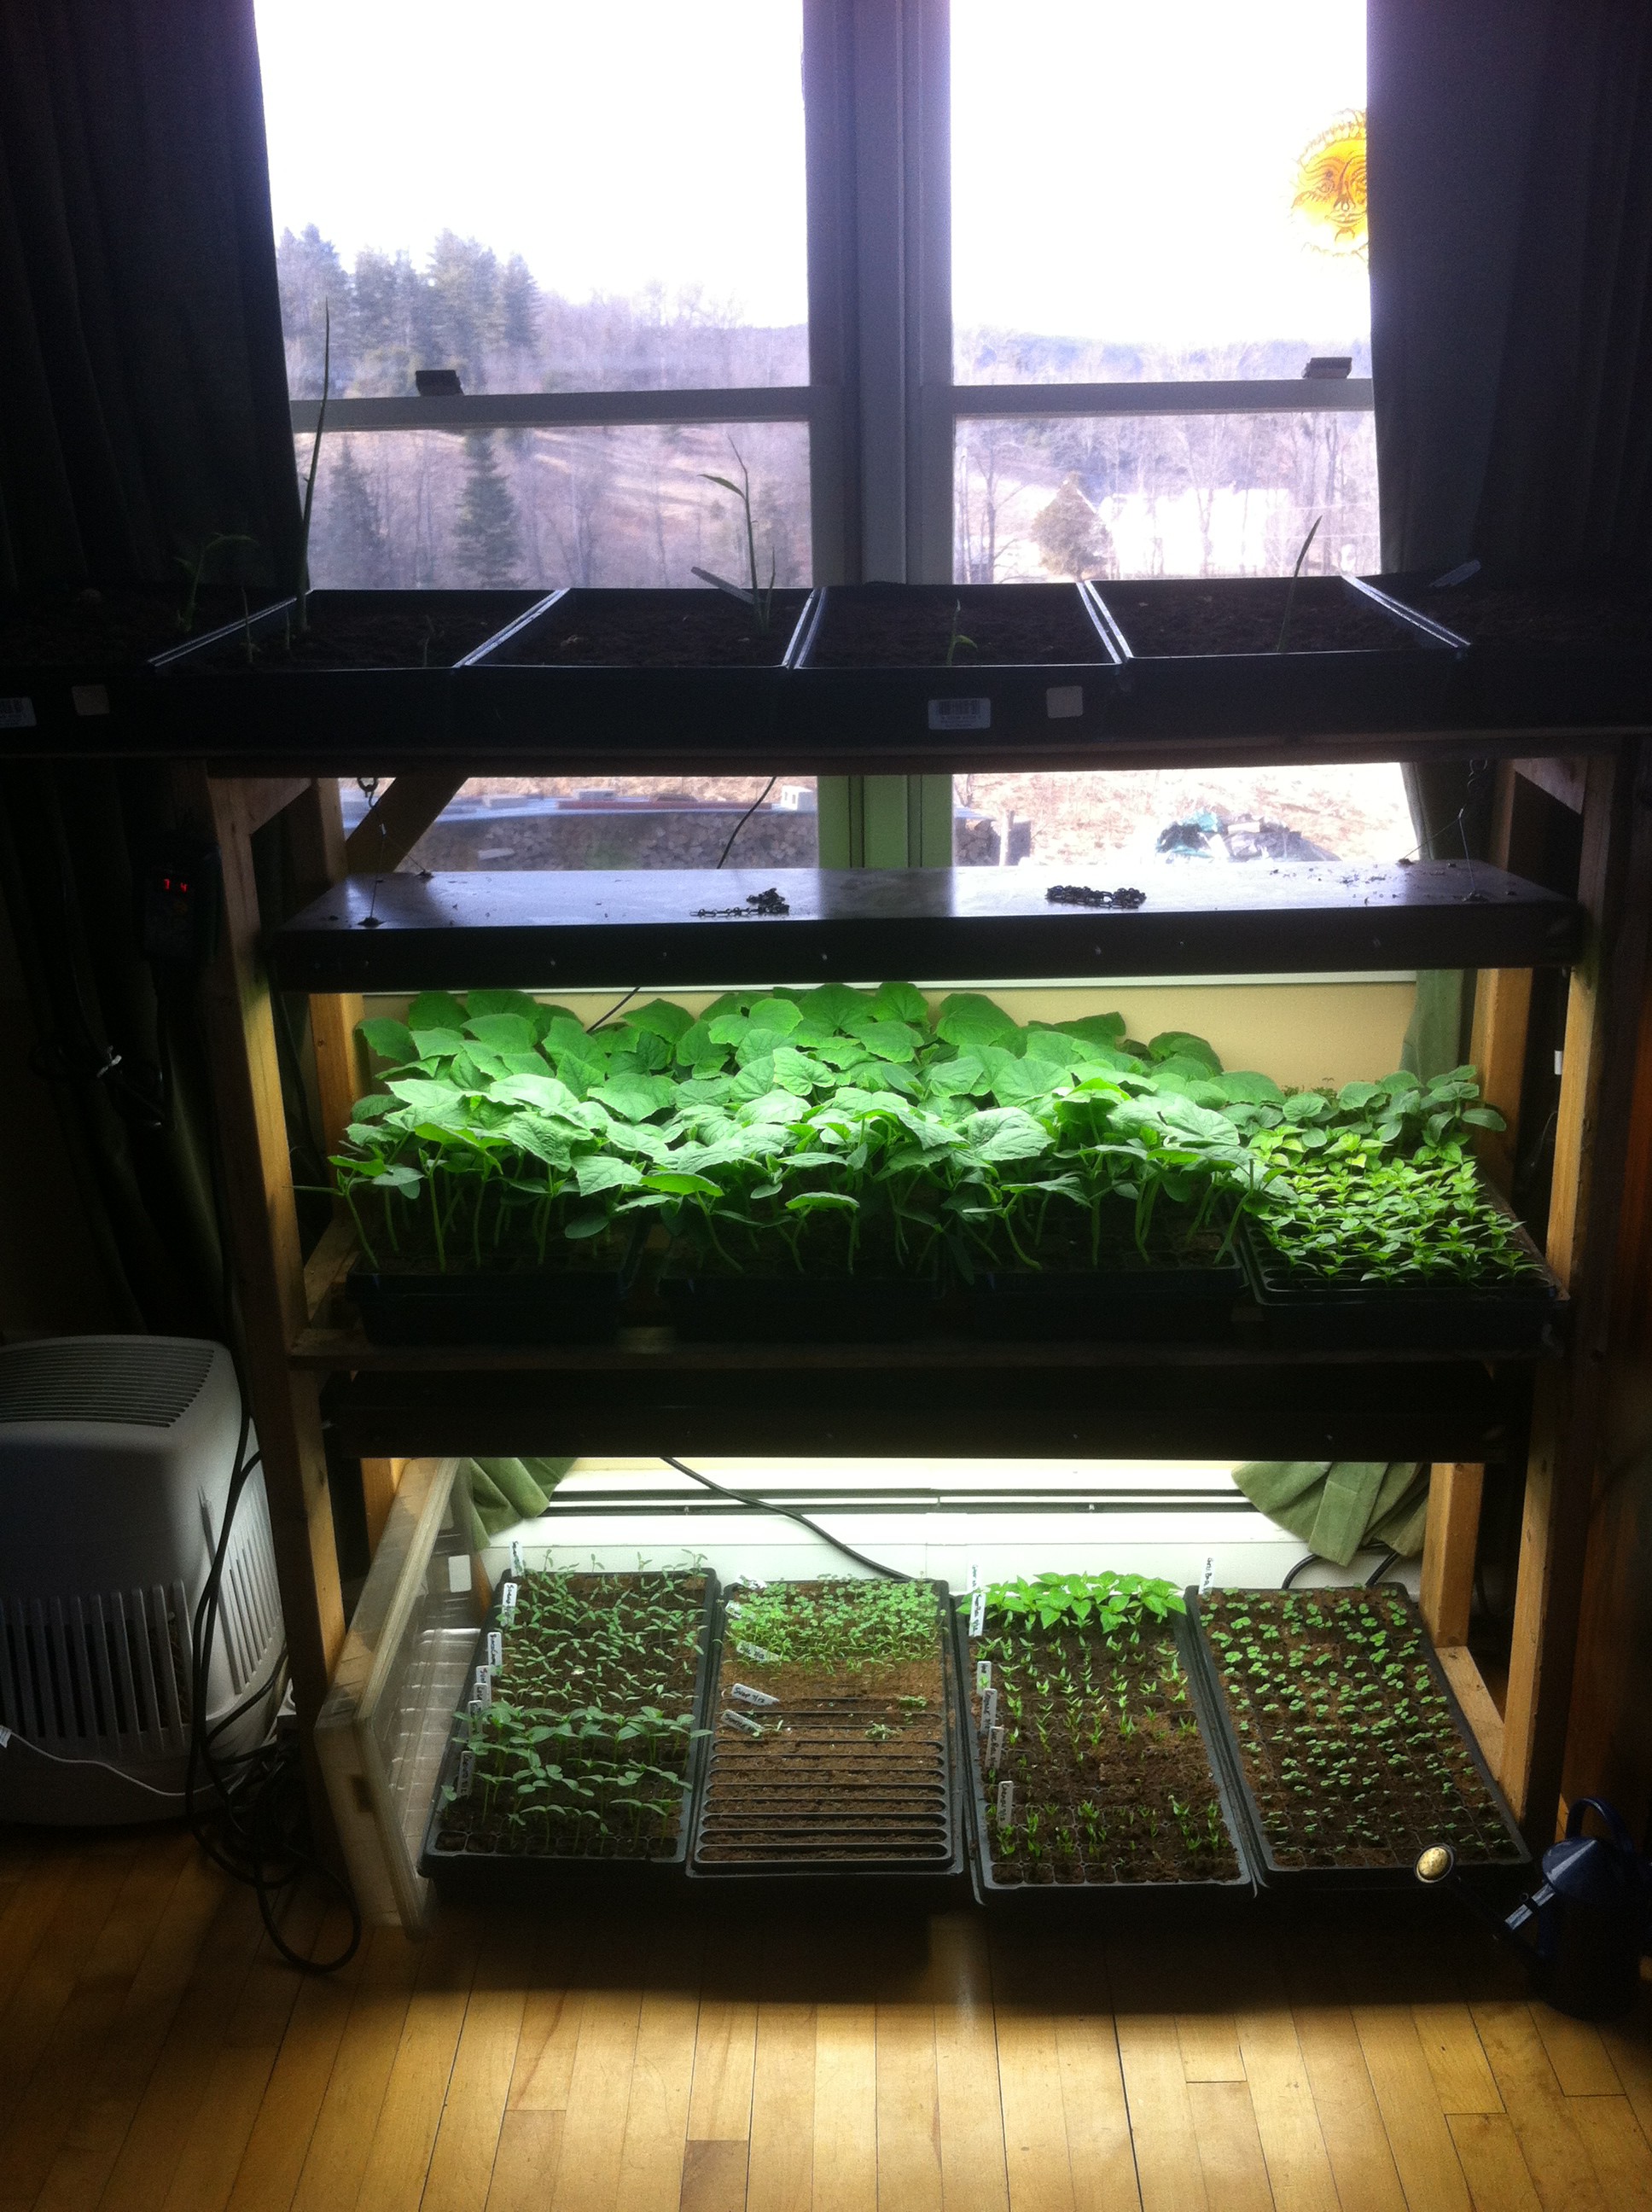
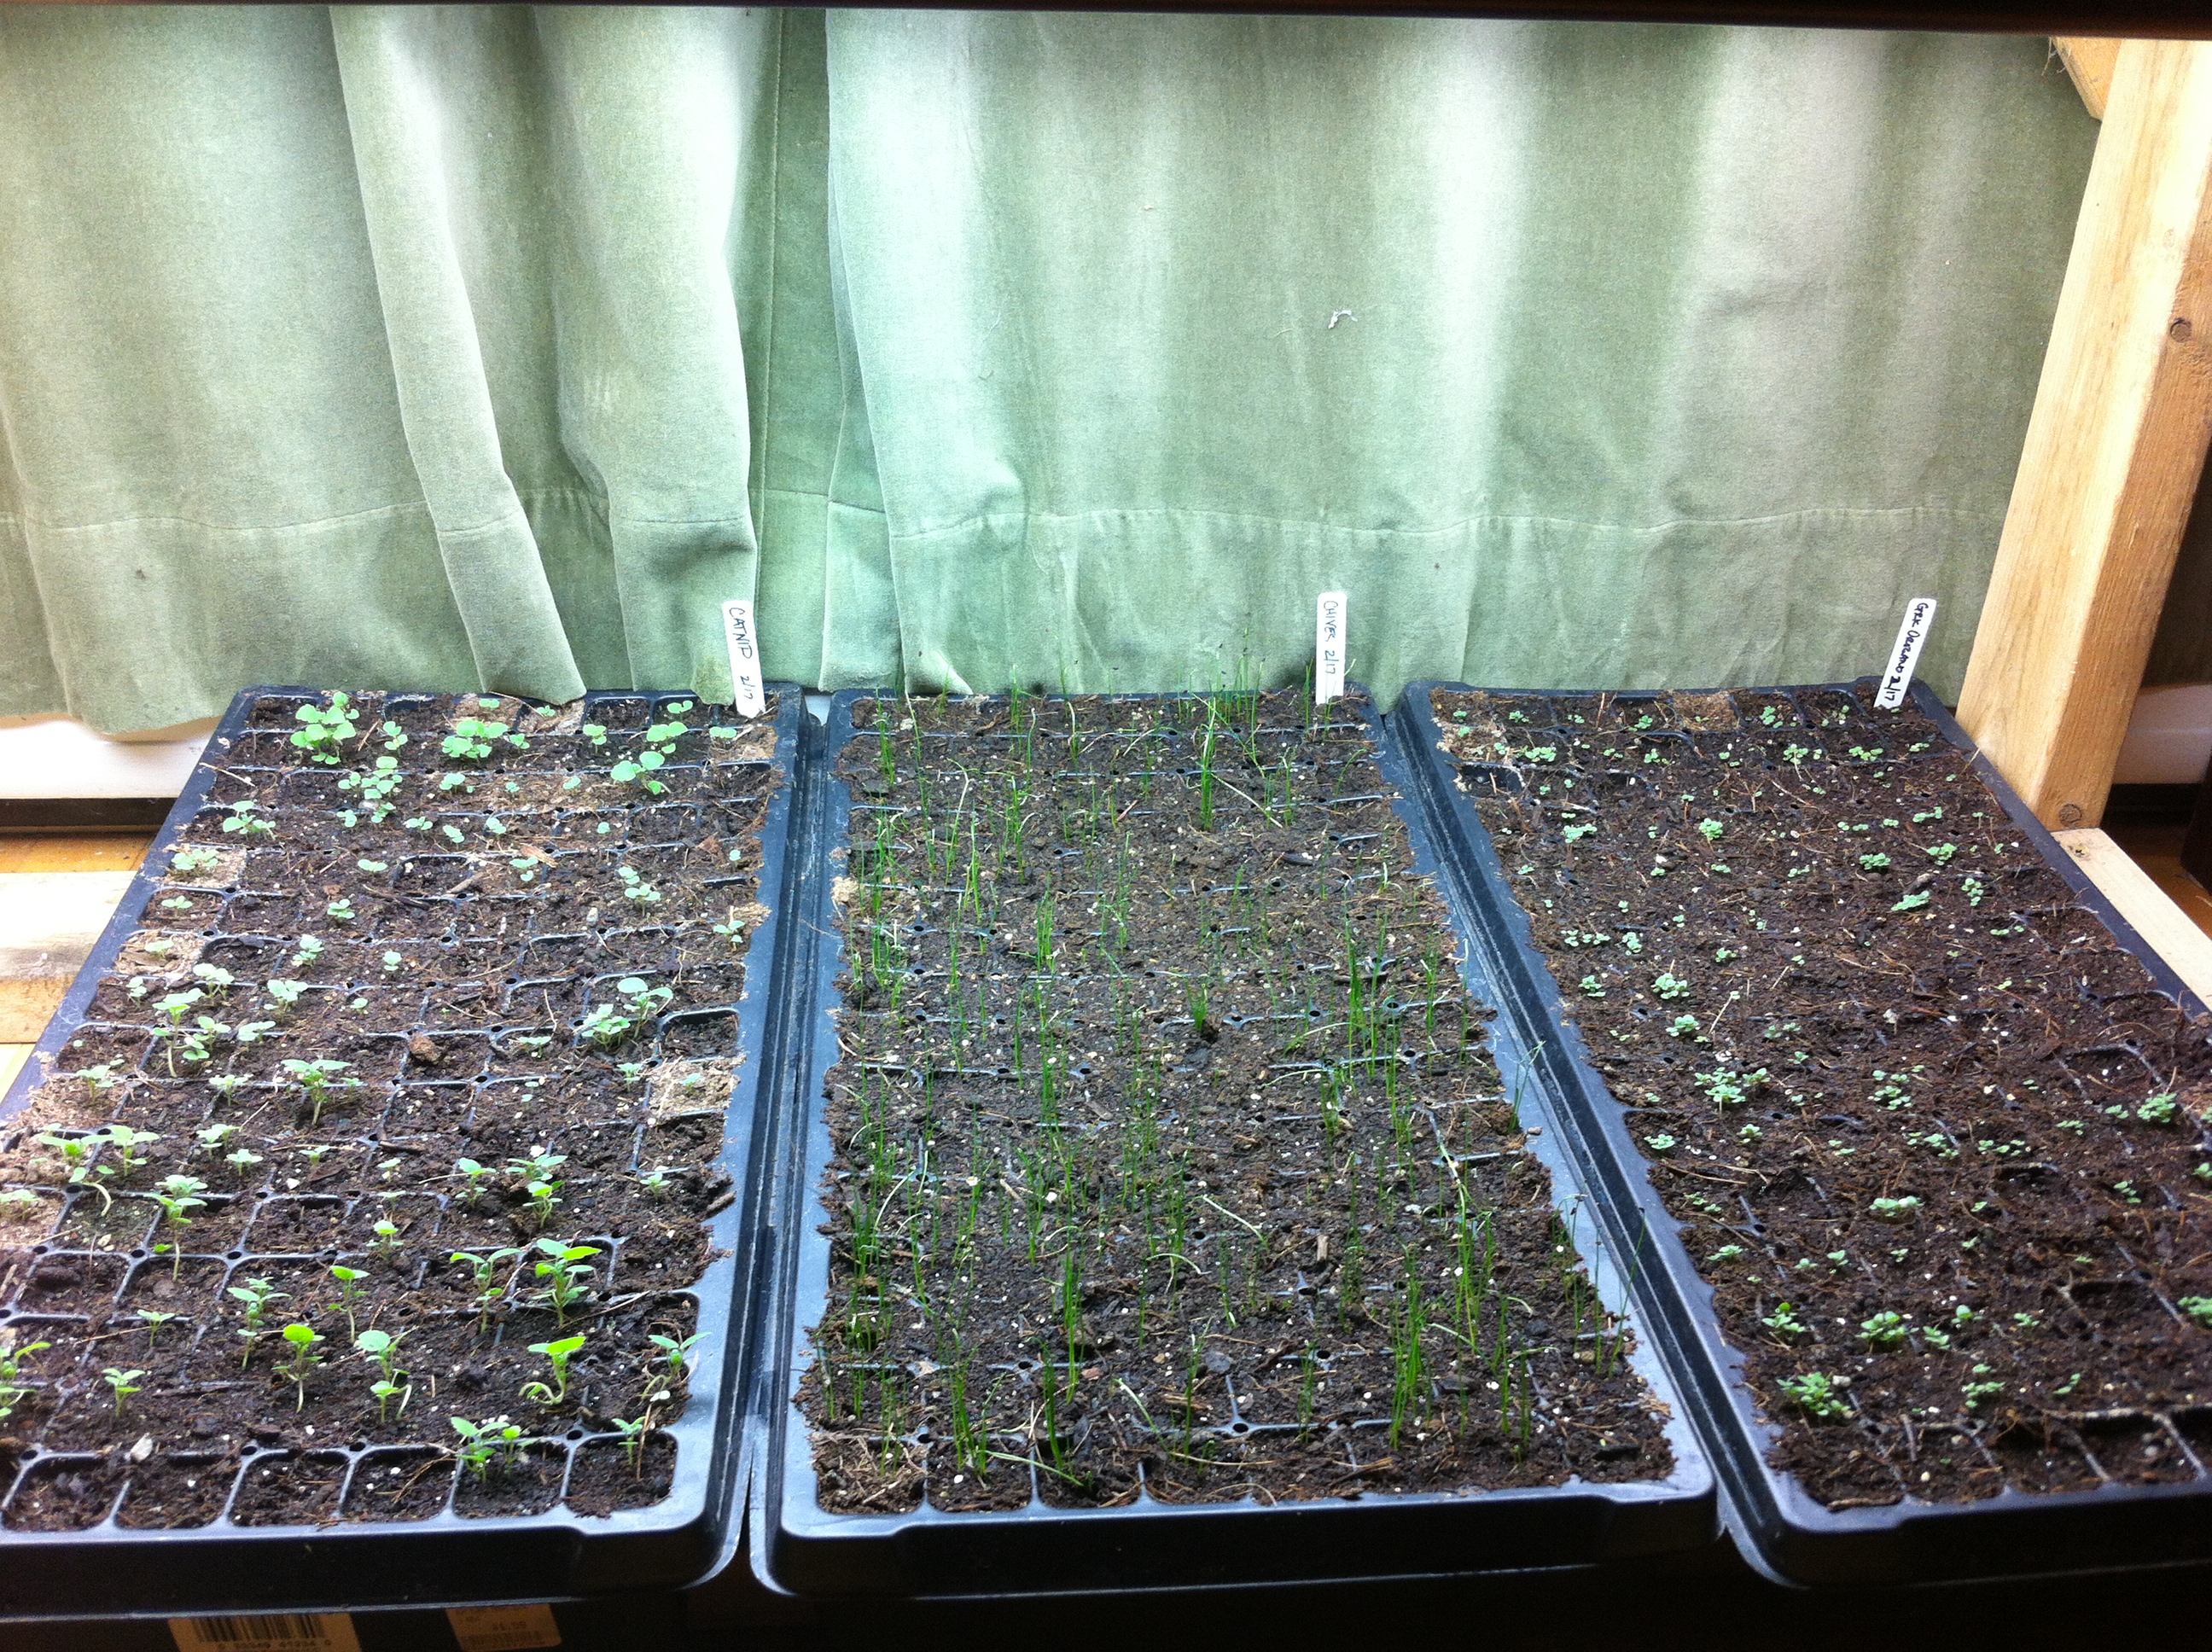
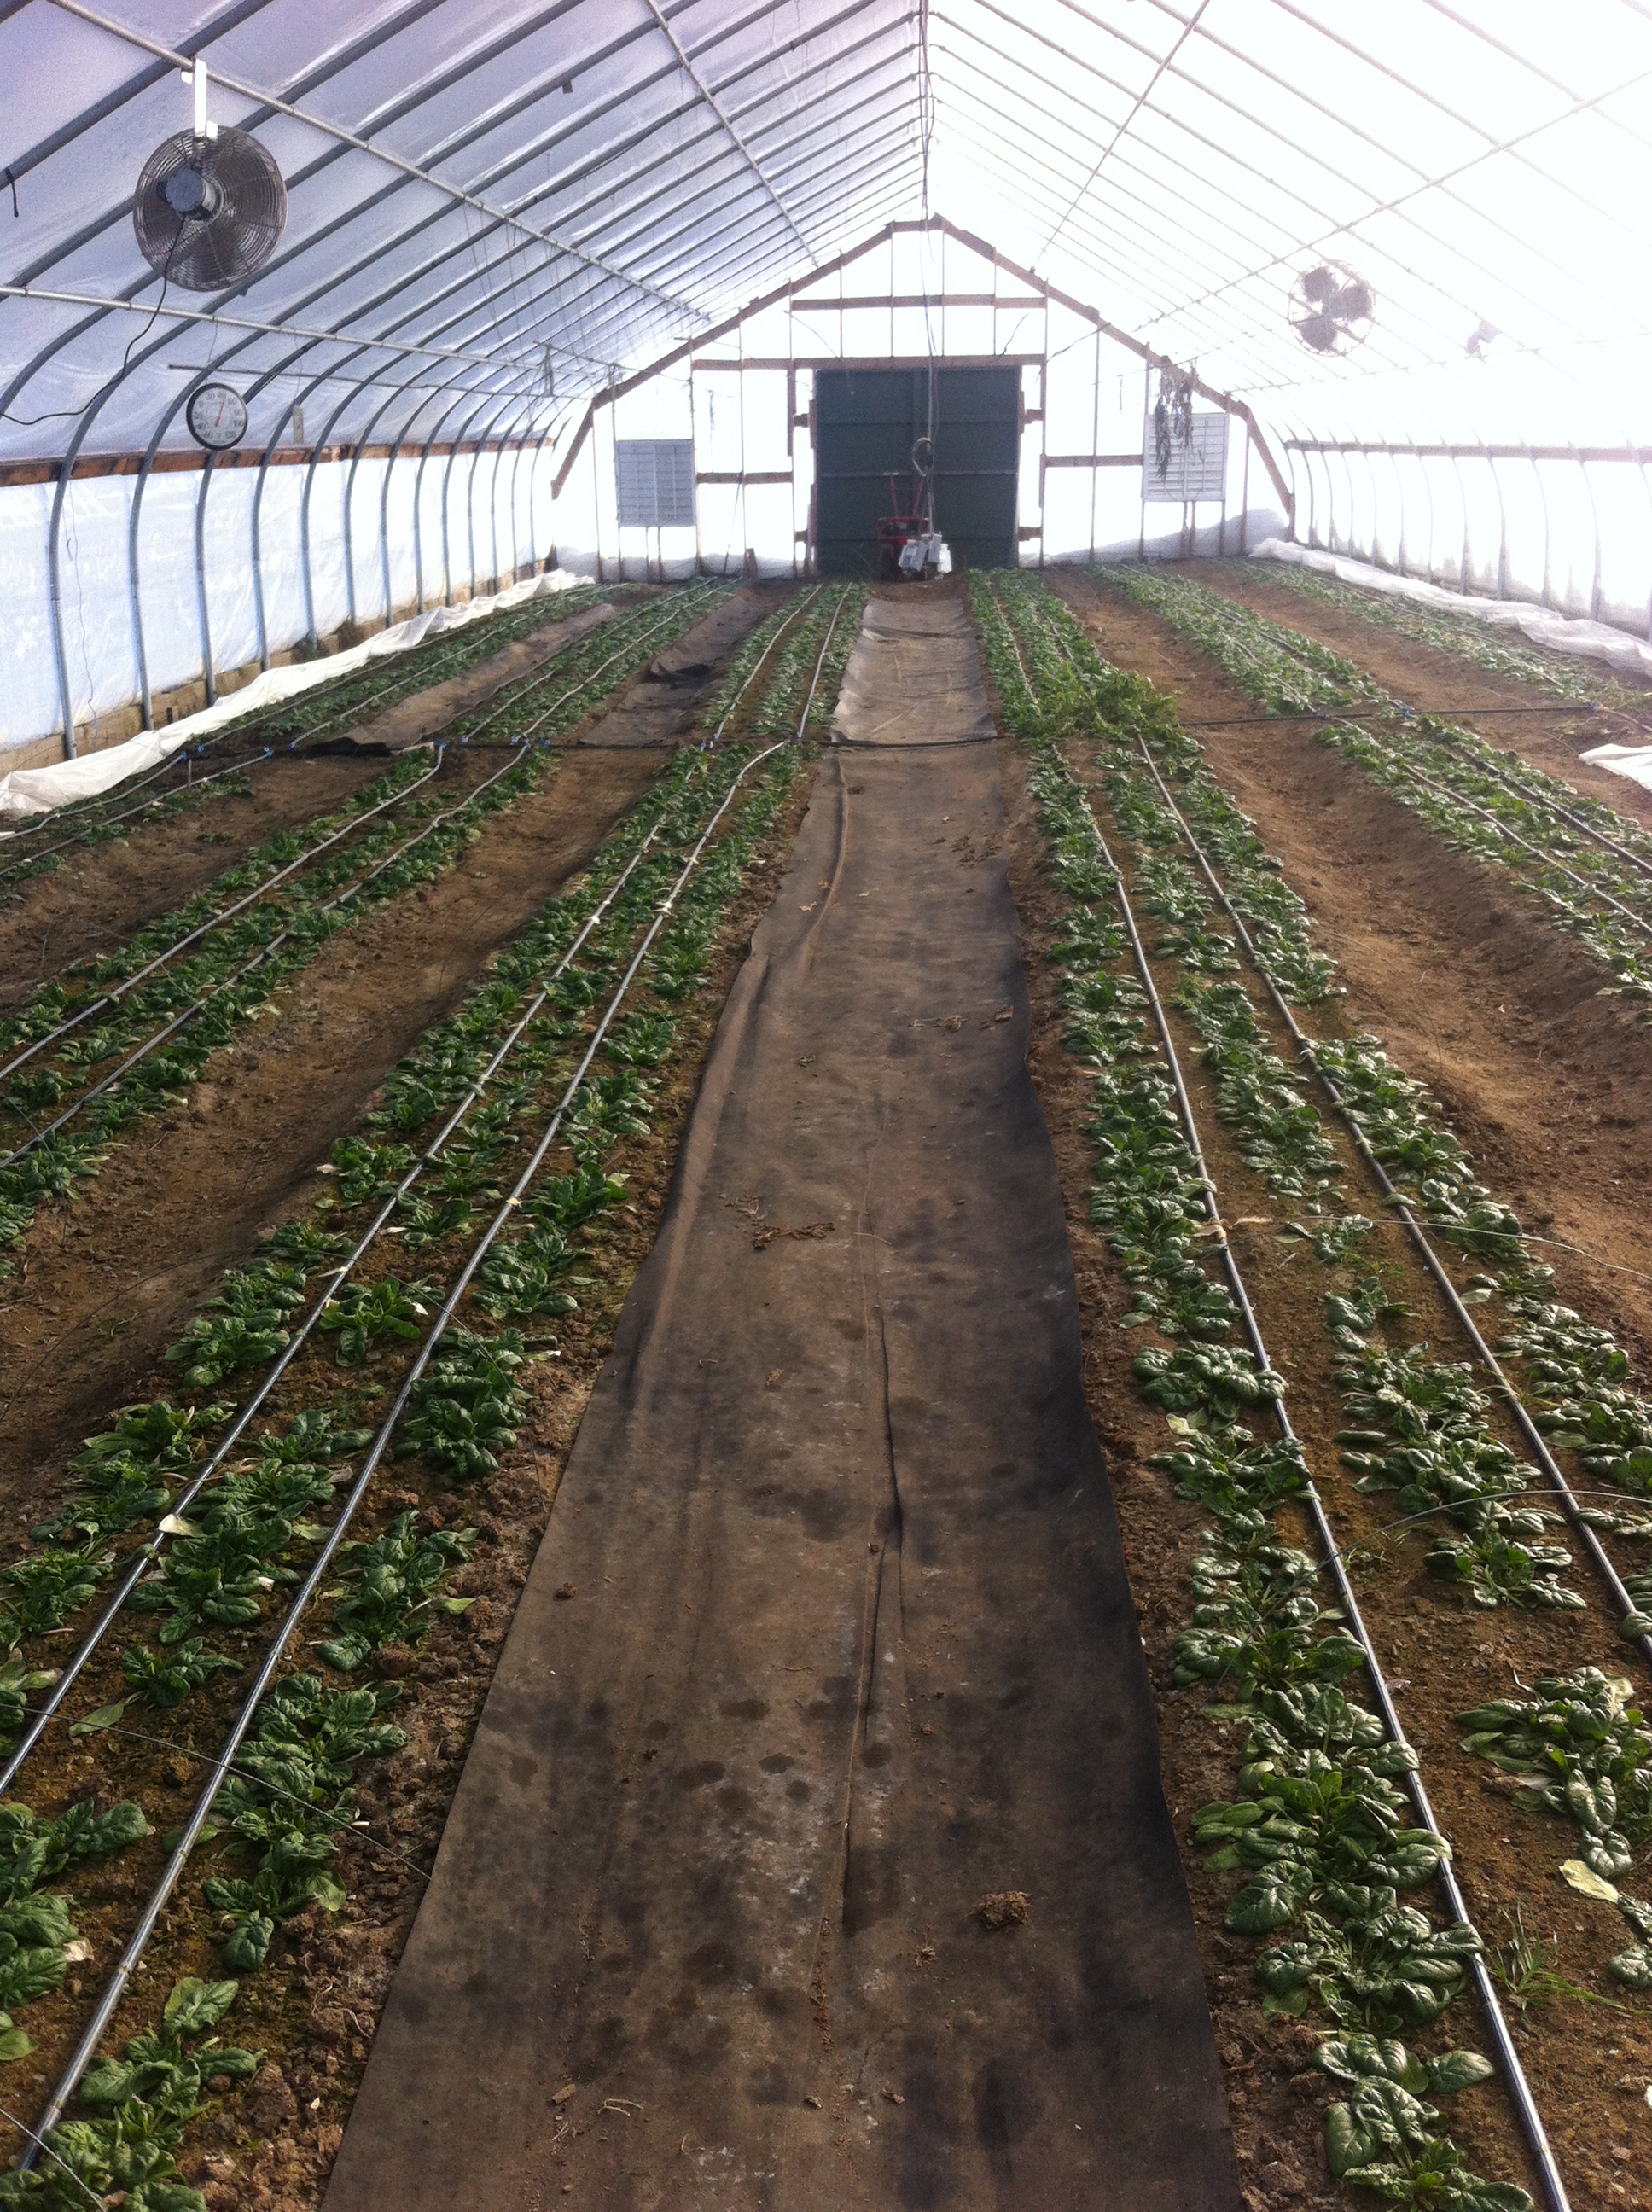
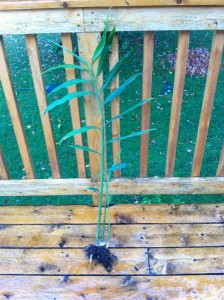
Got some things started early February with ginger, then ghost peppers,lemon grass and leeks a week later. Turns out the leeks were way too early, but I’ll hopefully just sell them a little larger. They’ve been in the greenhouse for the last few weeks, covered with a piece of plastic on really cold nights in the beginning, but nothing for a while now since the heat is on. They look good.
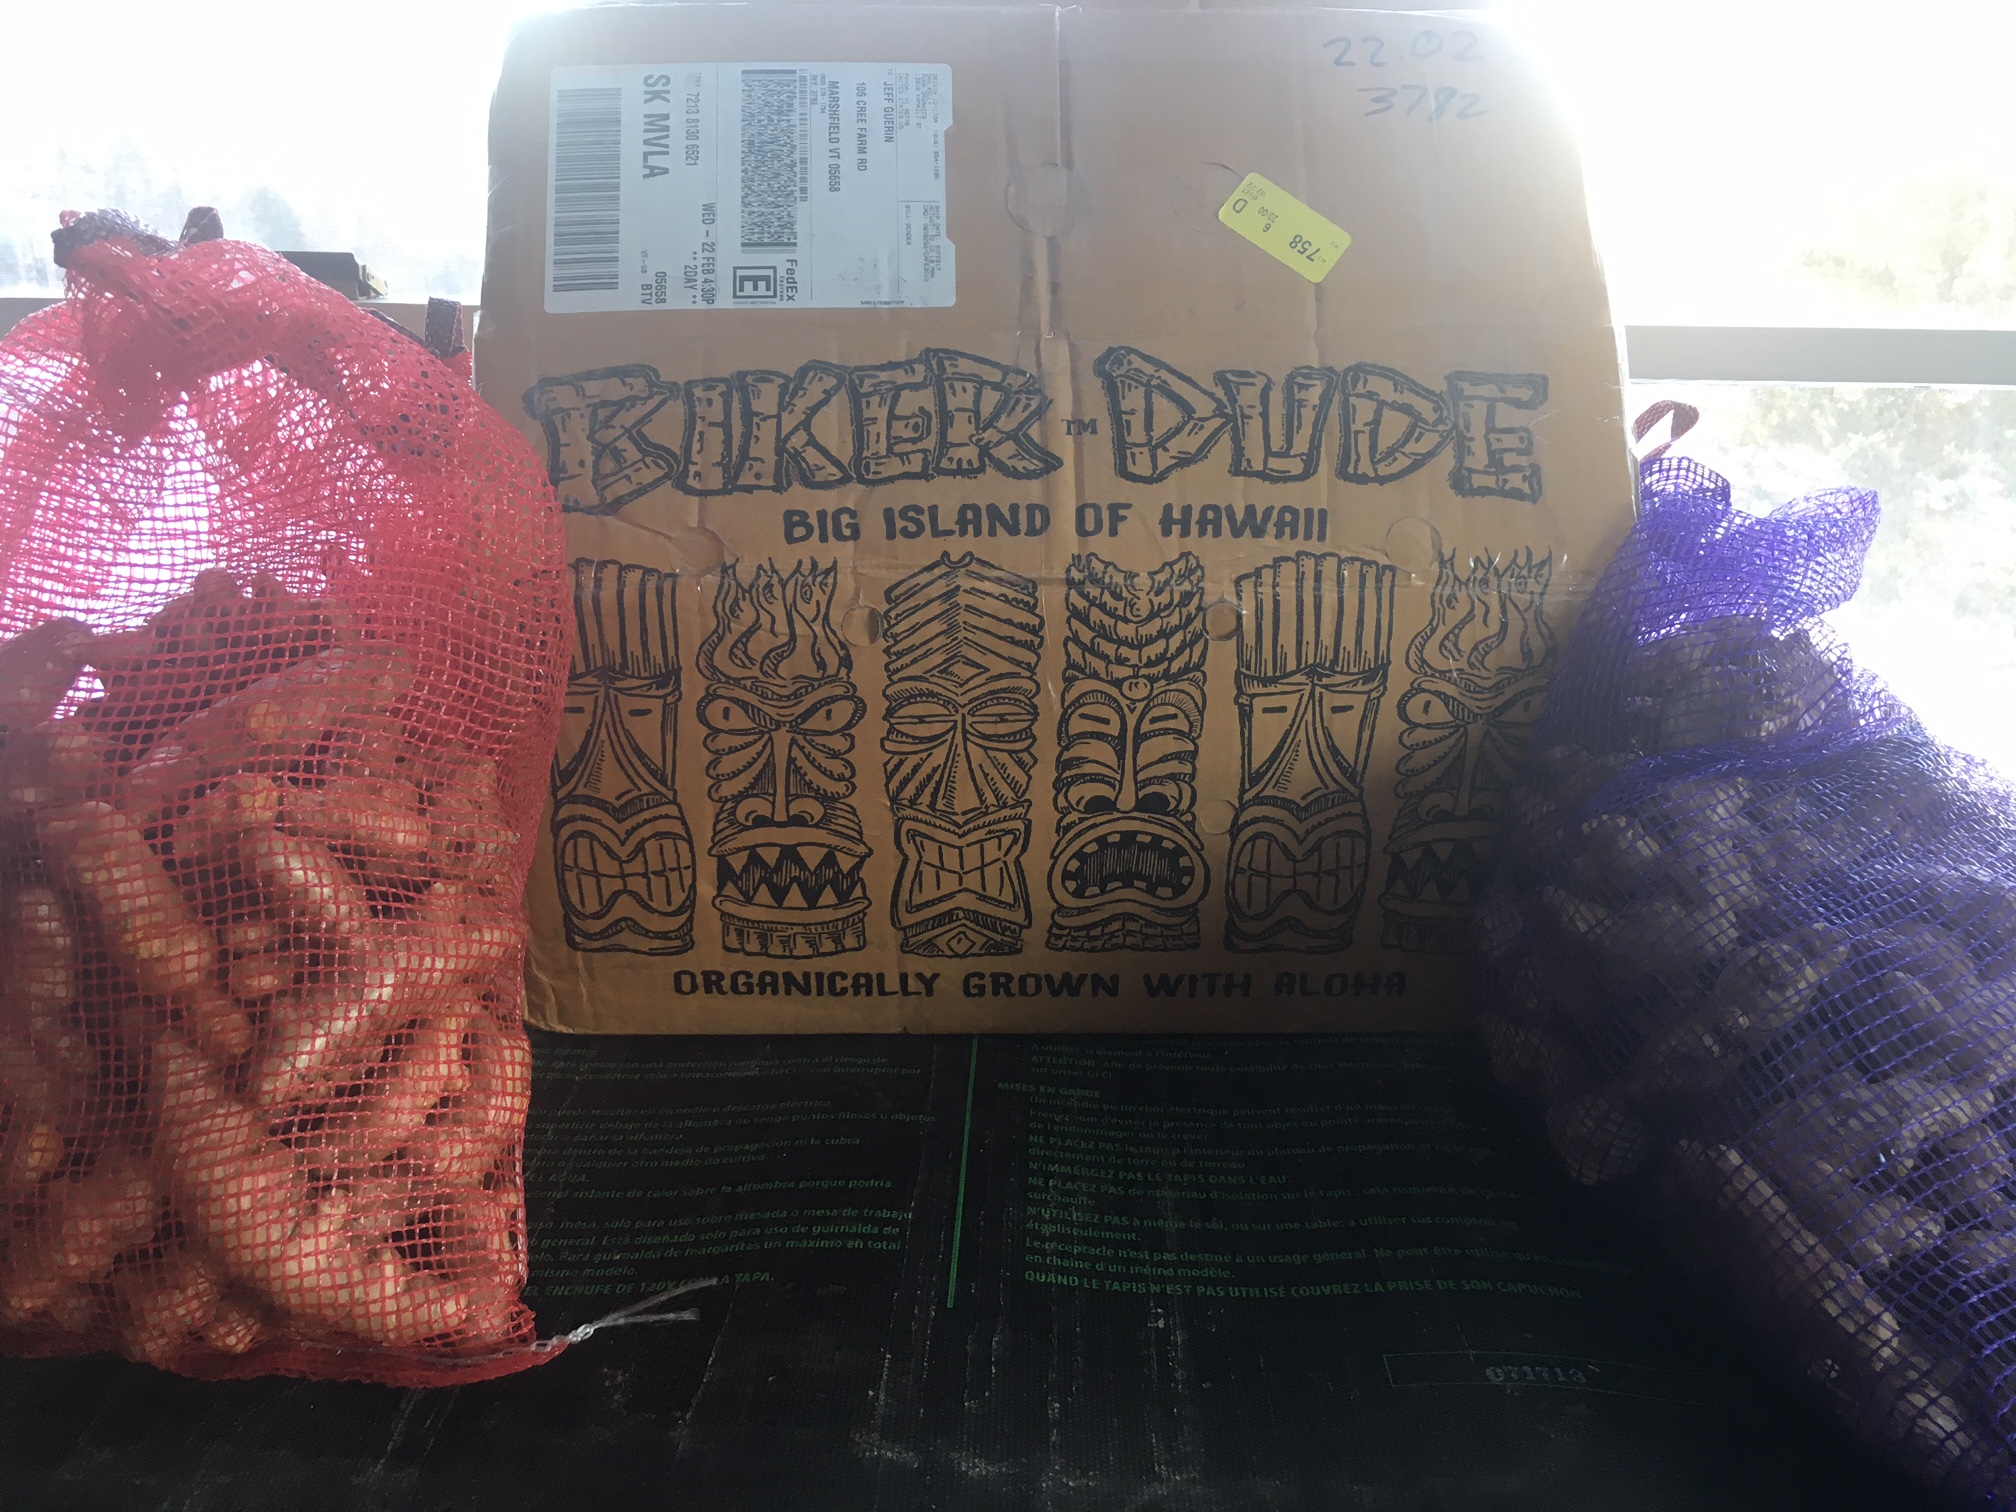
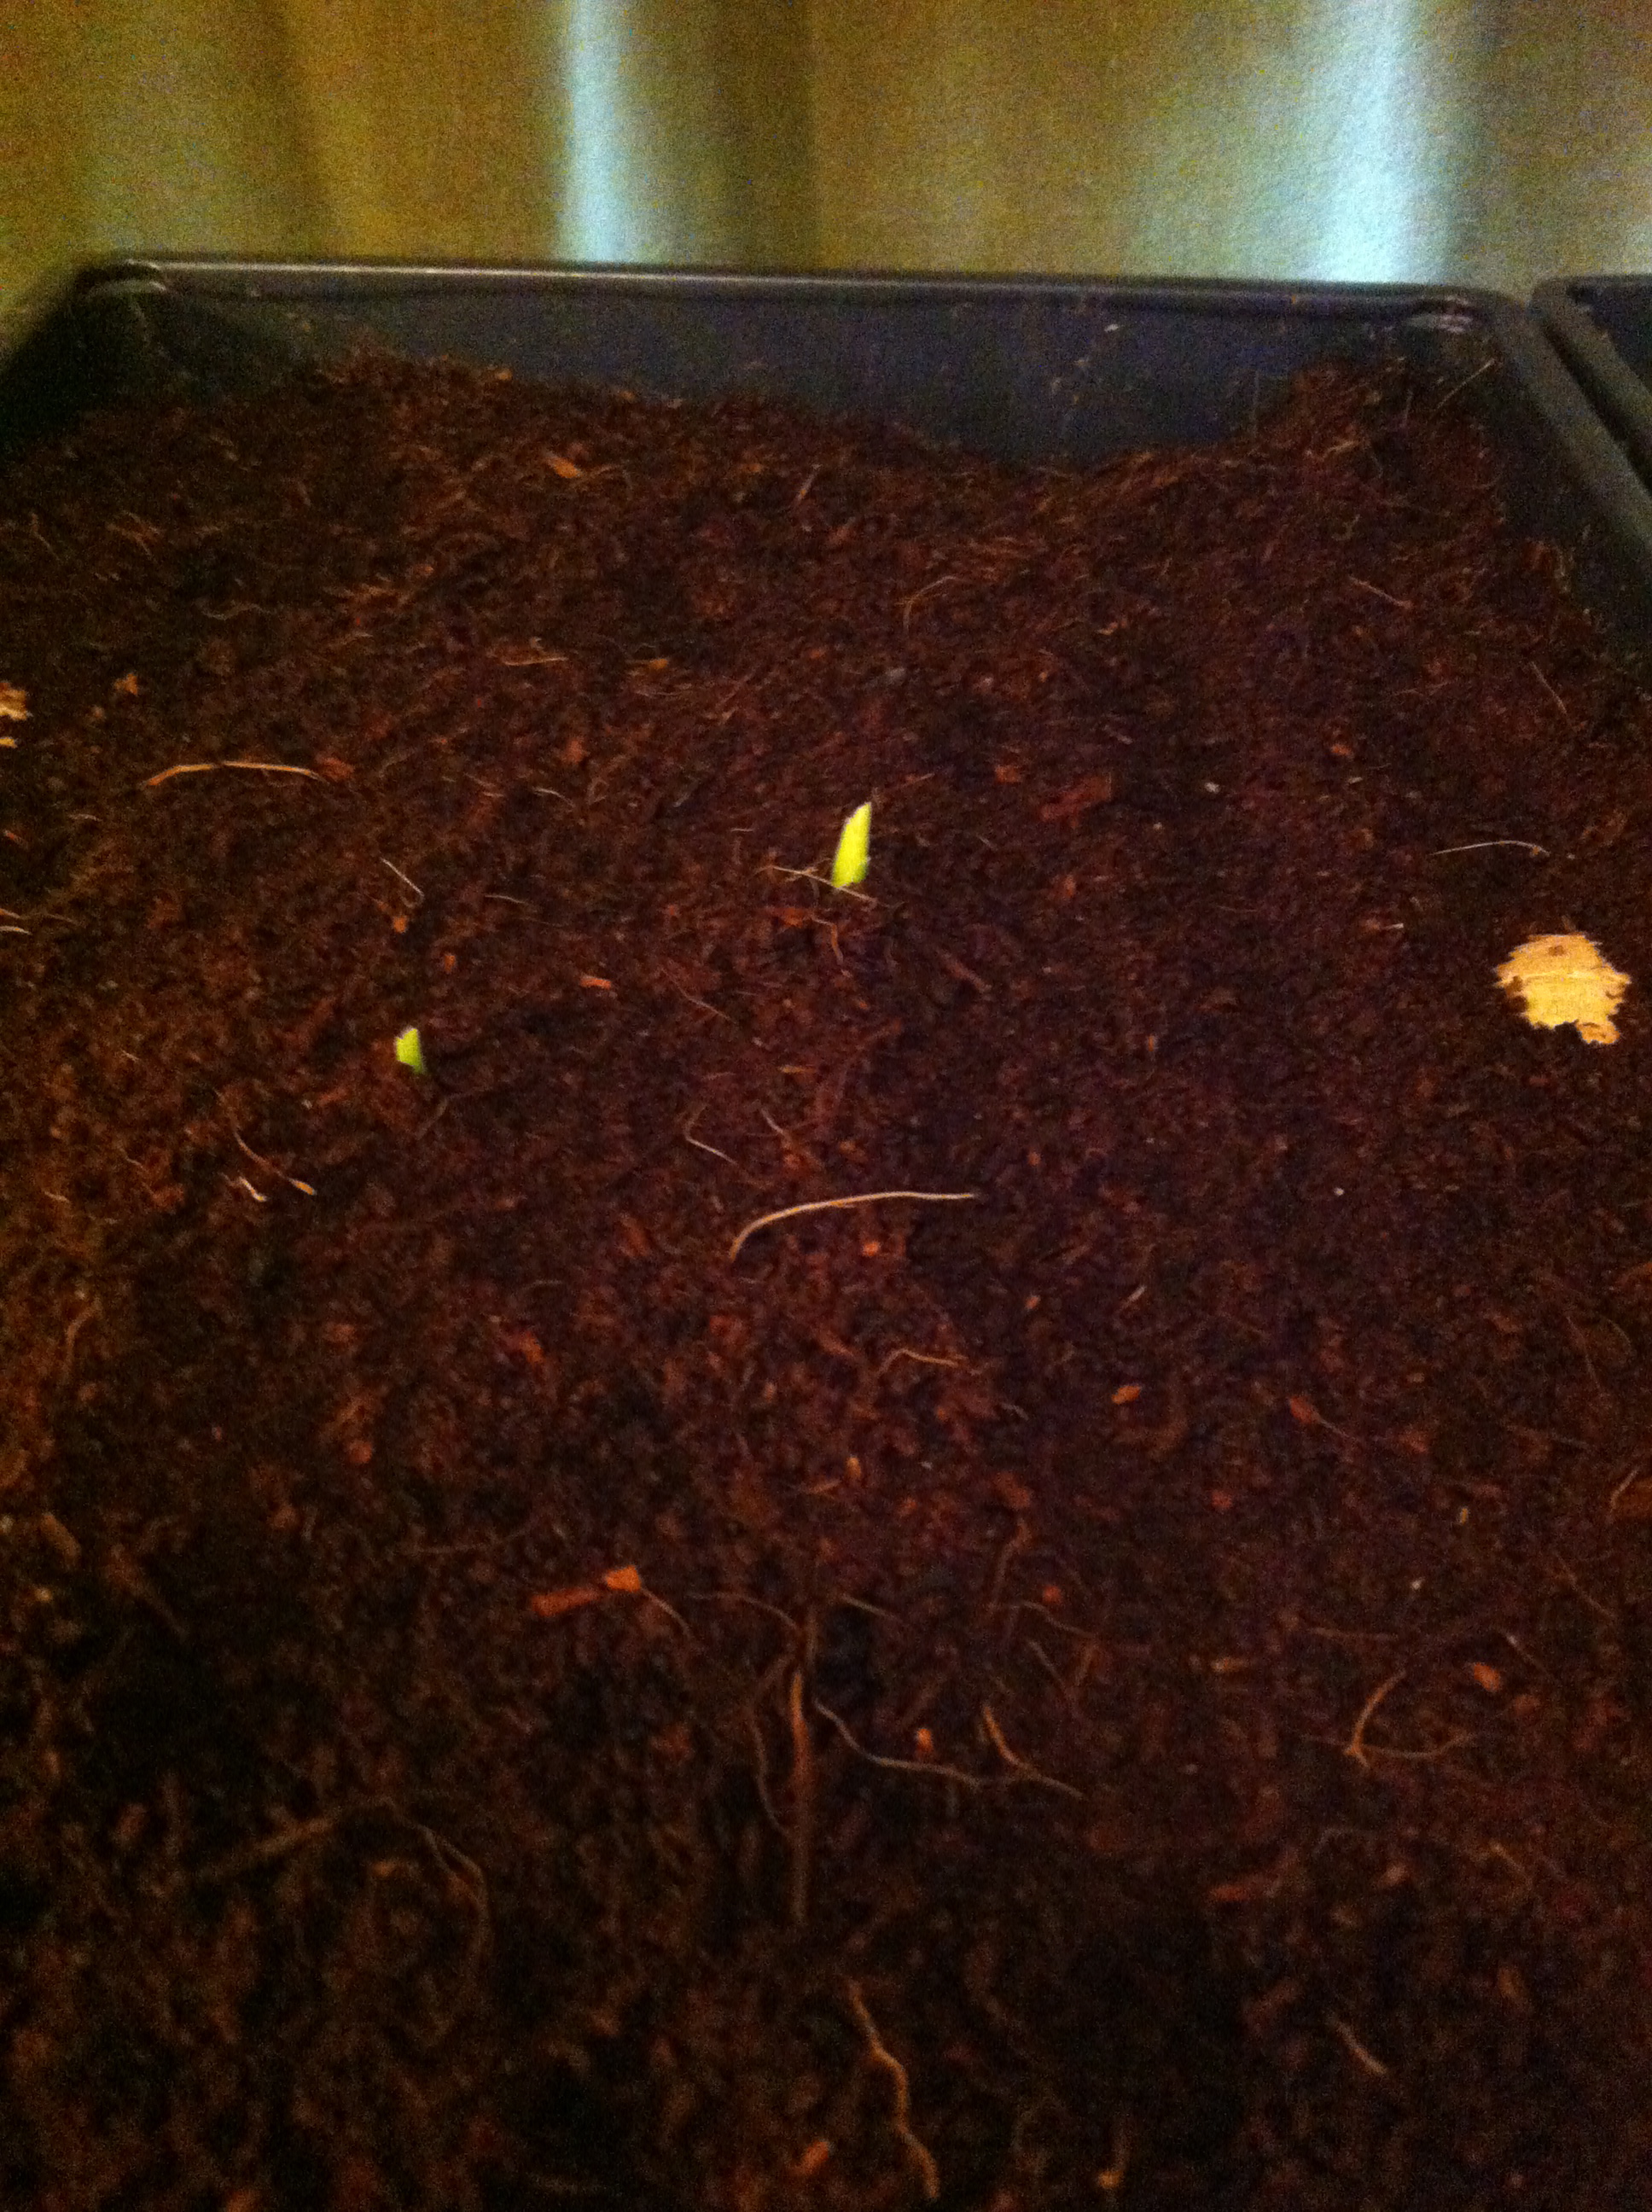
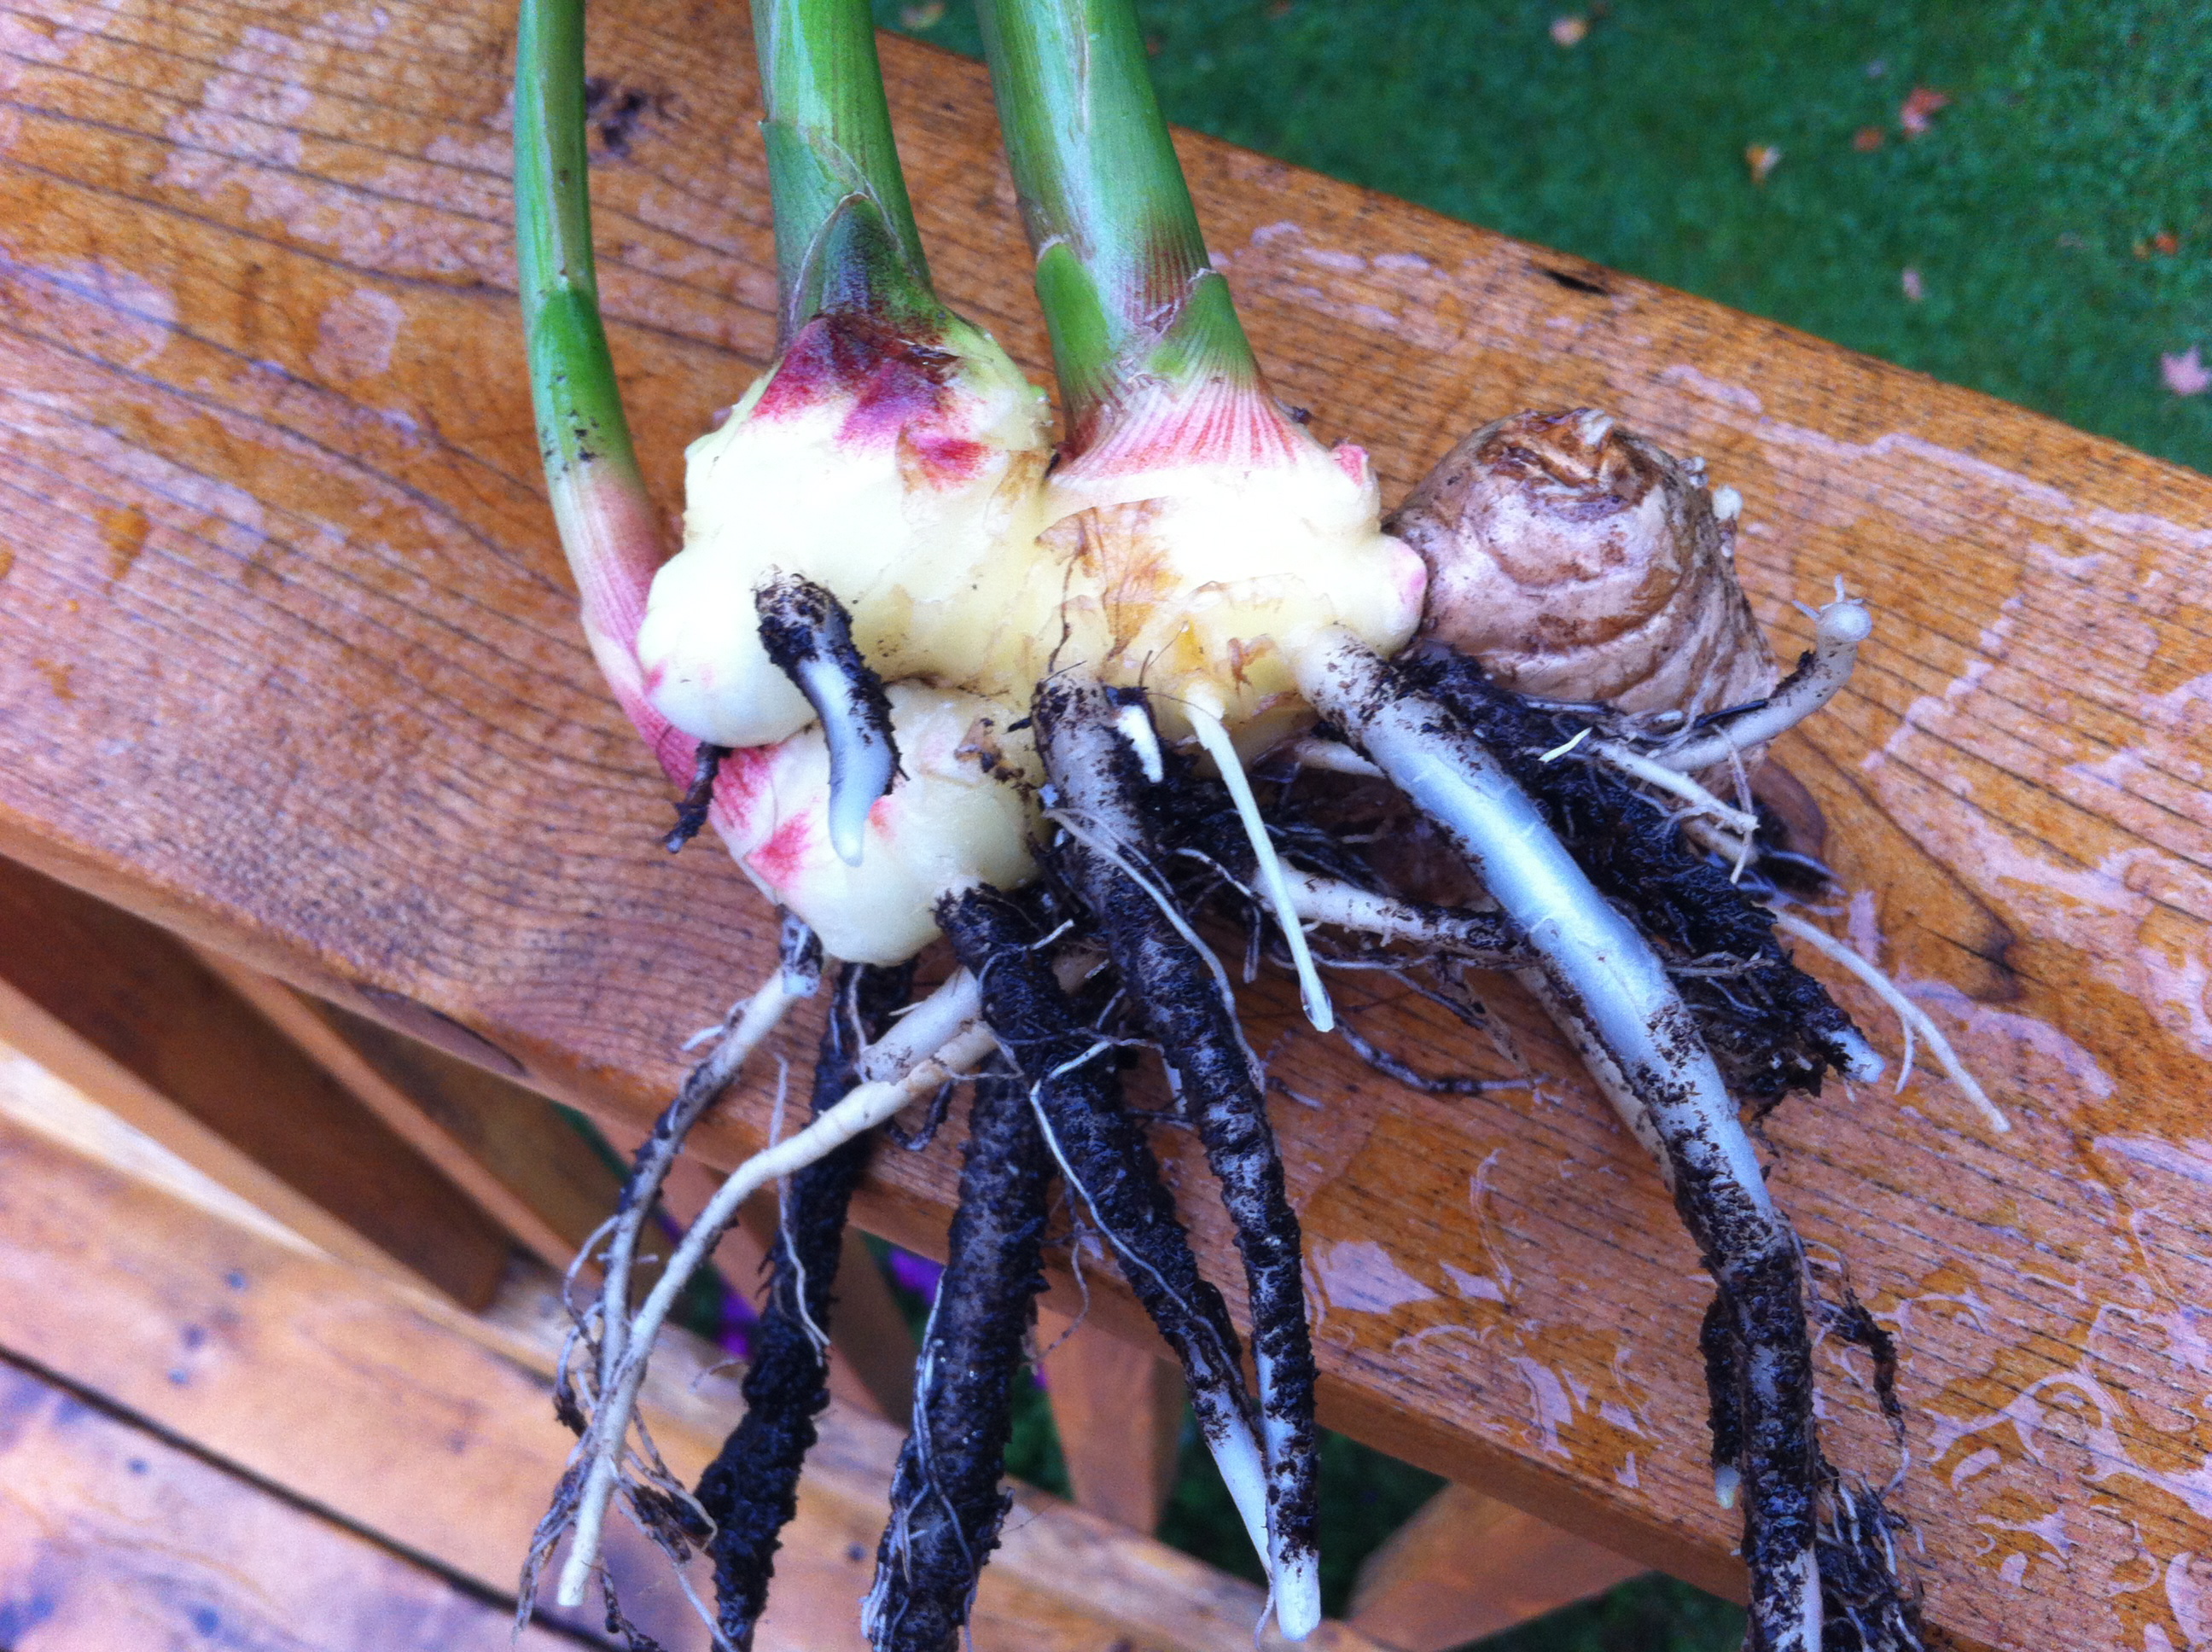
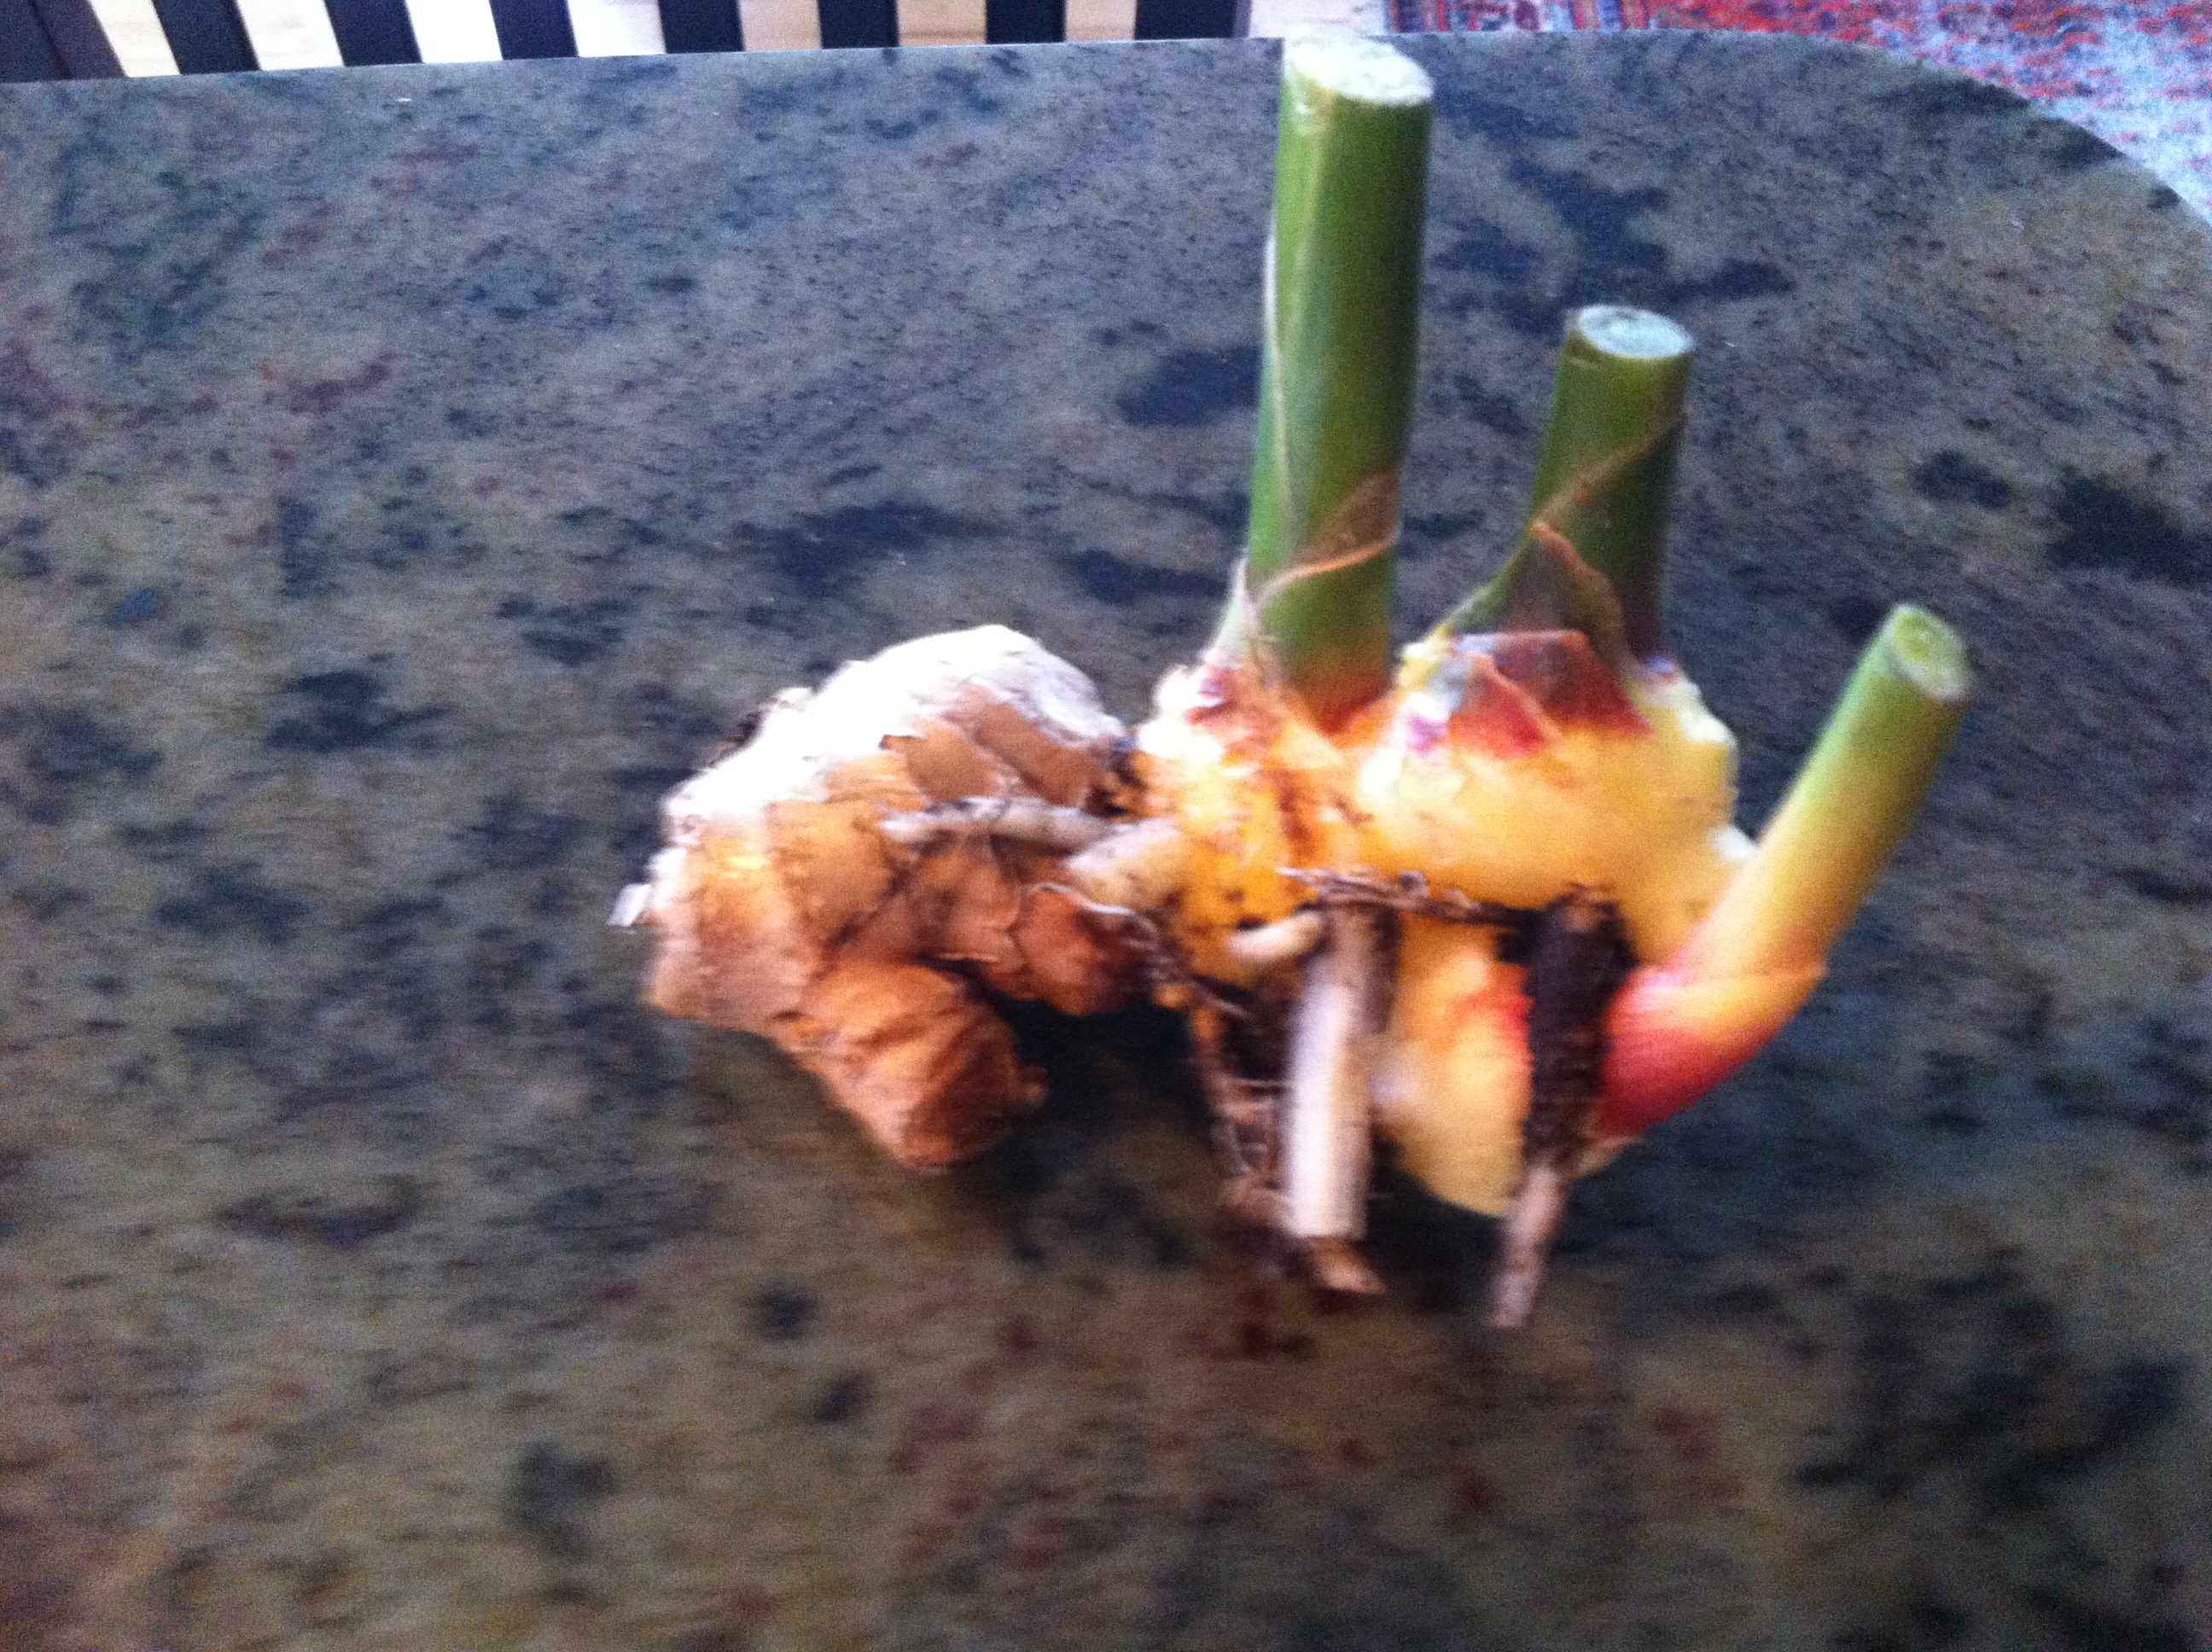
Only a half dozen or so ginger seeds have sprouted by this point. We’ll see what happens. I’m sure they’ll be fine. They still have another two months before they can go into the ground. I have the heat mat set at 80 degrees. I’m trying 15 pounds of seed this year up from 10 last year.
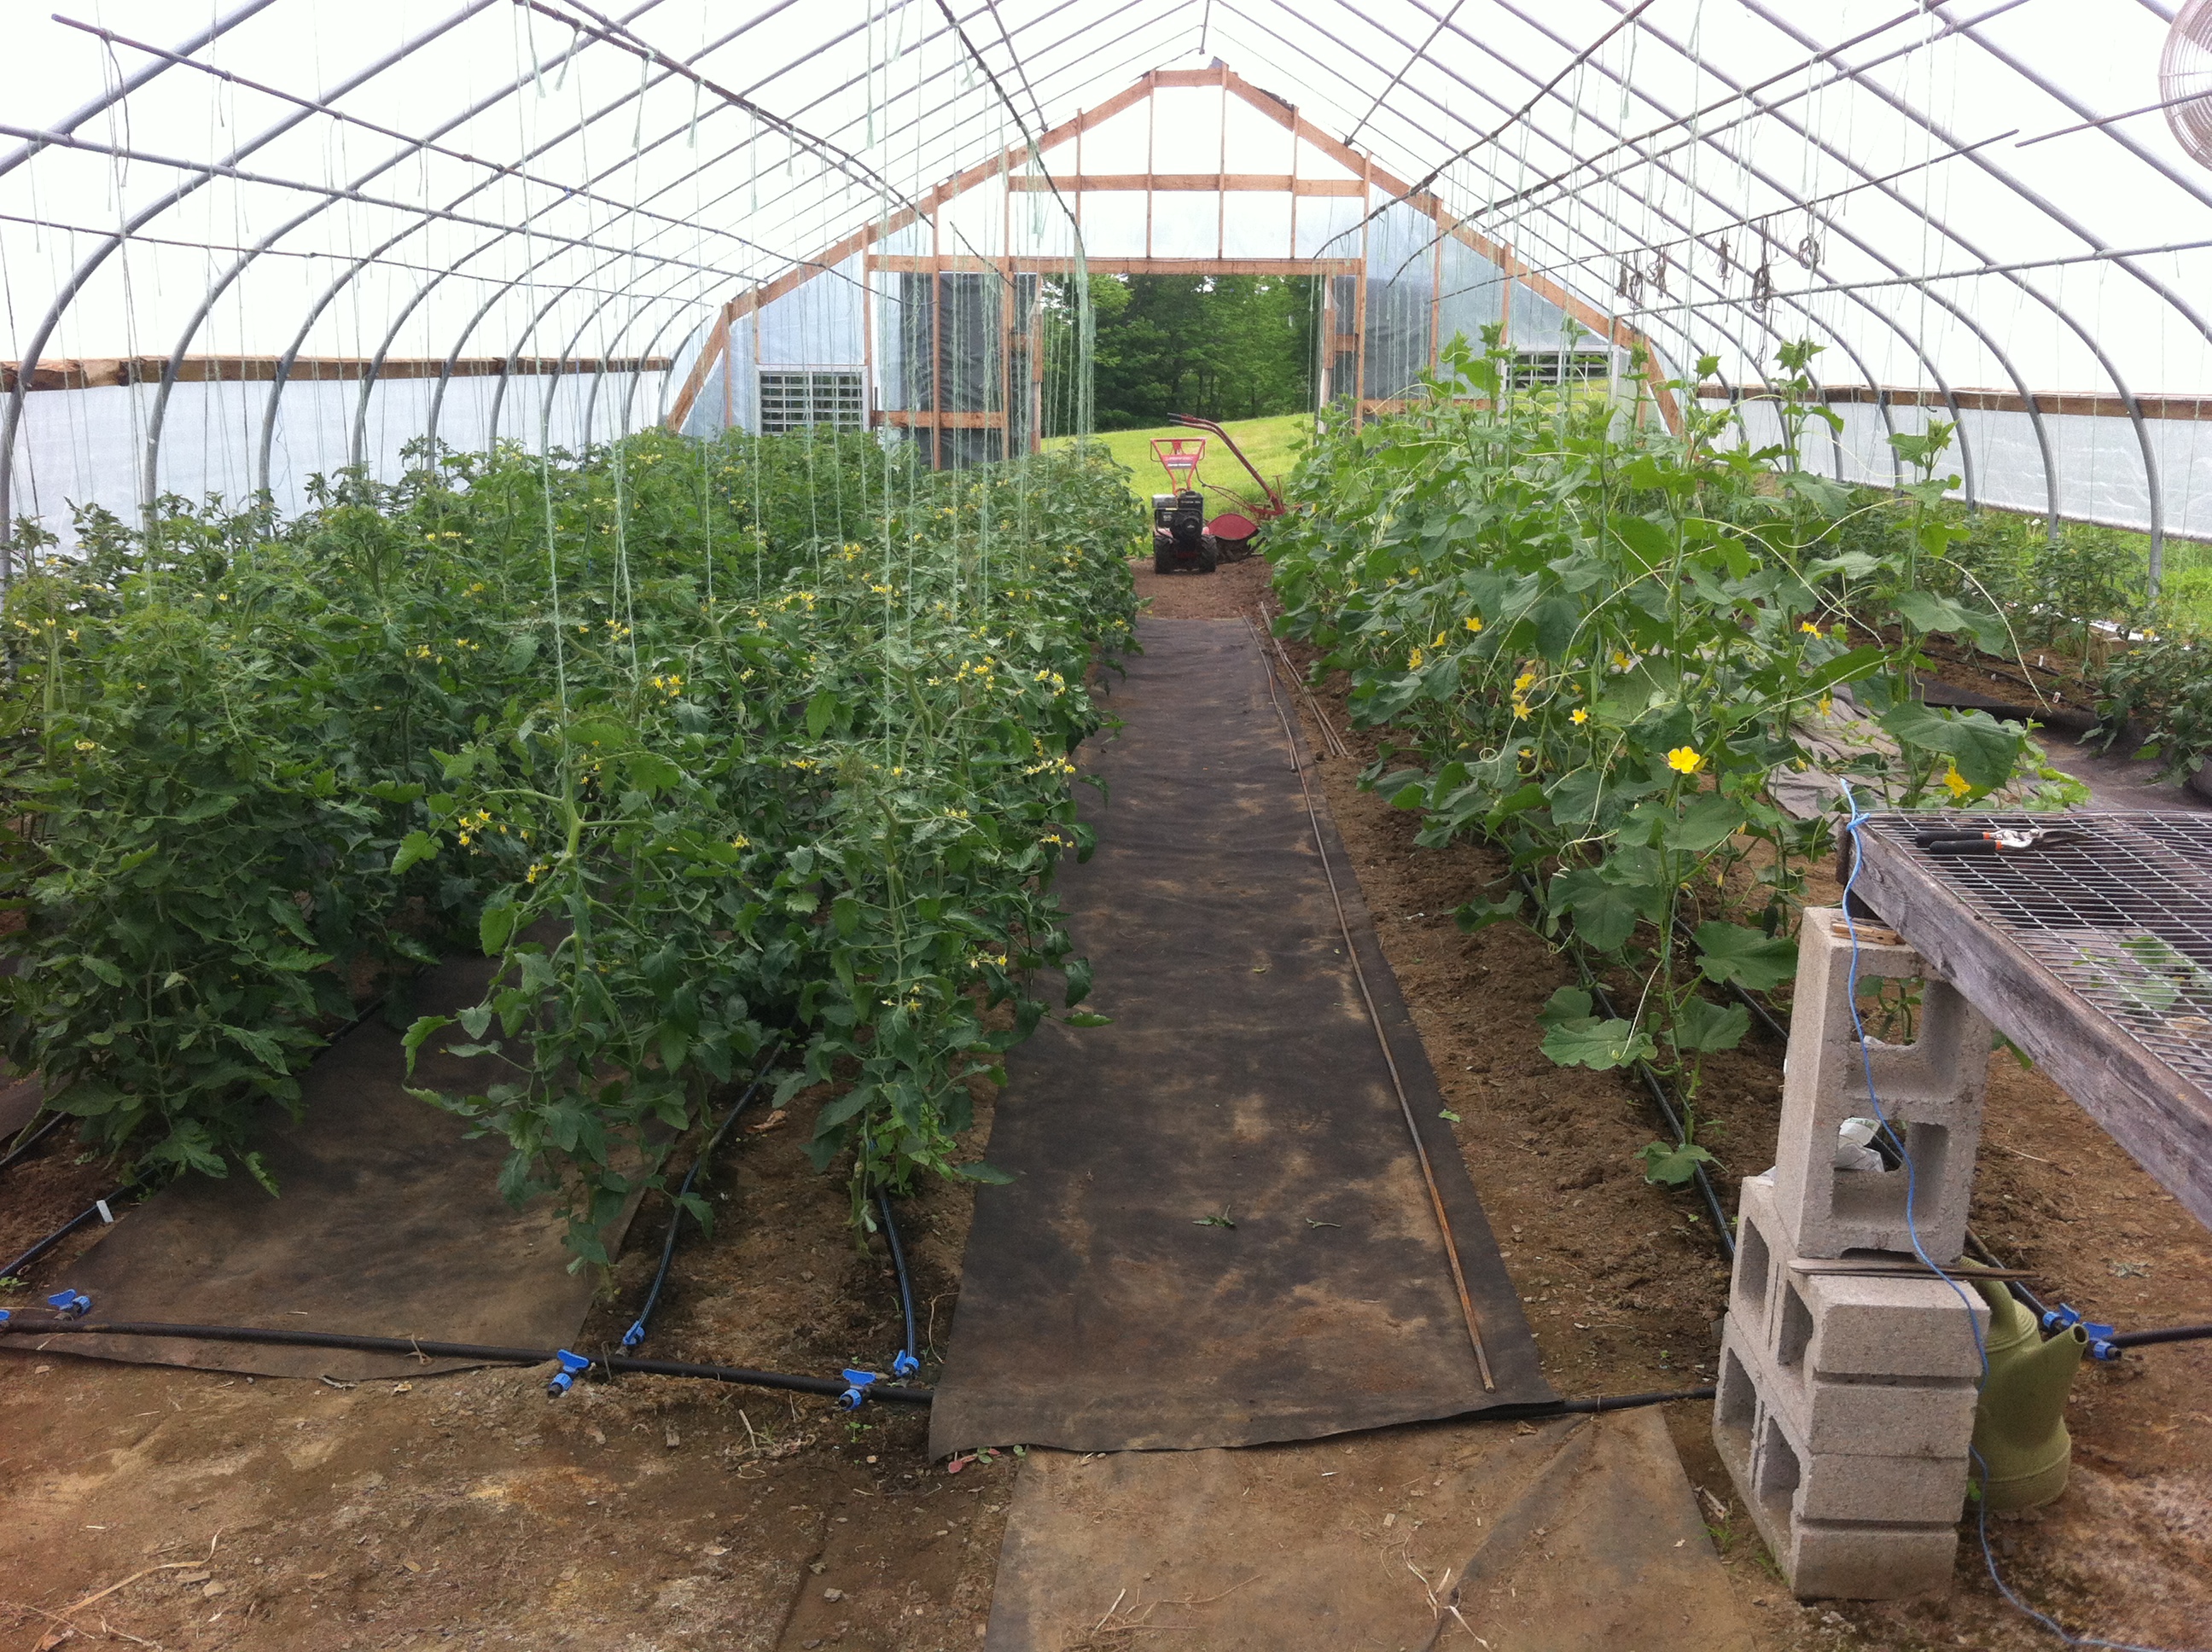
This past Sunday we had an amazing work party with our family and got both yellow storage and red onions transplanted: 1500-2000 each! Very tedious. We also transplanted a bunch of the tomatoes that will live in the greenhouse in a few weeks, hopefully. Trying a couple greenhouse specific hybrids this year: Sunkist and Lola. We’ll see how they do.
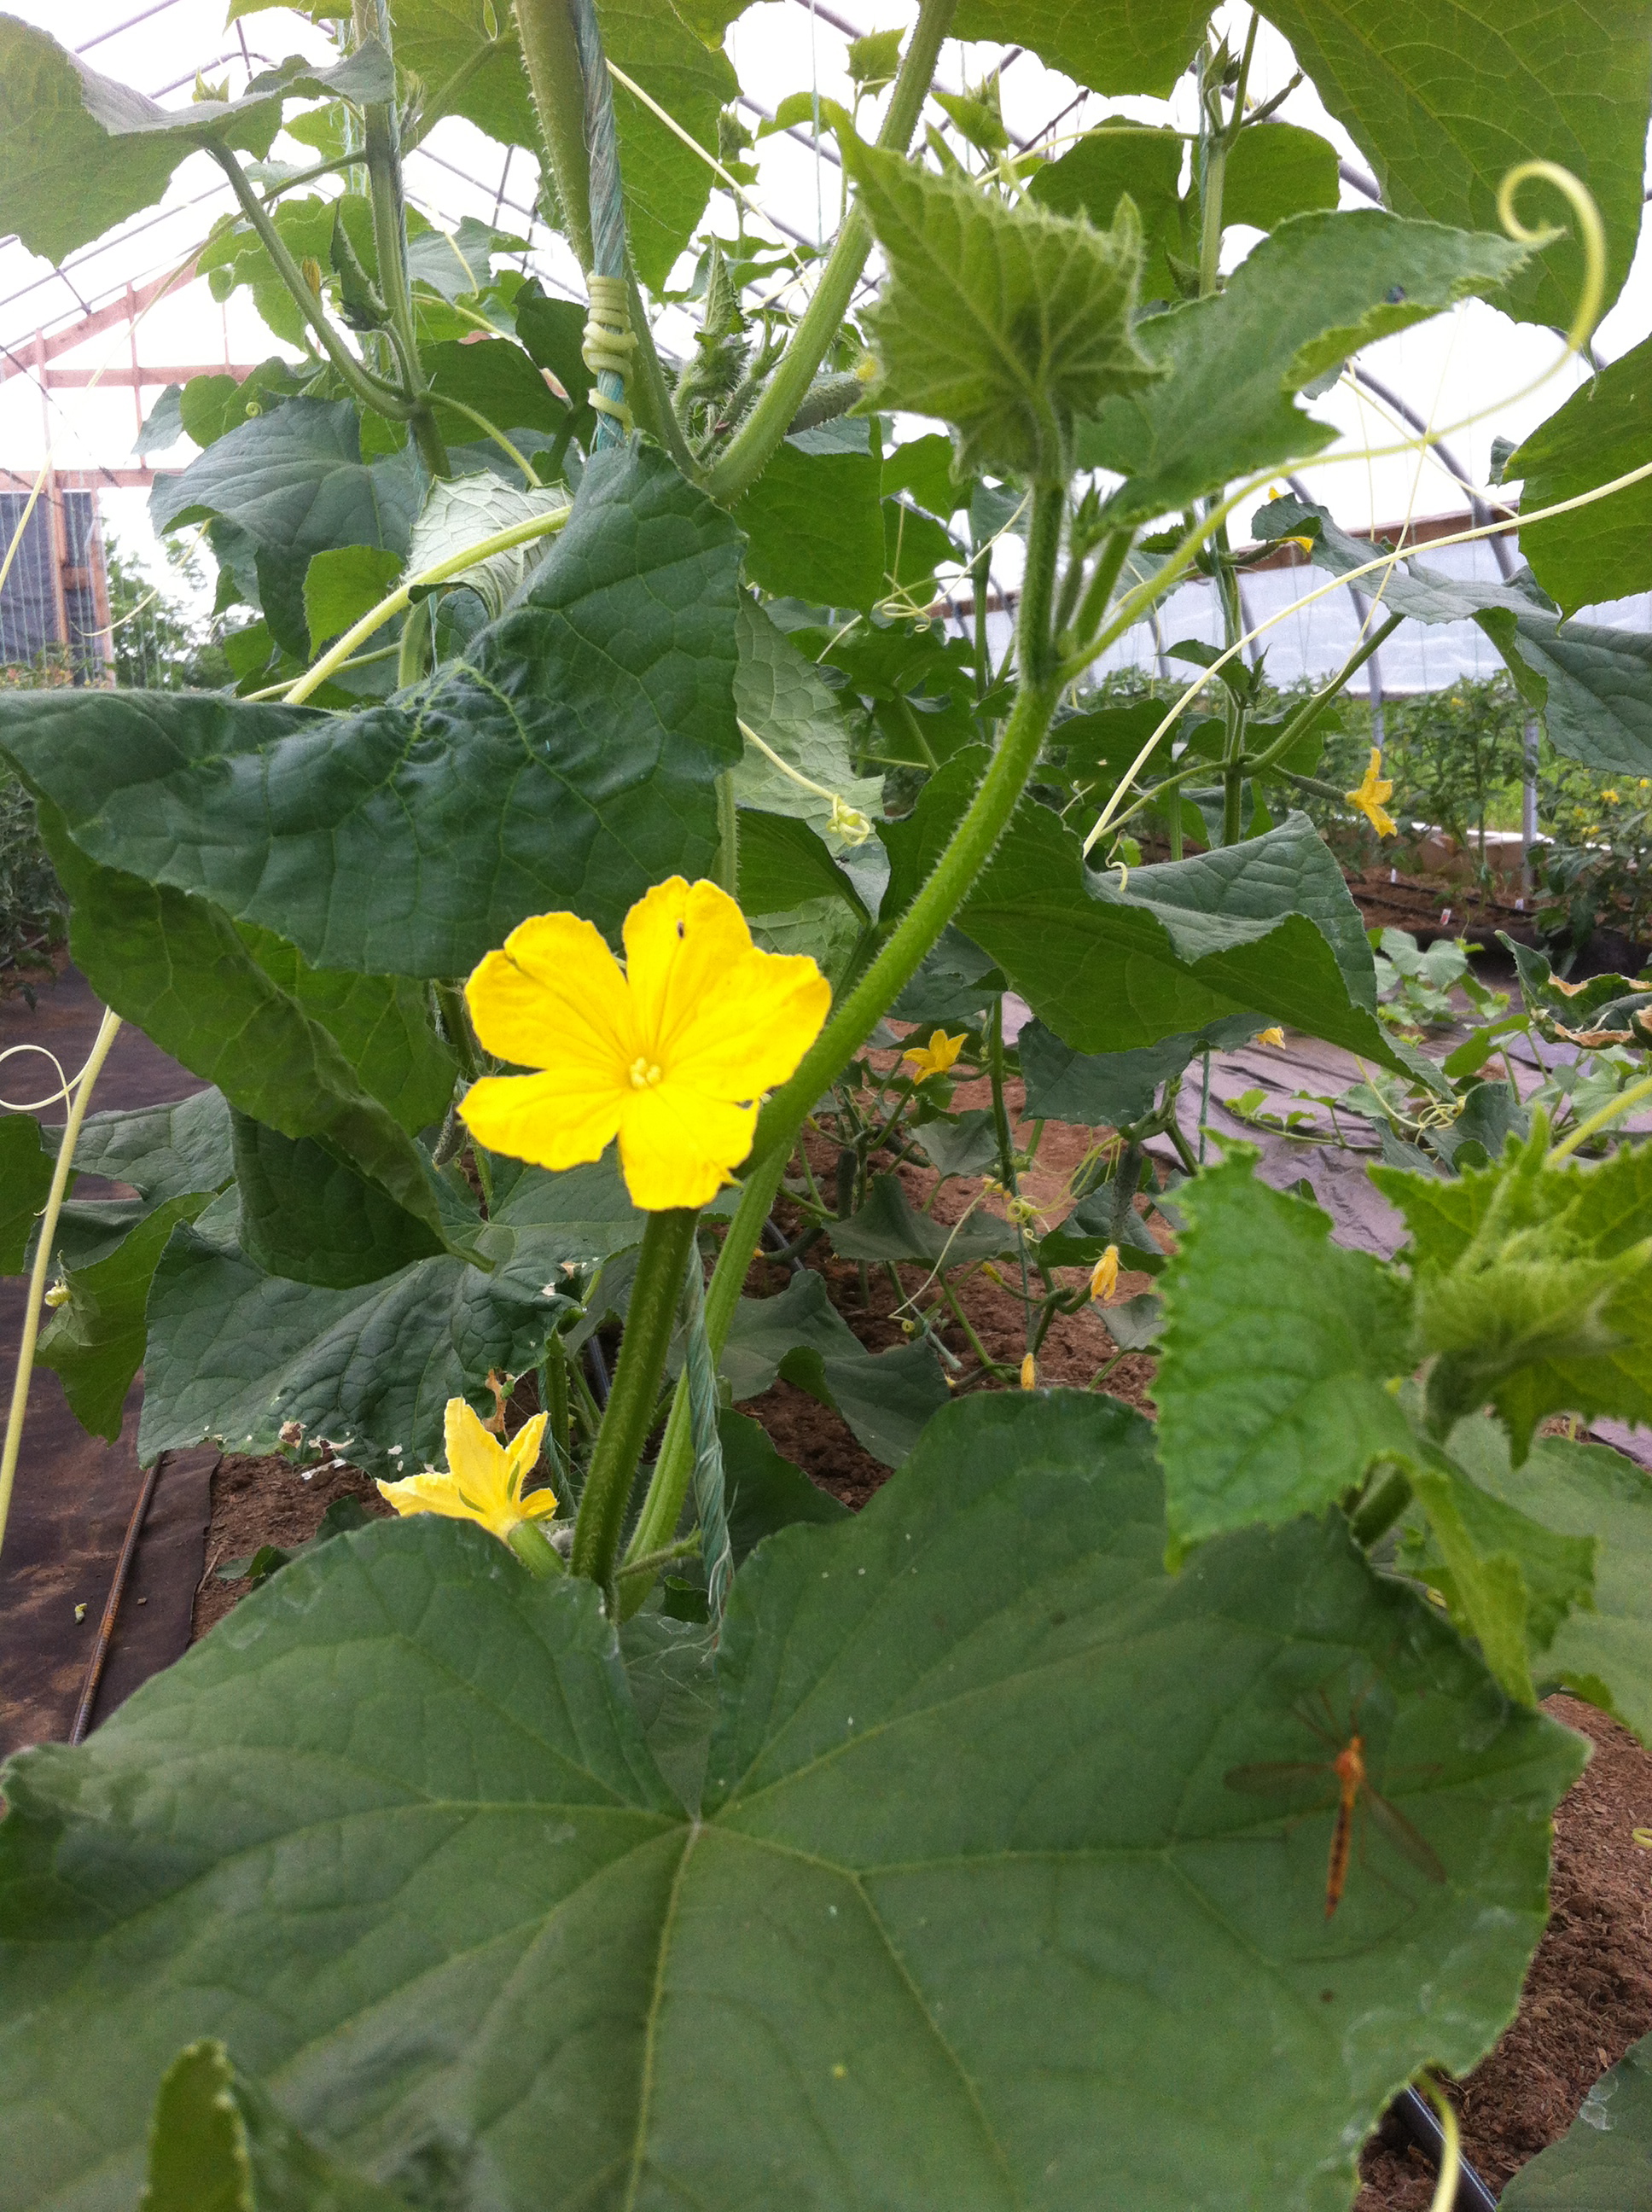
Now to the cucumbers.
This year I’ve attempted early season greenhouse euro-type cucumbers. I seeded them on 3/7. At this point, I planted 50 and they are not doing so hot. But let’s back up a bit.
I did my due diligence as a steward of the soil and got myself a soil test early this winter. This was not the first time I had my soil tested in the greenhouse, but it WAS the first year it was made known to me that there is a different soil test for the greenhouse than the field. Makes sense, right? Totally different set of factors at work.
With my soil test came recommendations, which after consulting a couple sources turned into, per 1000 sq ft.:
1 cubic yard of compost, (2) 3.8 cubic yards of peat moss, 50 lbs soy or peanut meal, 25 Bone meal, 20 lbs sul-po-mag, and 1 lb Azomite for insurance.
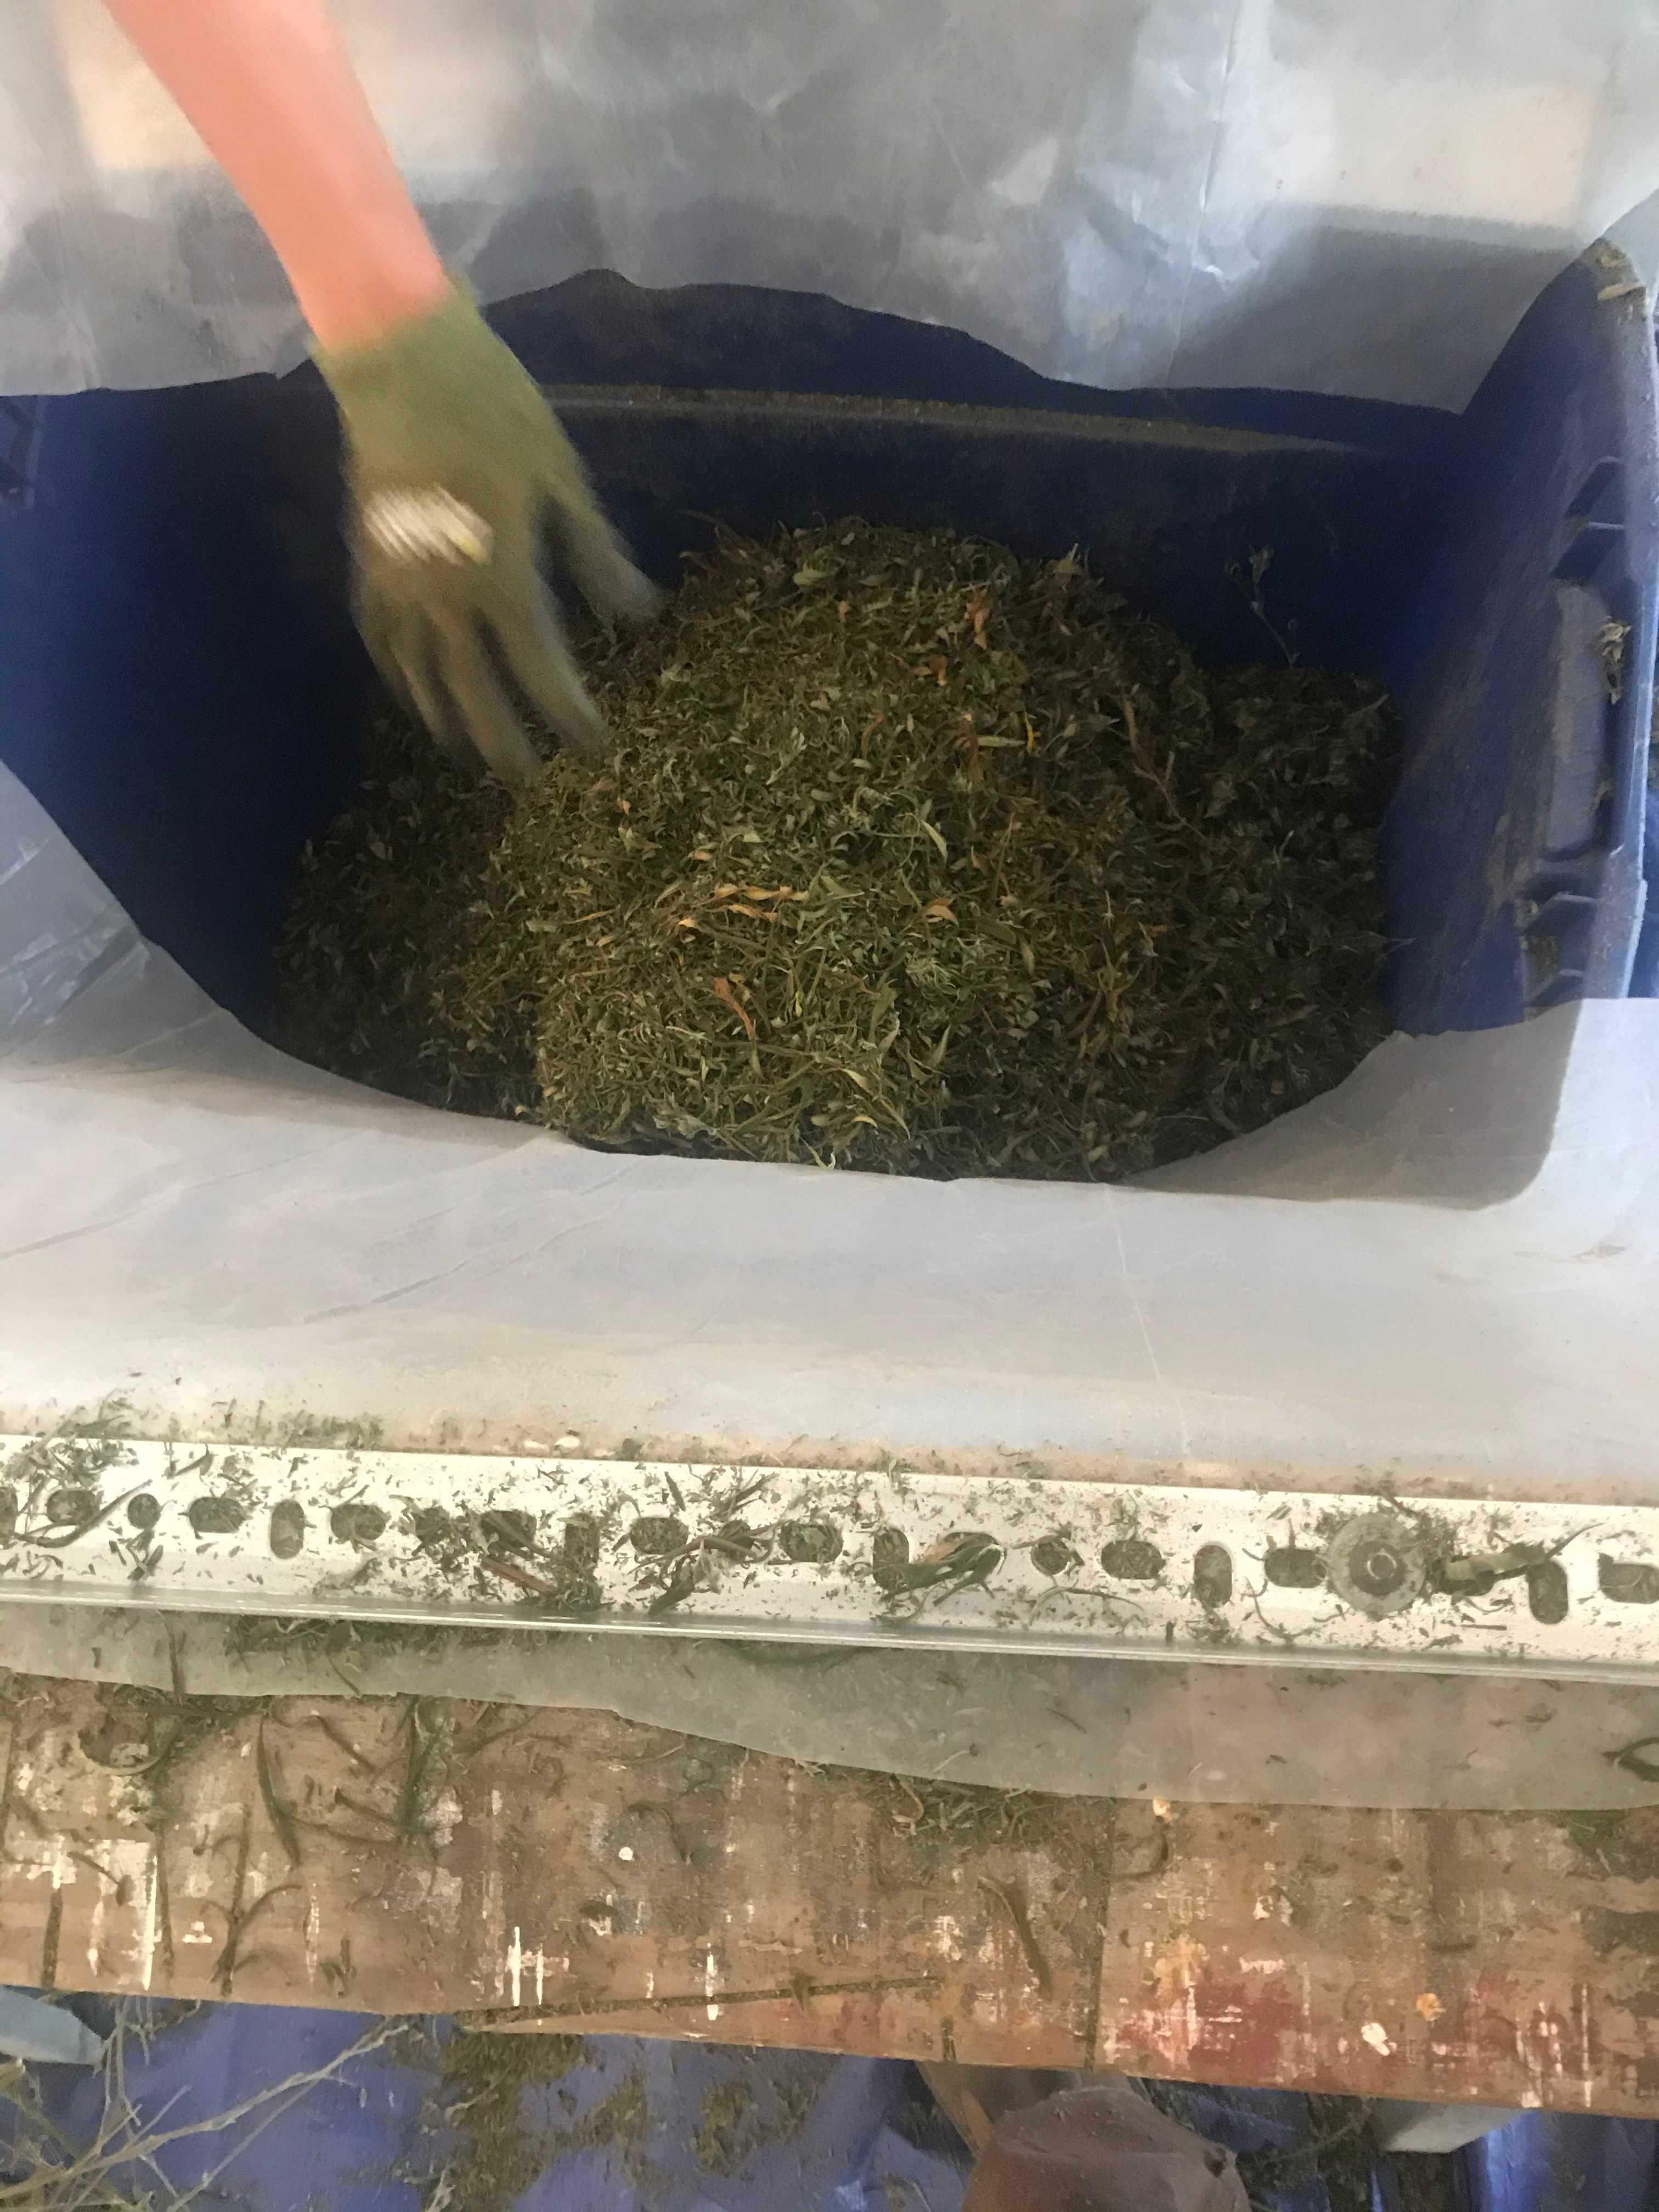
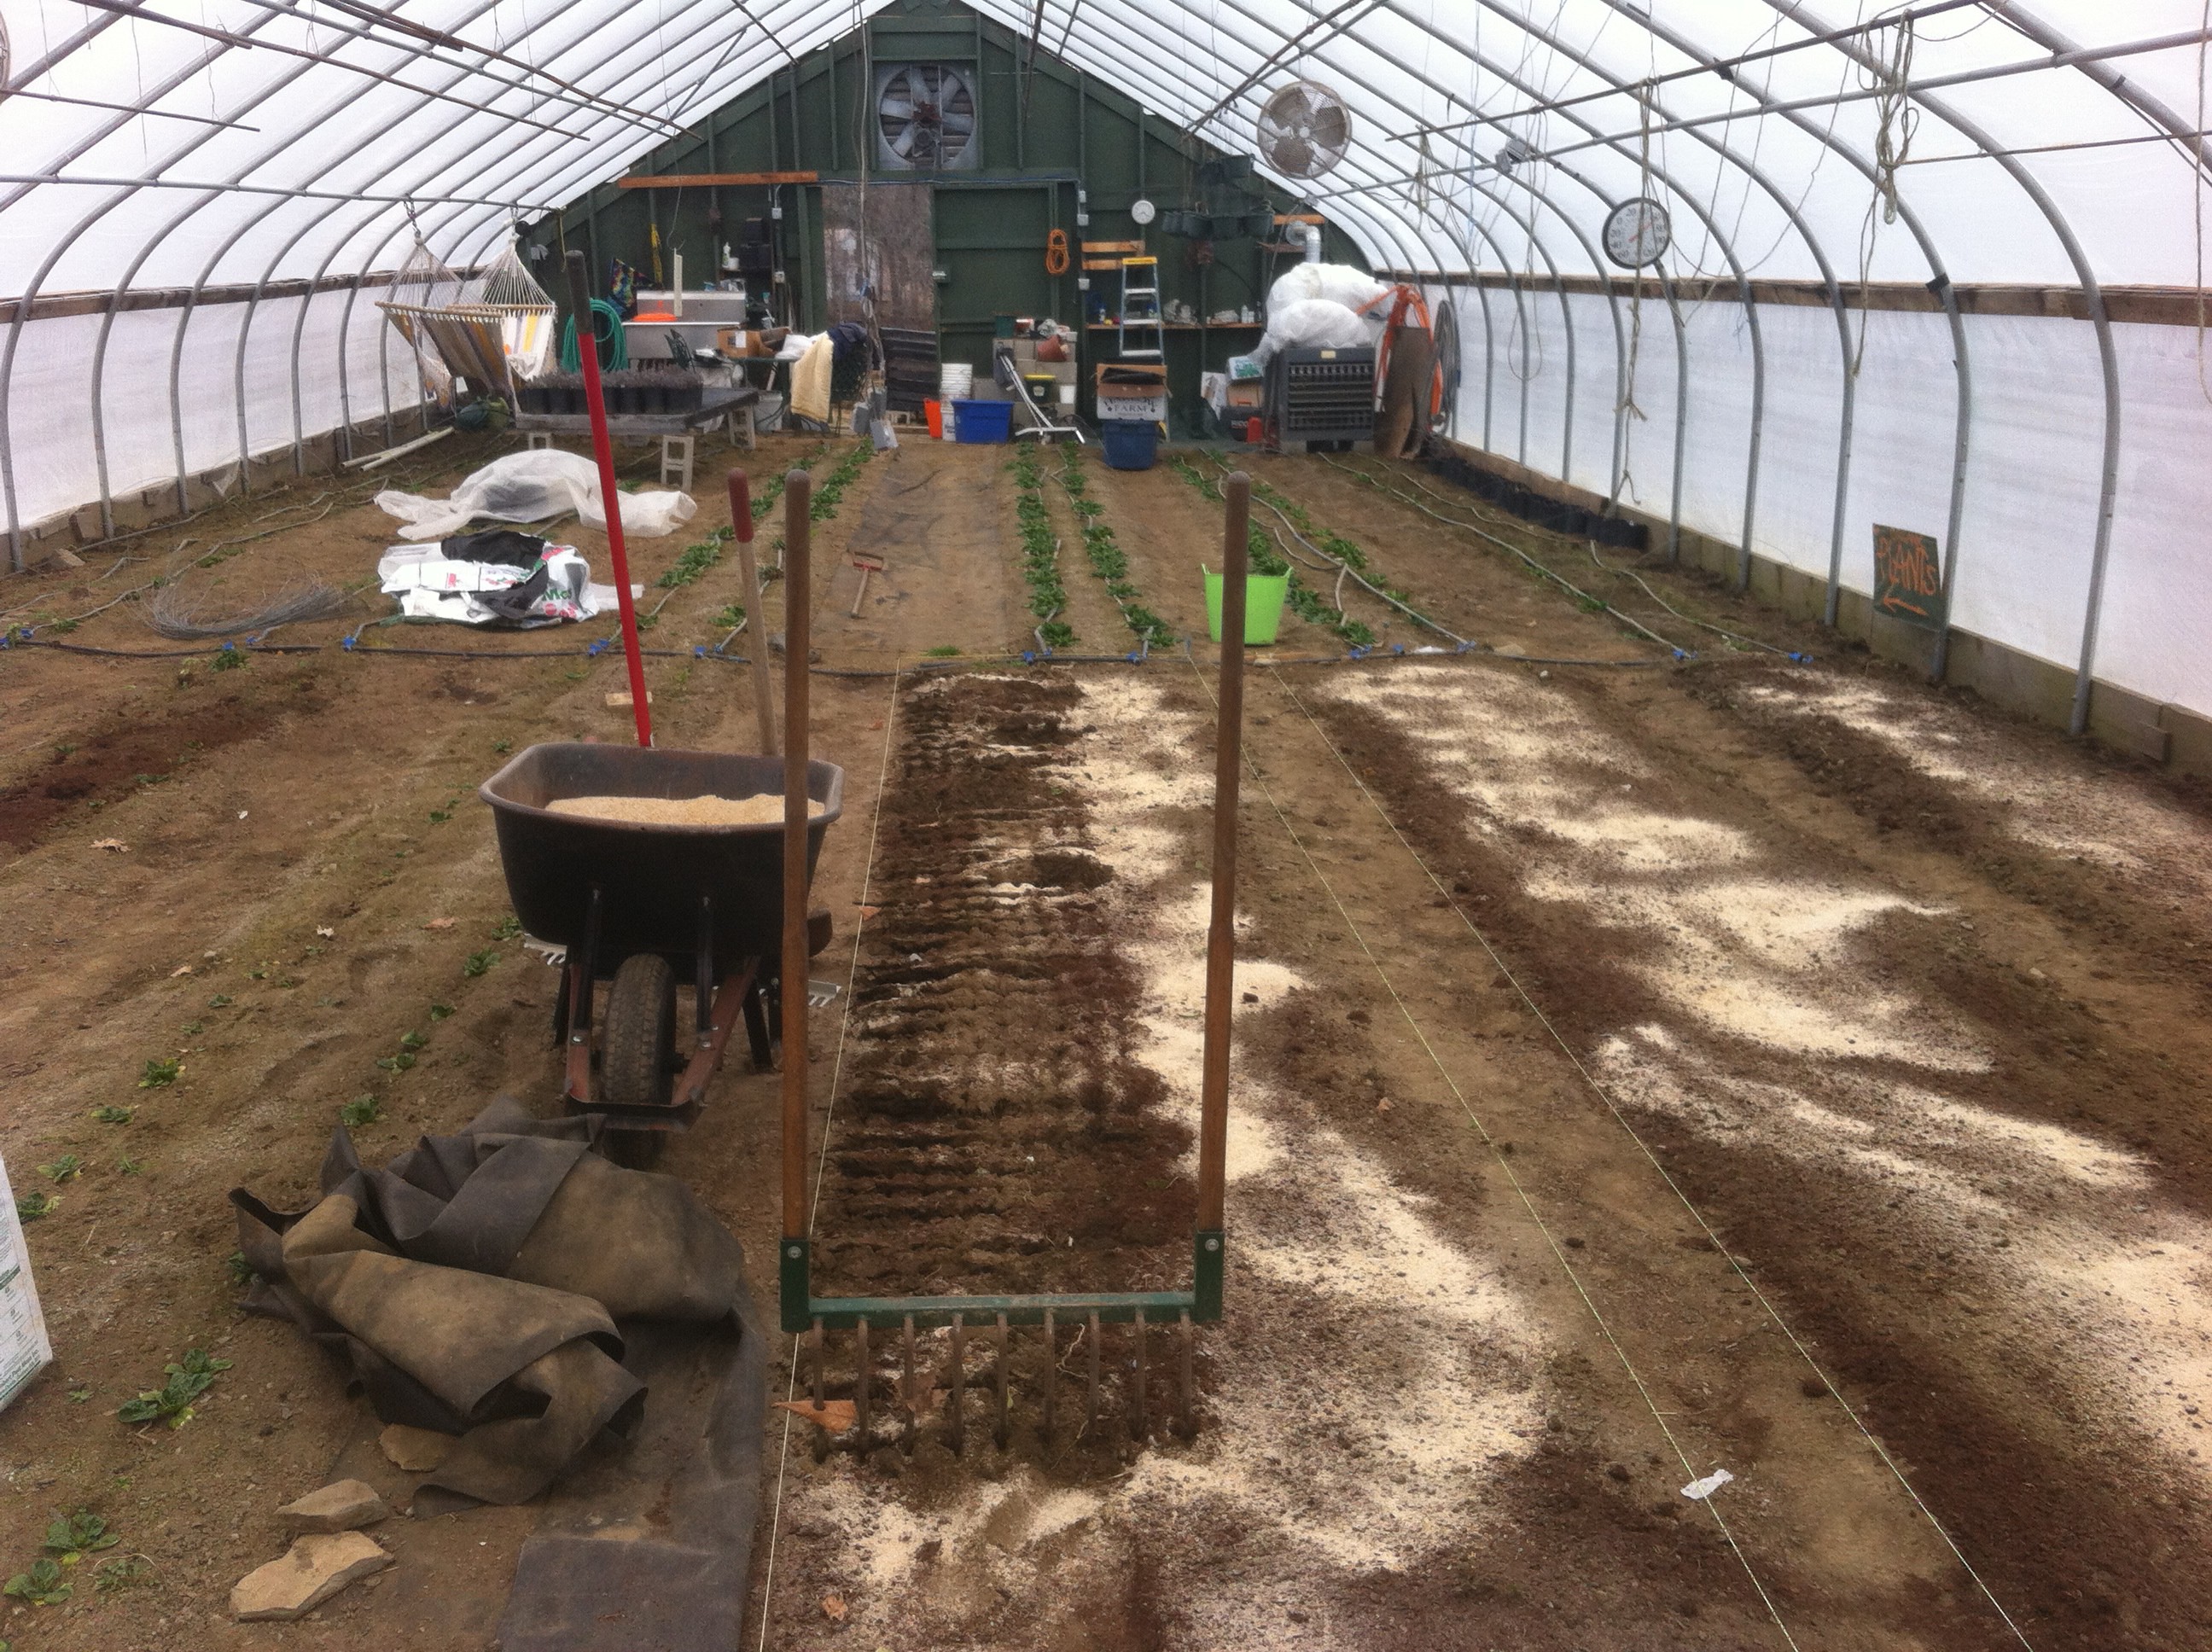
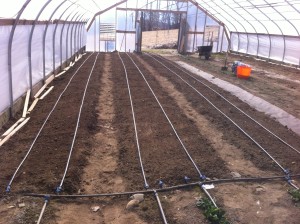
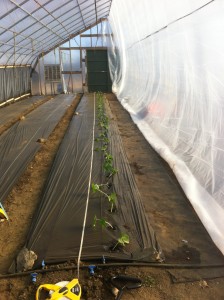
I figured 1/4 of the greenhouse was close to 1000 sq ft, so I applied the appropriate amount of each of these puppies. I then broad forked the beds, which I was very excited about. I’ve heard too much about how the rototiller causes a hard pan just below the bottom end of the tines. It took me 15 minutes per 50ft row…much less than I expected. For those who don’t know the purpose of a broad fork, in this case it is useful for aerating and loosening the soil. I love the idea of improving the quality of the soil. Create optimum growing conditions. That’s the goal, right?

Broad Forking in Fertilizer in new beds
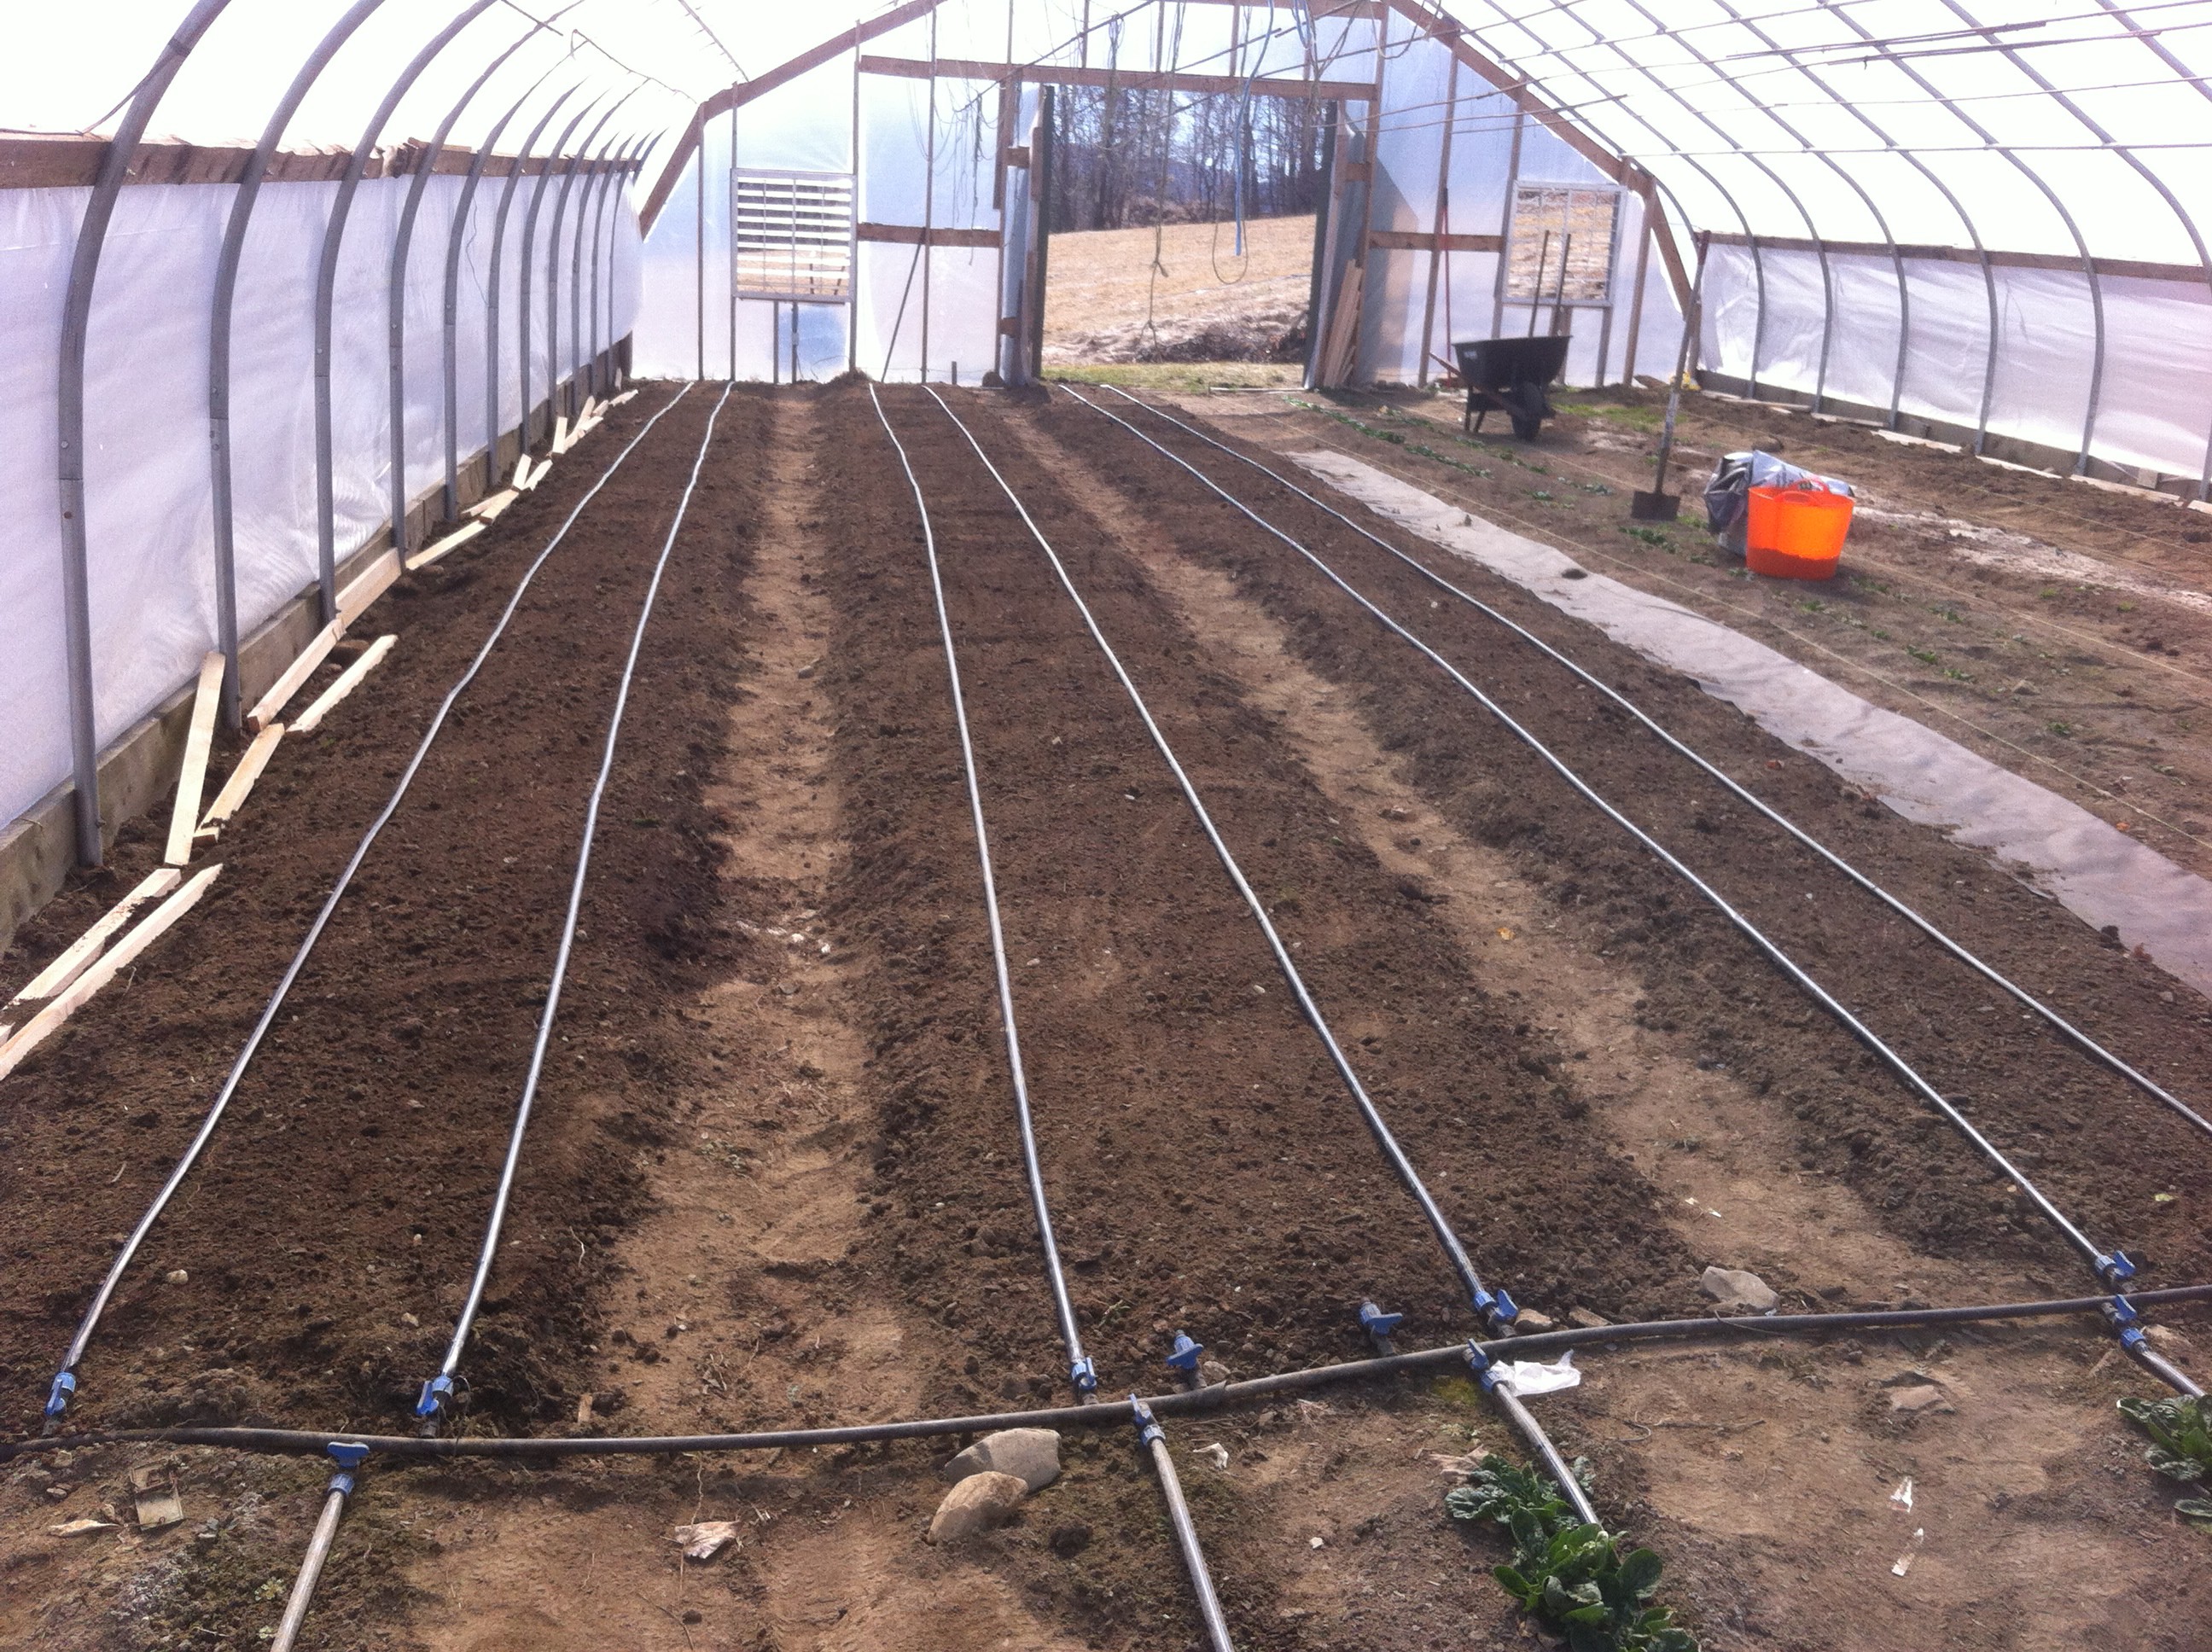
I should also mention that I was advised by smarty farmers with experience that my beds should be bigger than they were. So I resized my beds to 3′ by the sides and 4′ for the inner ones. This made my aisles smaller, but still quite passable. This will probably come in most handy in the fall when I plant spinach and can plant 4 or 5 rows instead of only 2. But that’s a ways away.
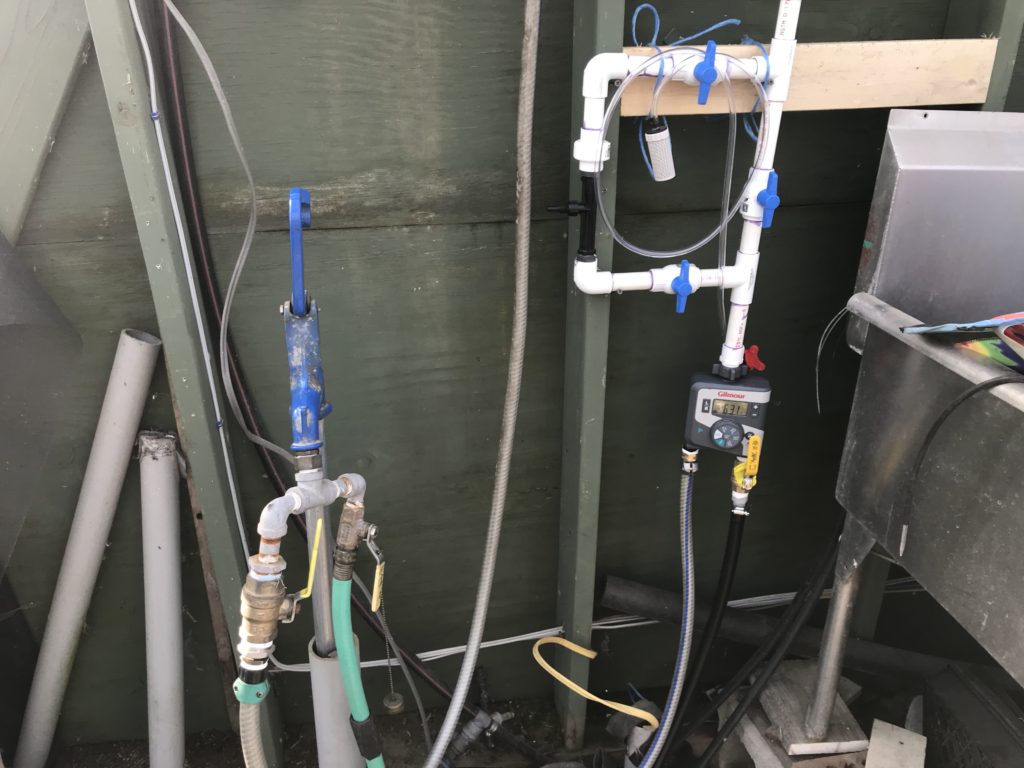
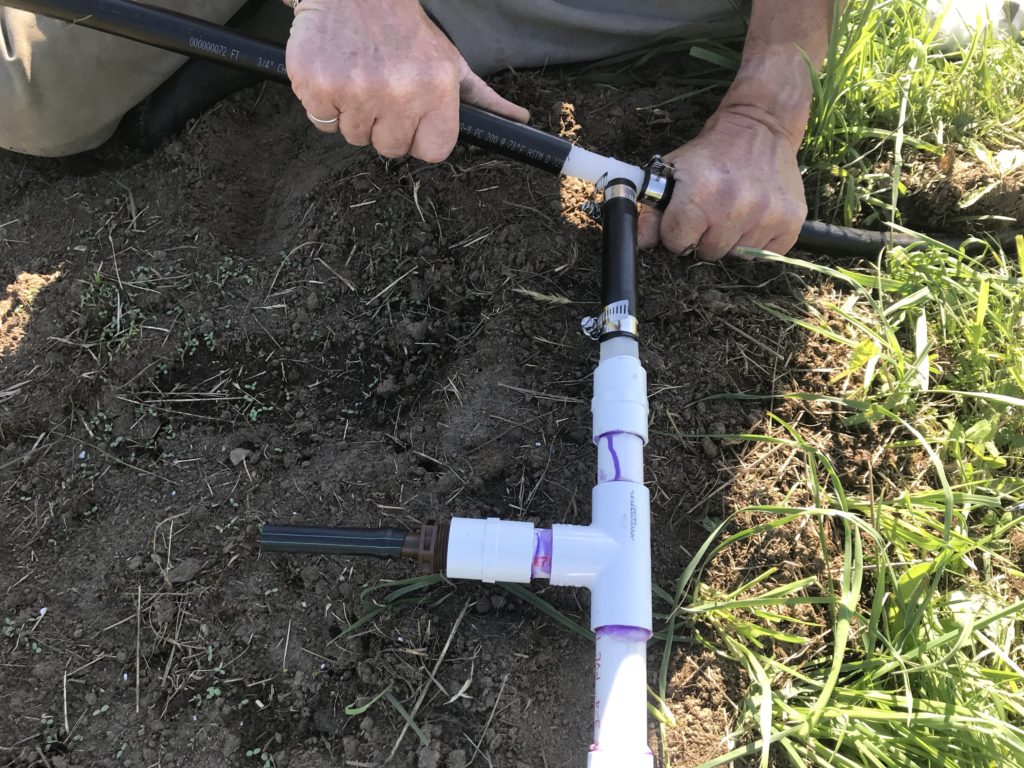
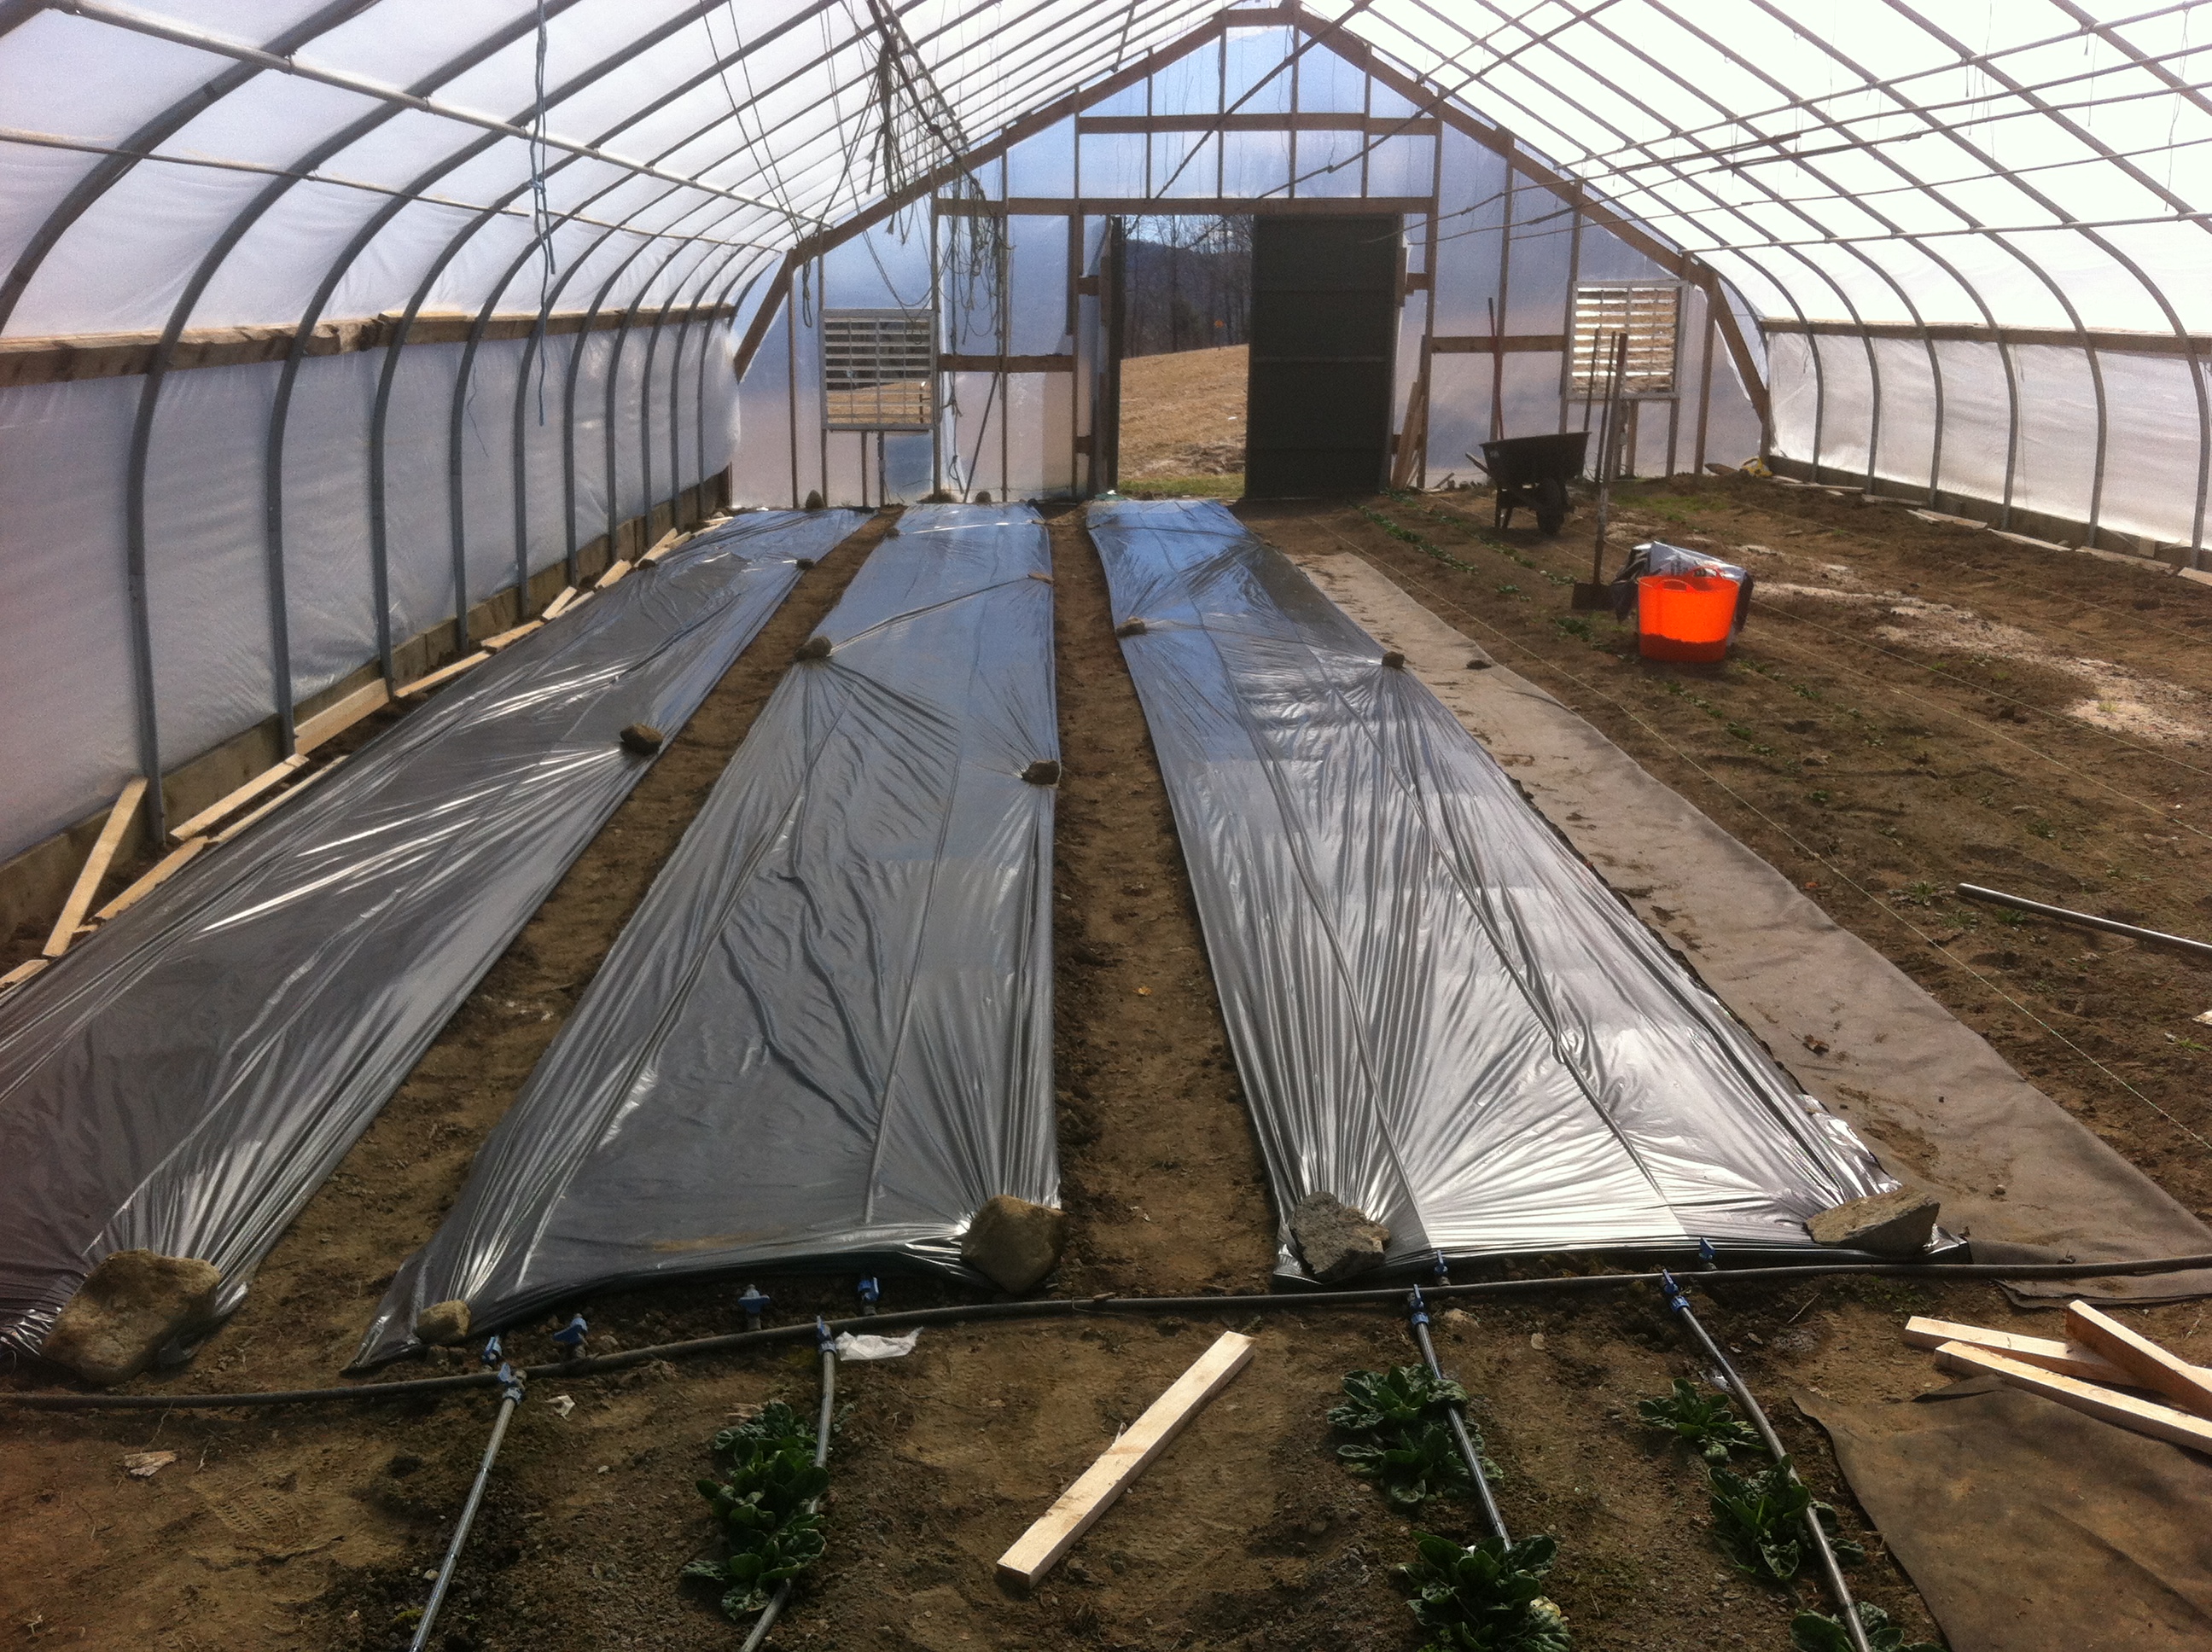
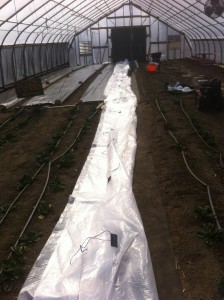
Next I added 1 yd of compost to my cucumber quarter, which is twice the recommended. I didn’t think I could go wrong with more compost, but apparently I should be wary of adding too much, even with compost. The benefit of compost is that the elements in compost are released slowly. I then hoed in the compost, laid out my drip lines, and covered with solar mulch(groovy dark plastic from Johnny’s), which supposedly will heat up the soil 10 degrees.

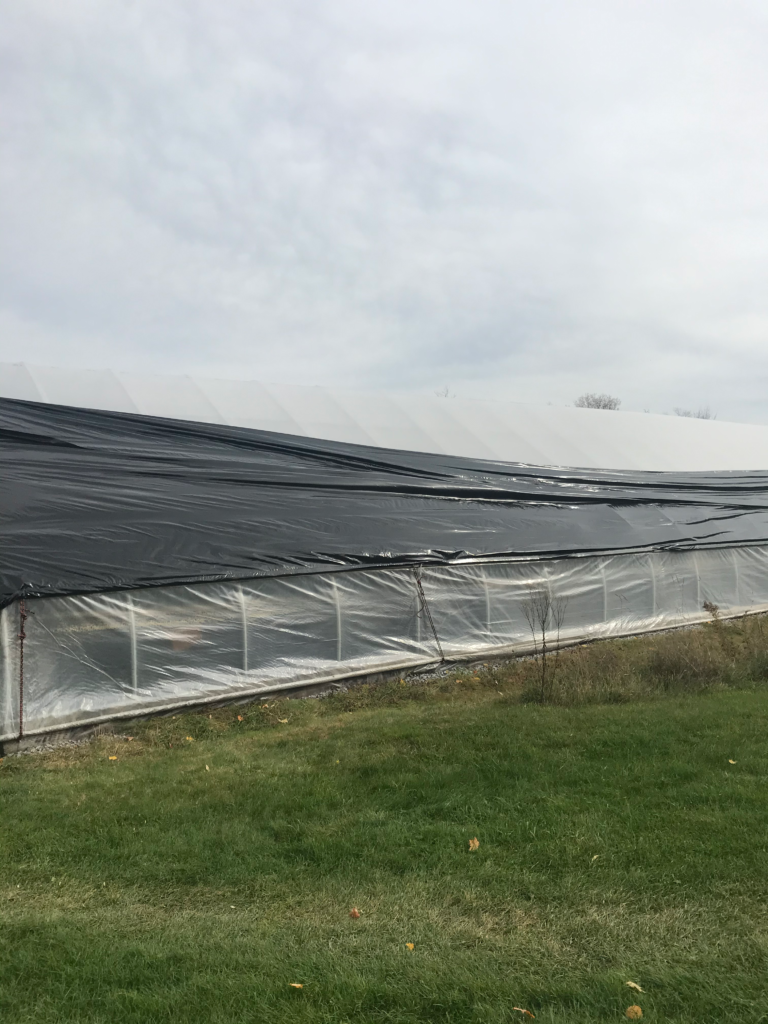
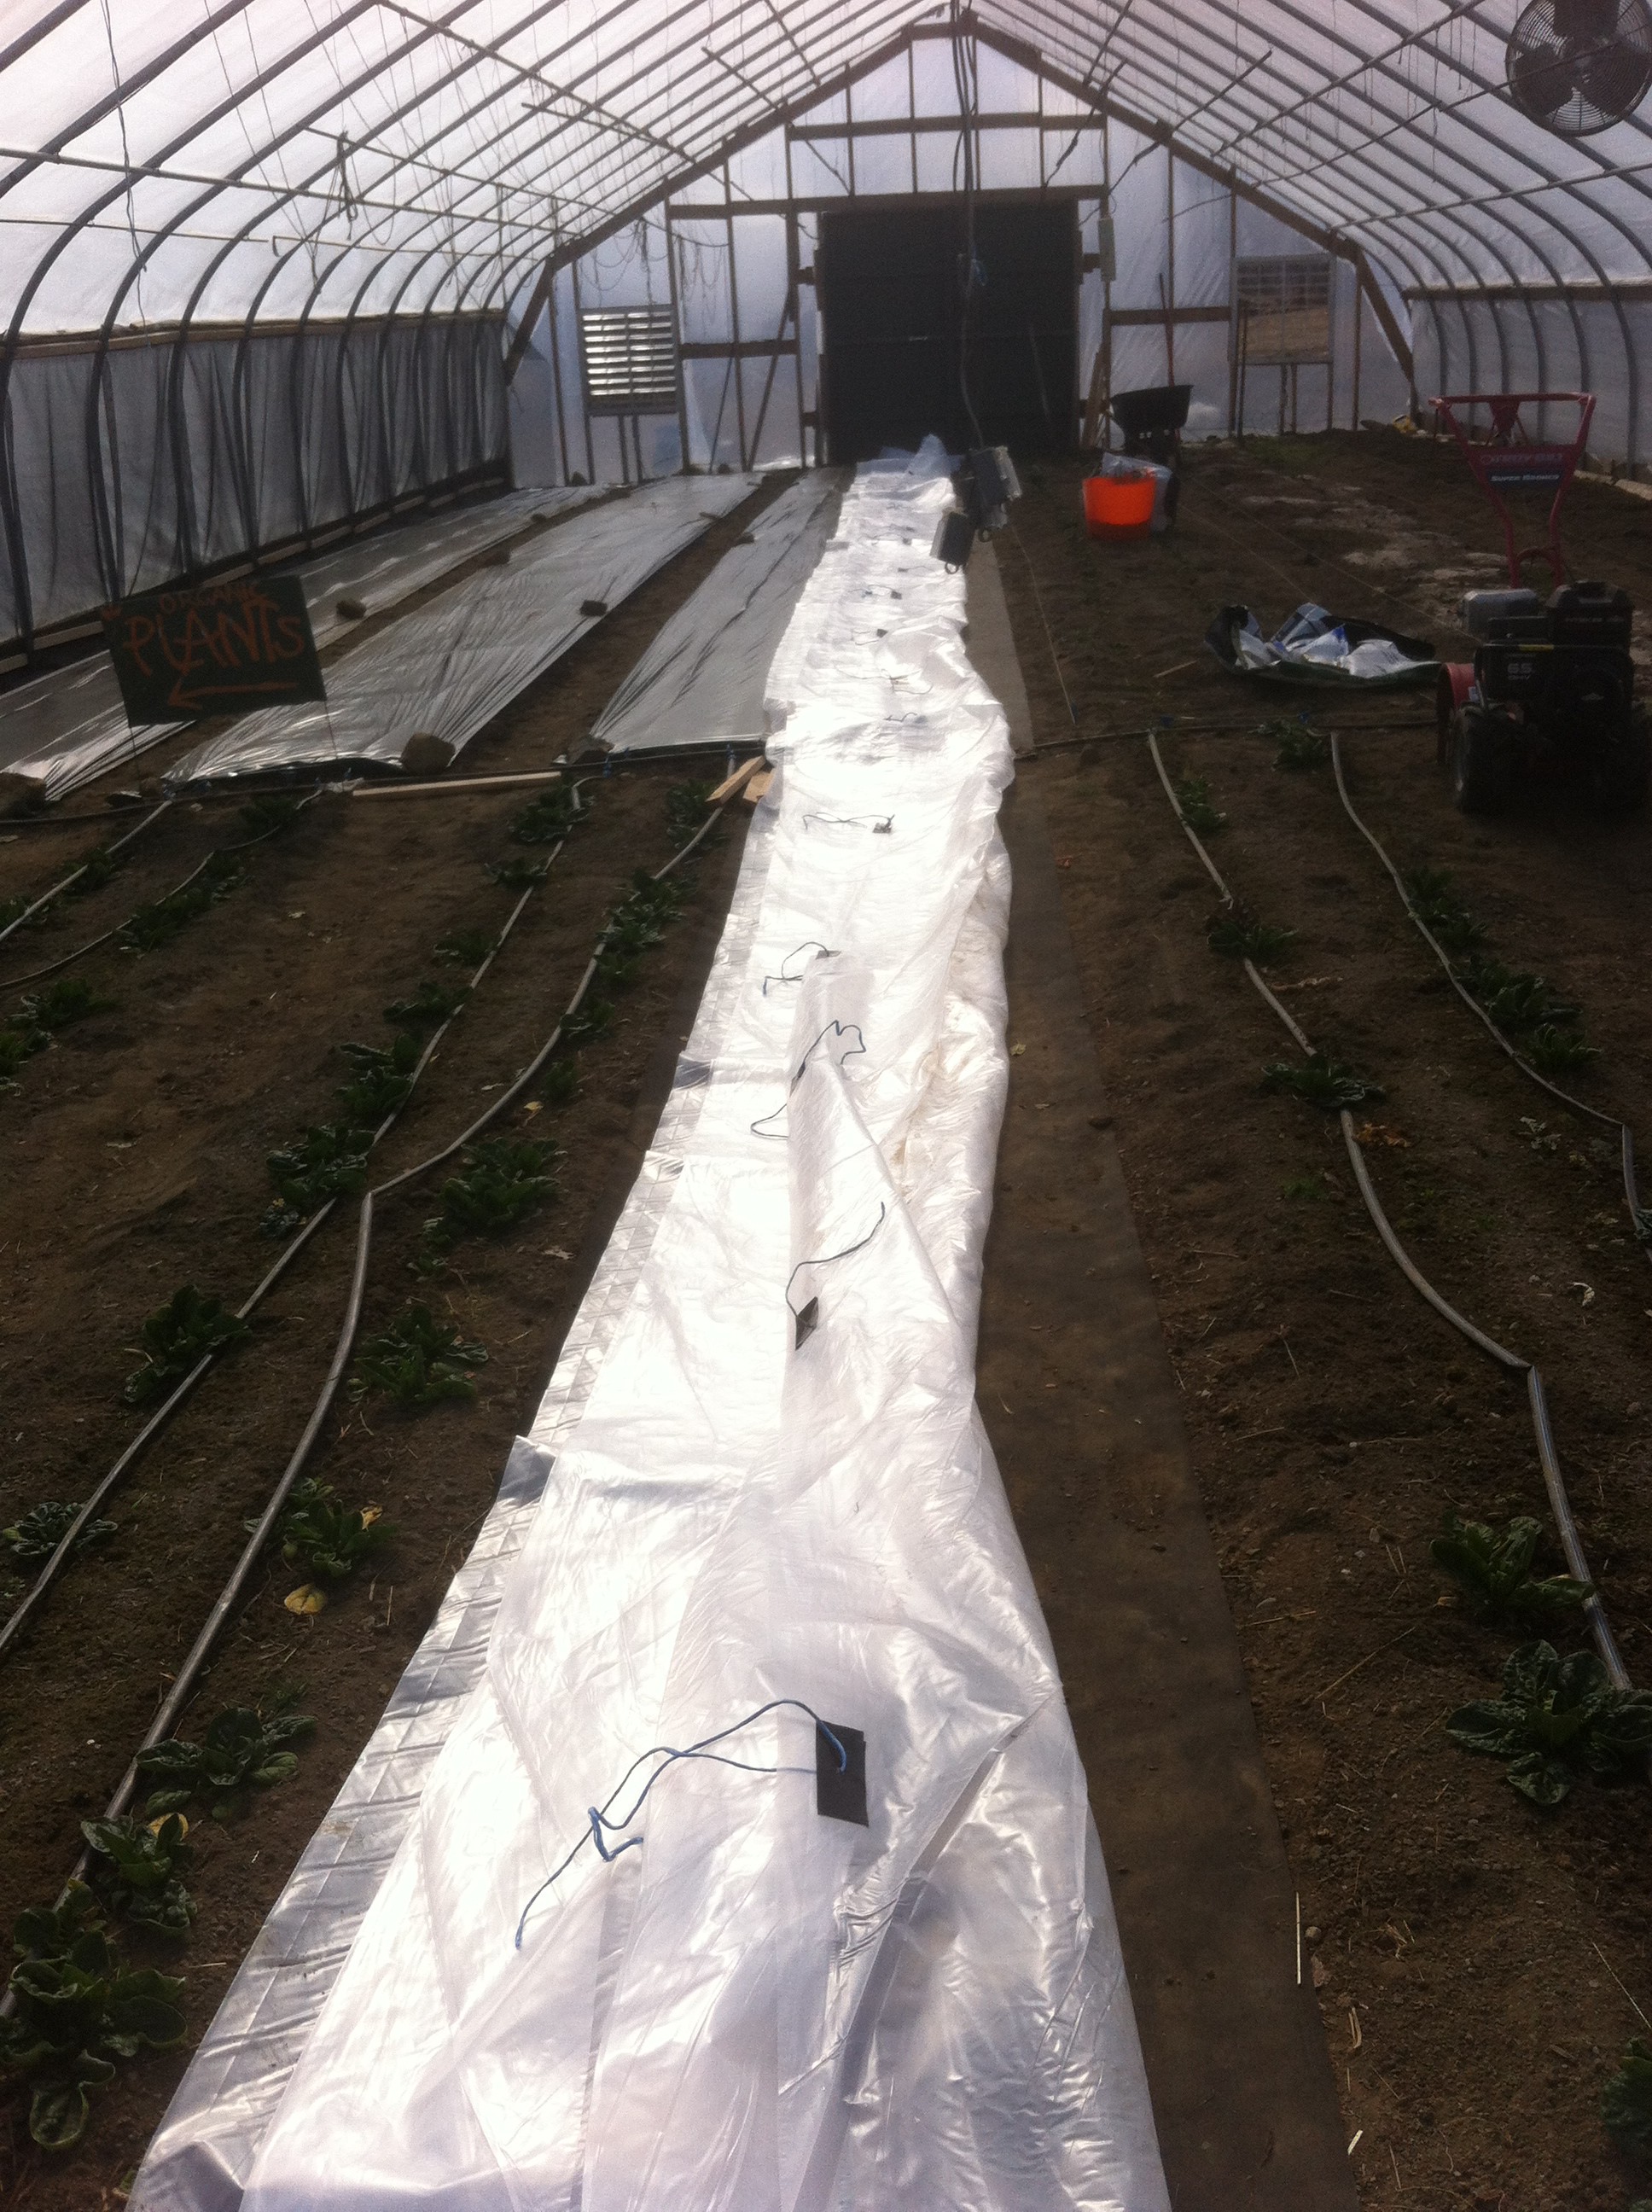
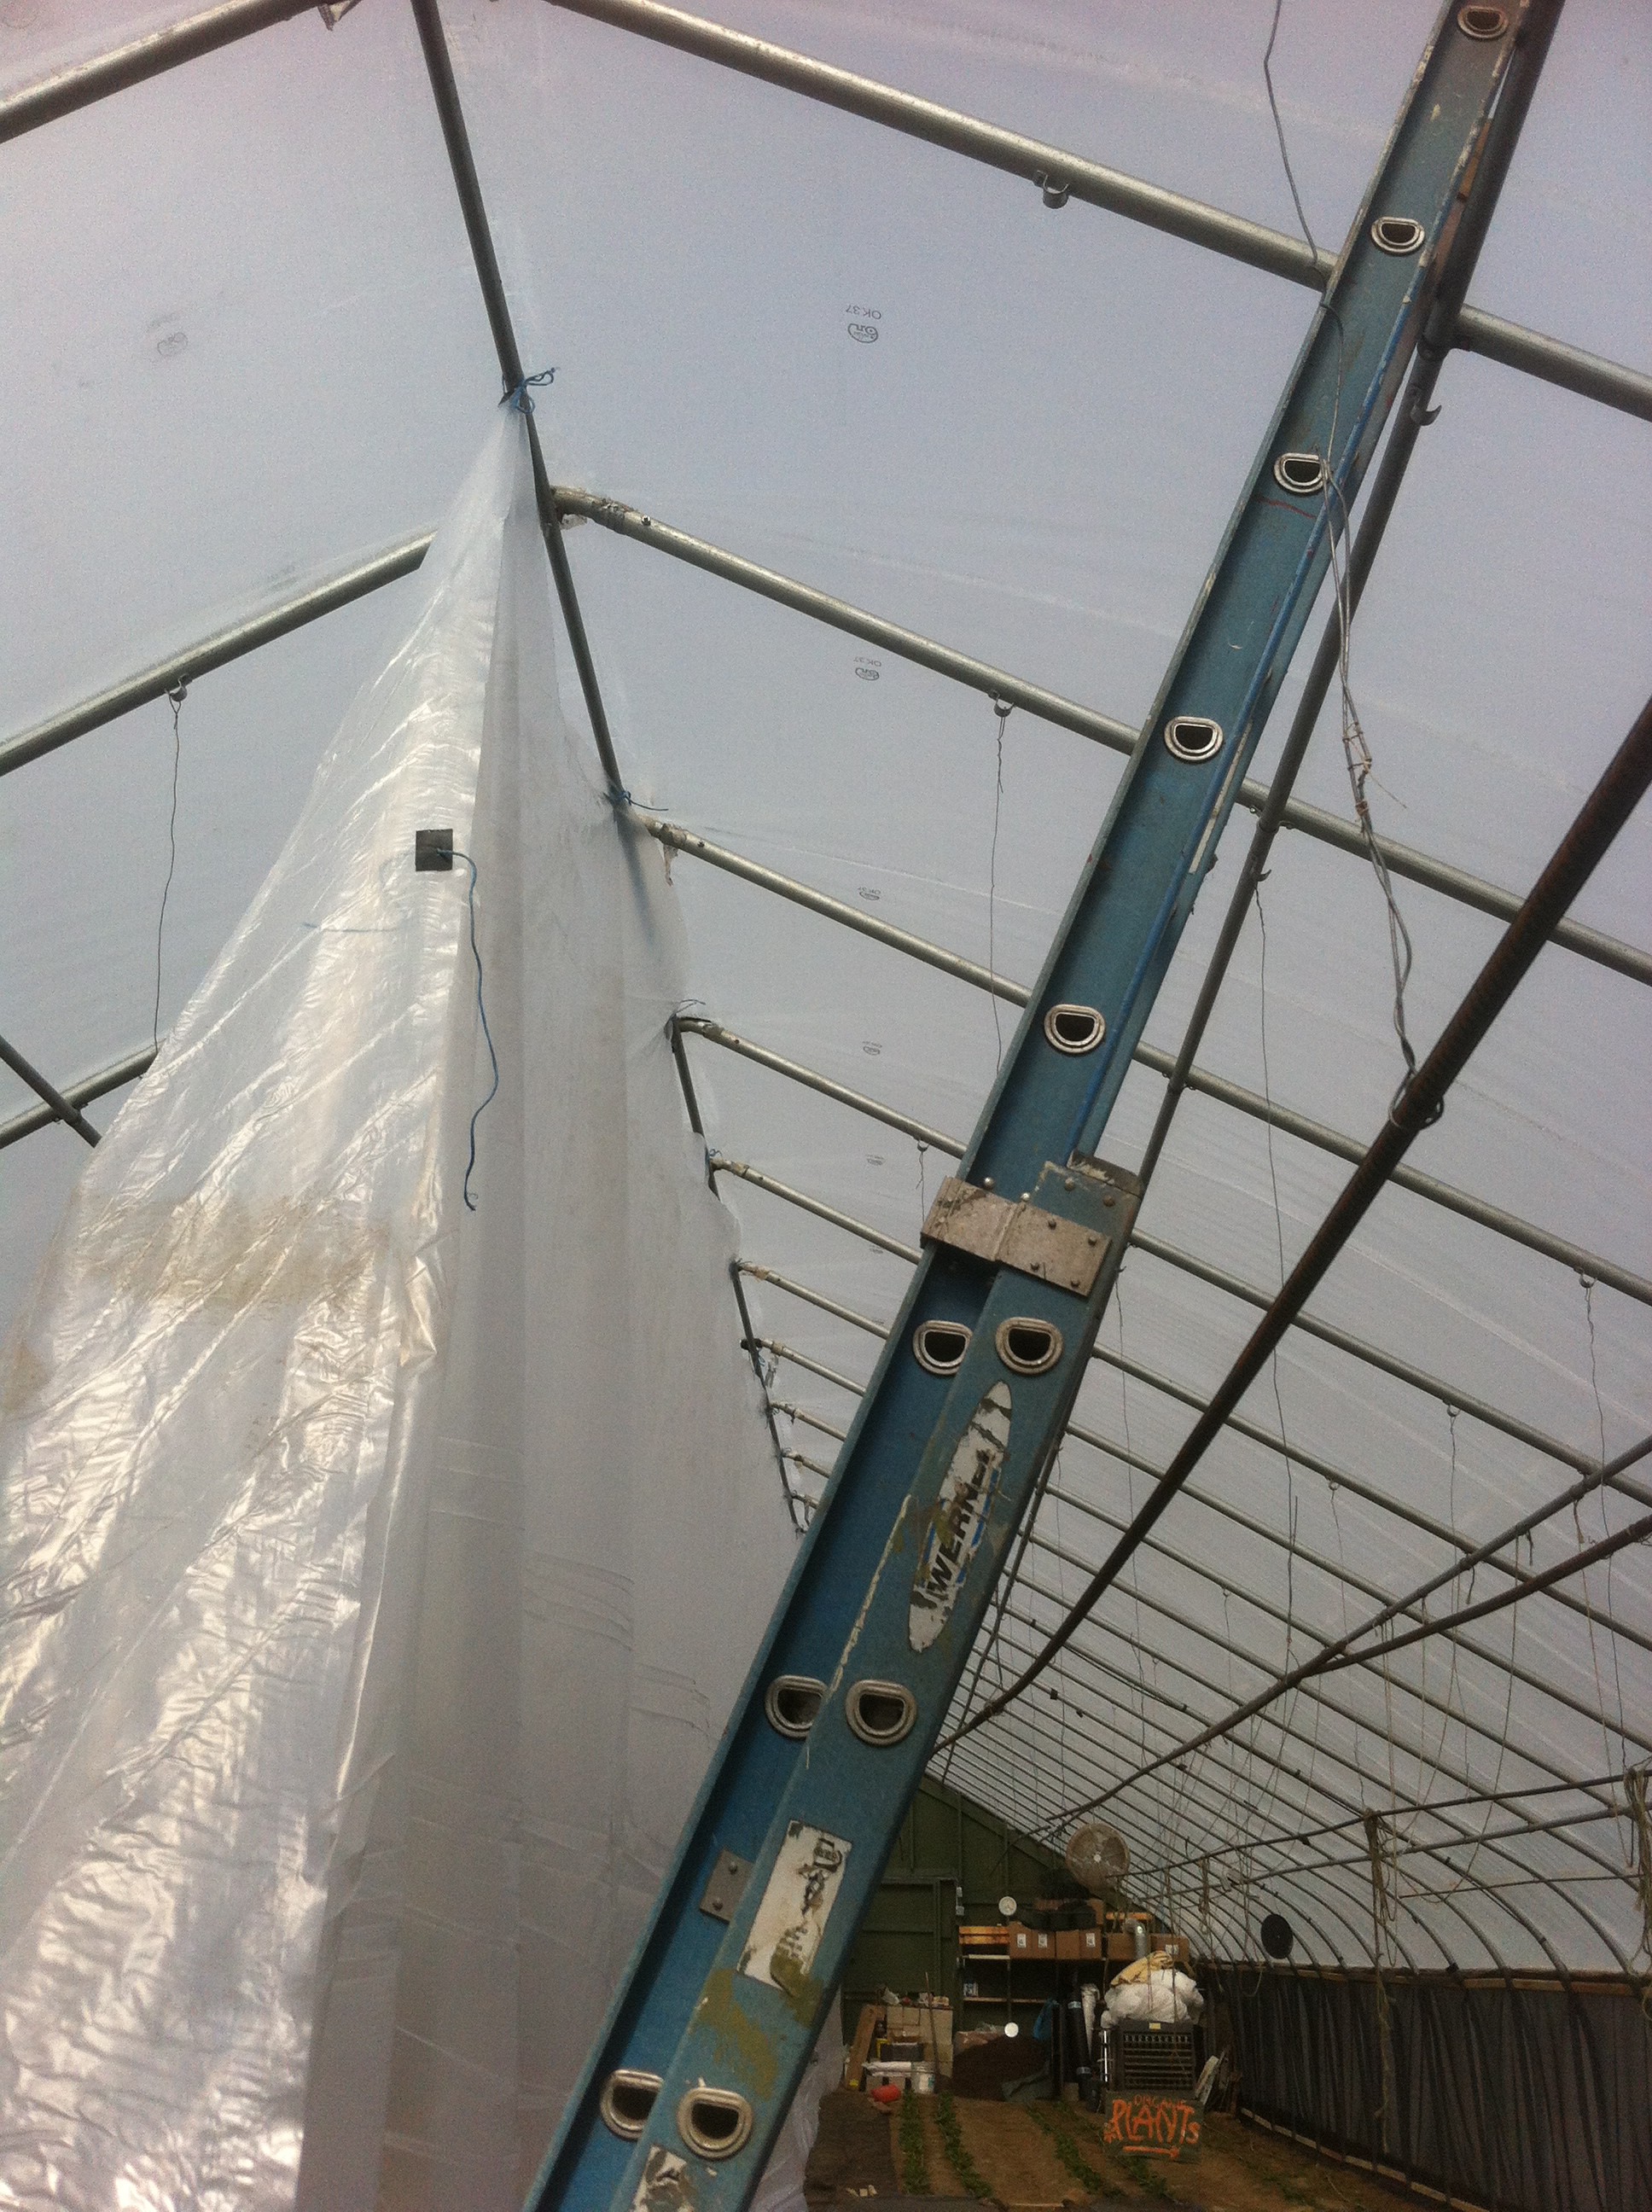
Next, I hung a 100’x16′ sheet of 6mm plastic the length of the greenhouse, so as to keep the heat all on one side and save on propane. This was fun. I put two pieces of gorilla tape on top of each other every few feet or so on what would be the top of the plastic, and punched a hole with a cordless drill(last time I did it with a pocket knife….WAY easier with a drill!), and fed a short piece of scrap bailing twine through the hole, with which to hang the plastic from the center ridge pole of the greenhouse. This all took a couple hours anyways.

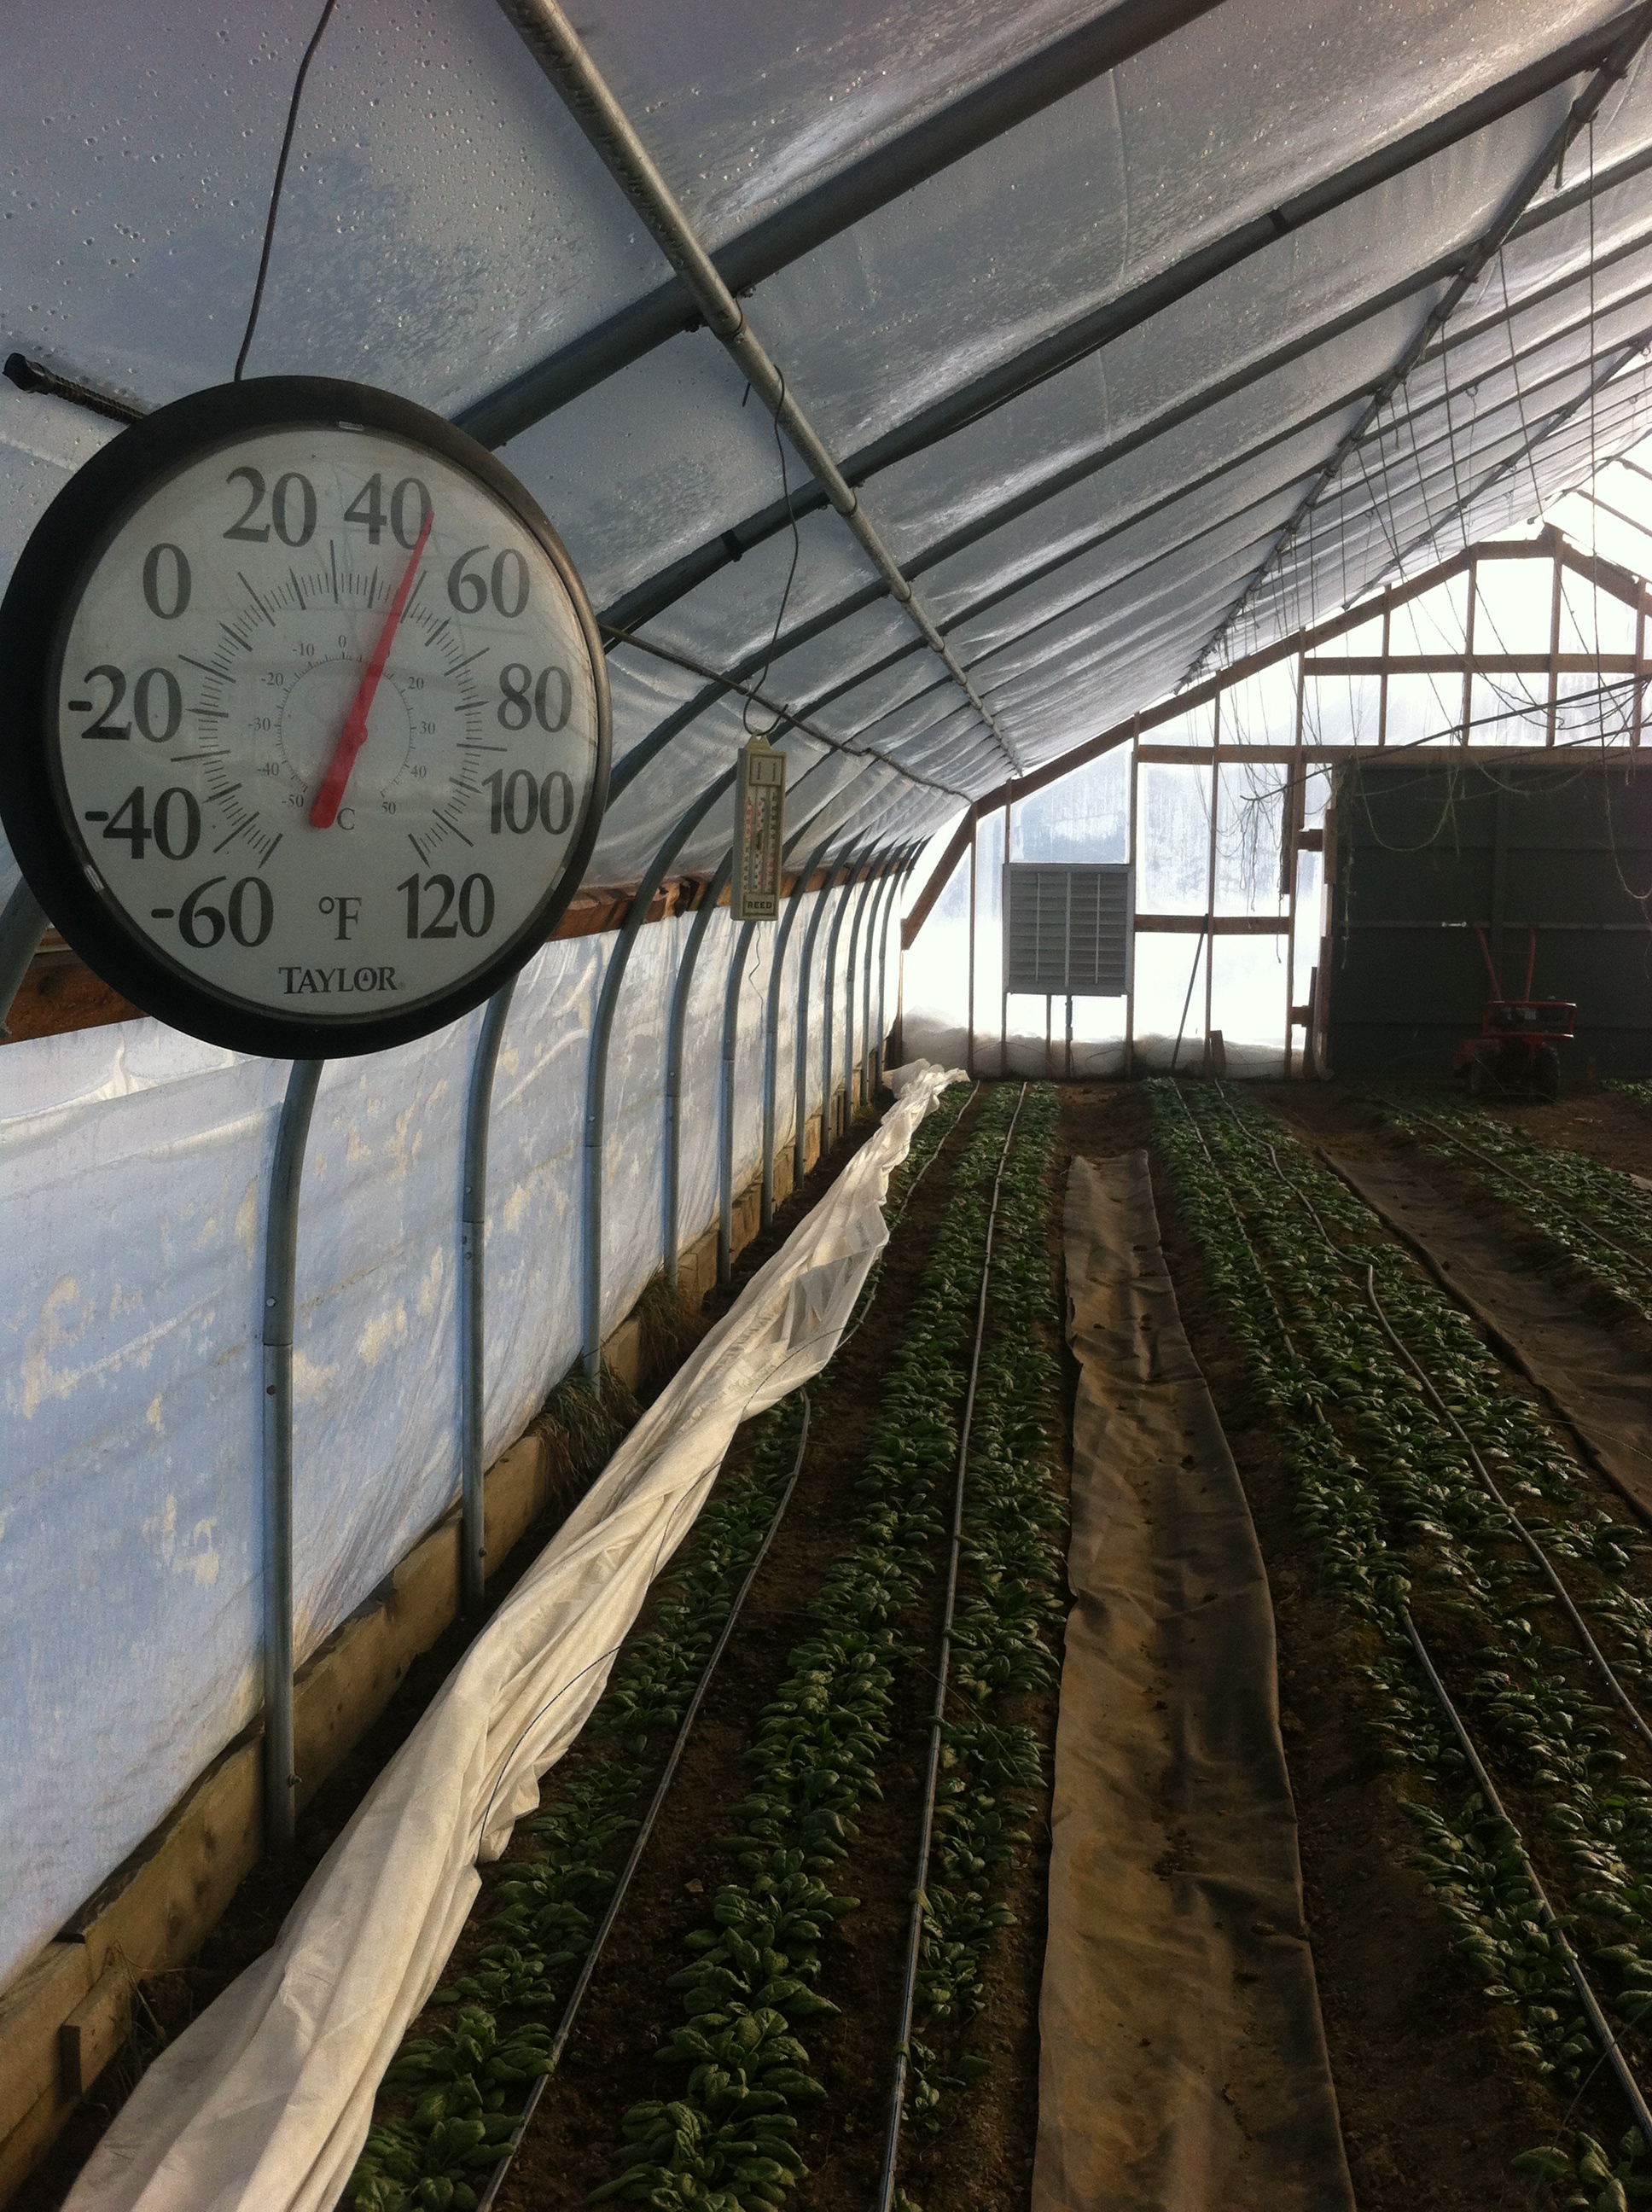
This past weekend came the seeding. I had been monitoring the sole temperature all week since I’m told cucumbers are fussy about soil temperature, more so than air temperature. When the sun was out, the soil temp was close to 80F degrees at times. When I checked in the morning, it was down to close to 50. But that was with no heat on. I consulted with the Johnny’s folks and they seemed to think that the ground temp wouldn’t fluctuate as much with the heater on. Go ahead and plant! That’s really what I wanted to hear, so I did……..over zealous young farmer that I am.
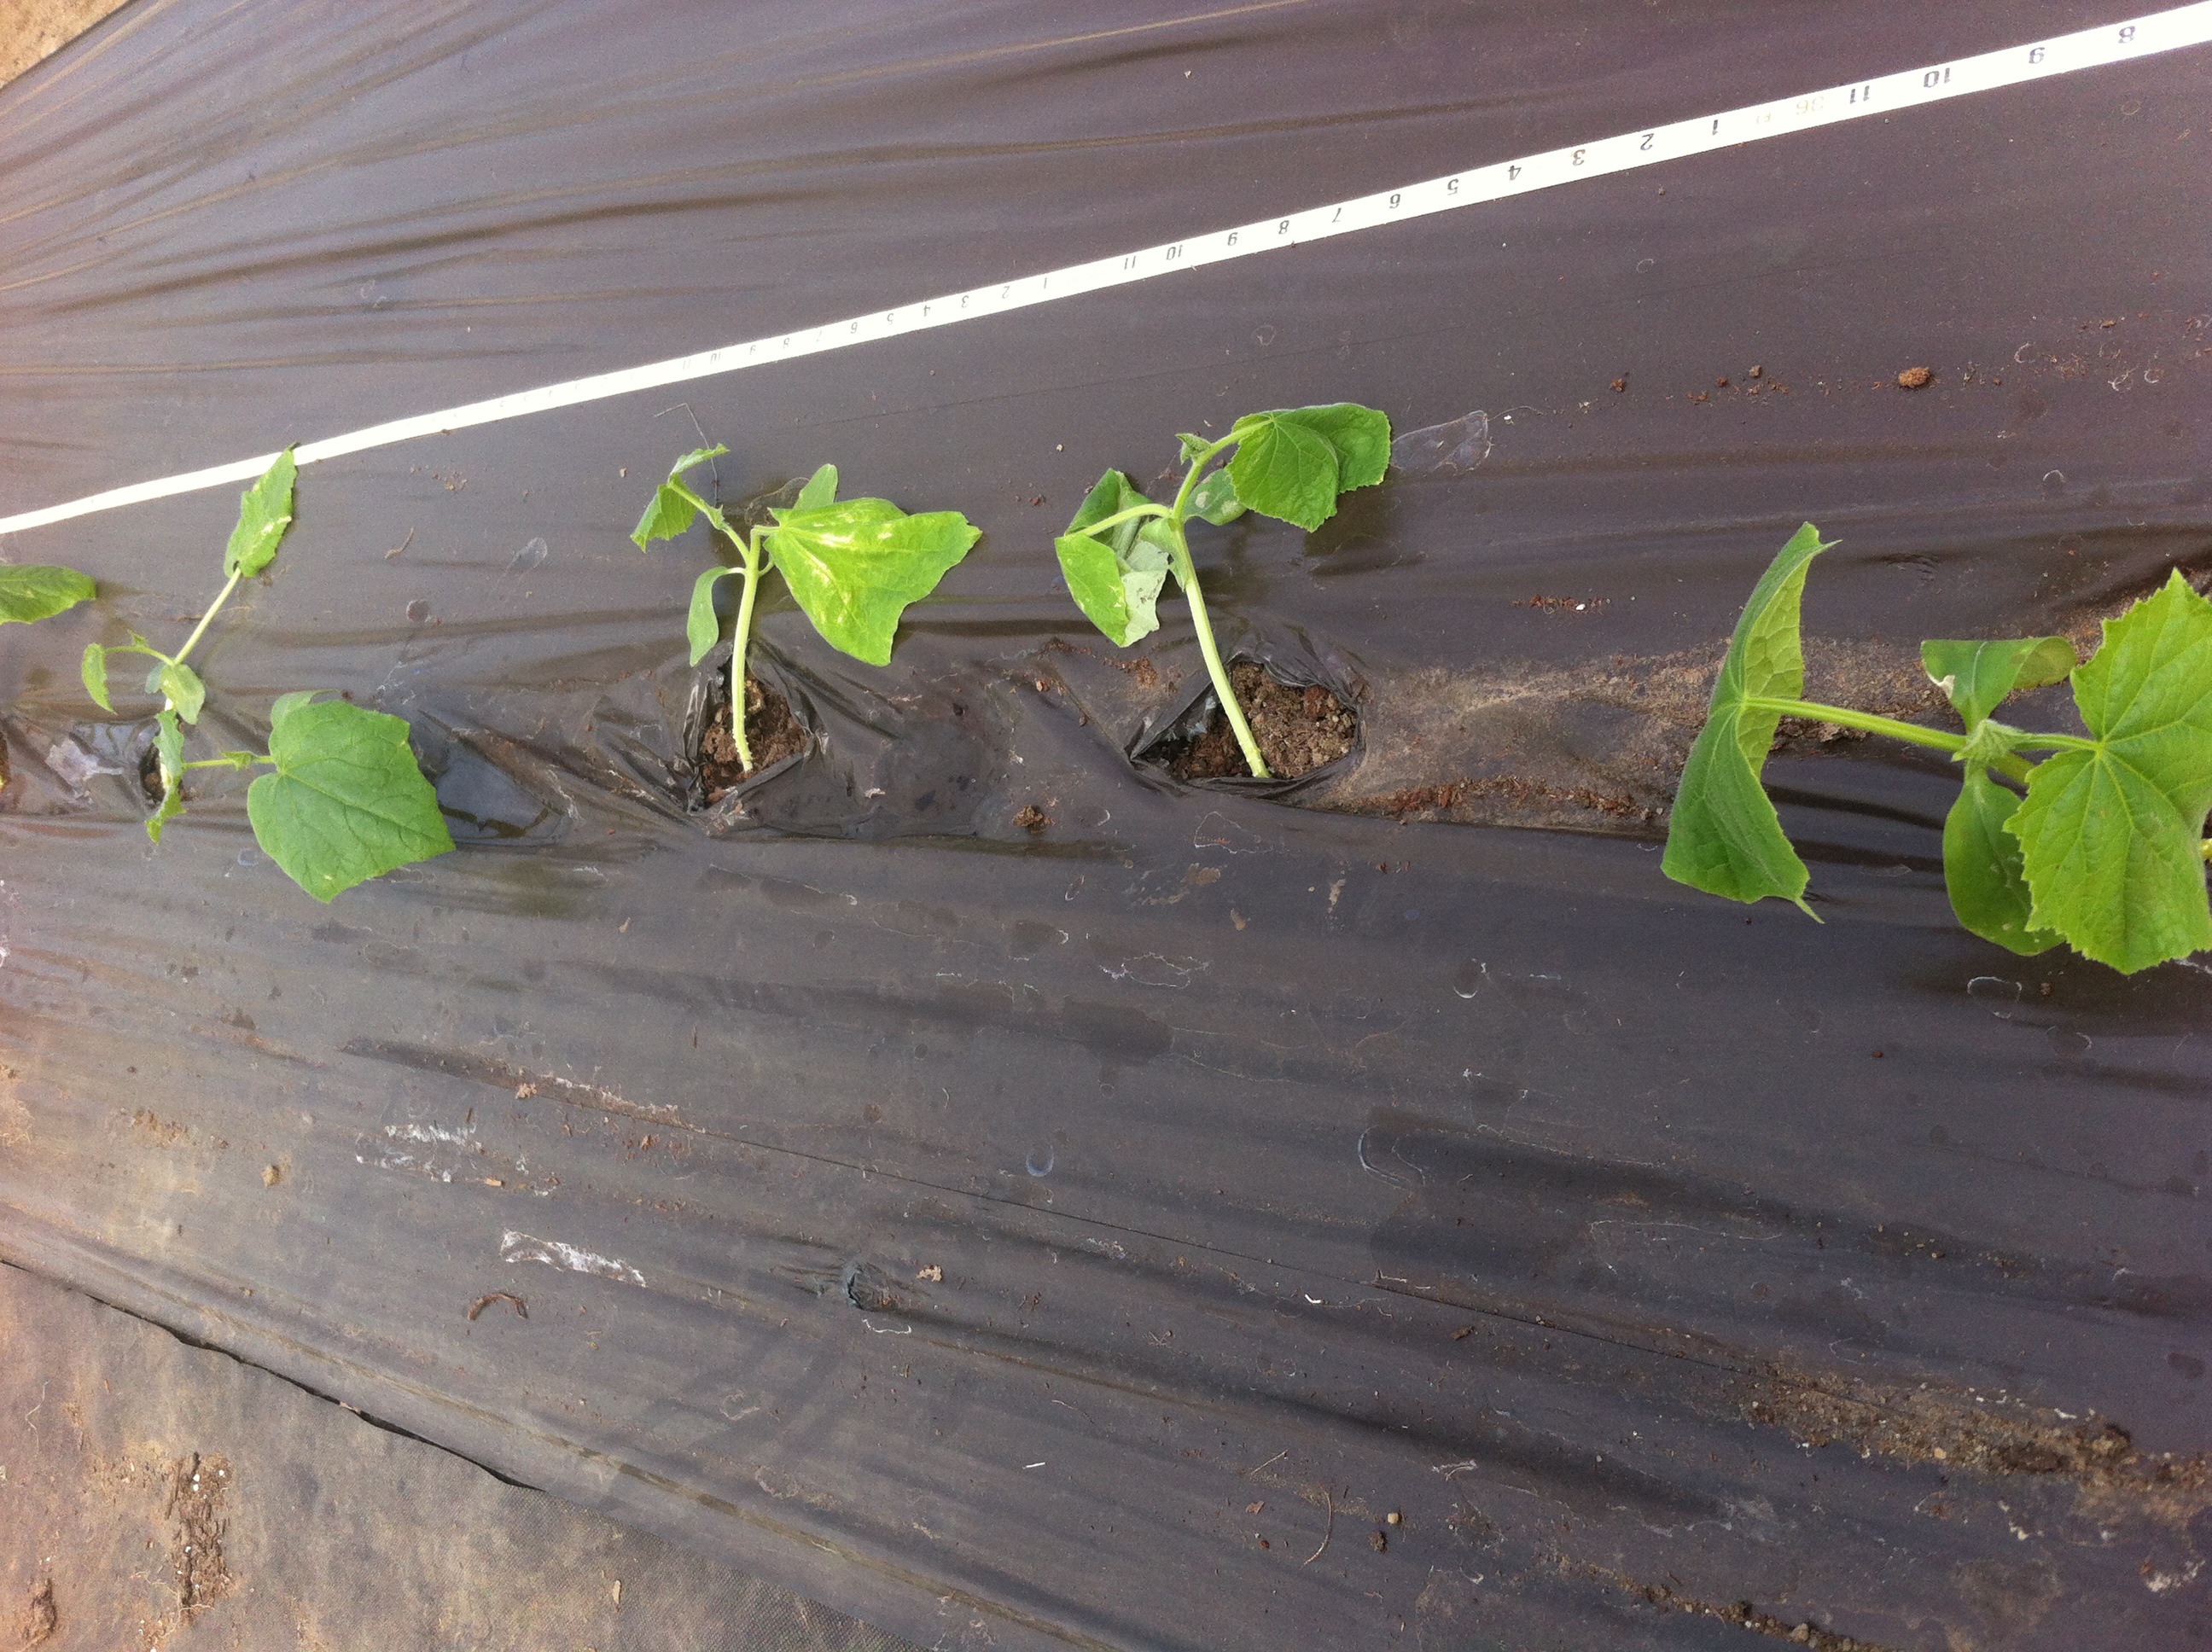
Planted 50 good looking Tyria cucumbers this past Saturday, 3/26. 1′ apart. Ah, they were so happy. It filled my heart with joy to see them sitting there in their cozy new homes, surrounded by nice warm plastic. I wanted to crawl in there myself. Fertilized after planting with Neptune’s Fish and Seaweed Fertilizer. Also ran the drip irrigation for a few hours. A huge weight was lifted off my chest. And an even bigger one replaced it. The moment of truth had come. Would they live in the ground? They looked so happy. They’d be fine.
That night it was chilly. Down in the mid-upper 20’s. Next day, a couple of the plants looked pretty saddened.
The last few nights, a few more started drooping over, and today, I looked at a whole bunch of very, very tired looking plants. I was warned the cucurbits do not appreciate cool temperatures. Warned by smart people who know a thing or two about agriculture. Did I listen? I did not. I’m stubborn and had to try. I hate being told I can’t do something. Thusly, this is what we’re looking at now.

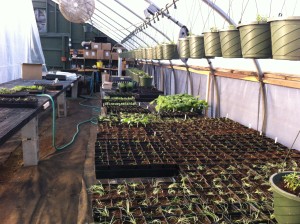
Some very tired cucumbers
The two plants on the ends are still pretty upright, but the middle two pretty limp and flat. I’m not holding out much hope at this point. I’d say when I left the greenhouse this evening, at least 10, if not more were looking rather exhausted and ready for an extended nap.
I’m deducing that though the heater is set to keep the greenhouse at 70, that is the temp on the thermostat hanging 3′ off the ground in the middle of the greenhouse. The cukes are at the far end at ground level. According to that thermometer on the ground, the air down there is just not heating up. This point was also mentioned by a smart farmer(I’m much better at learning things the hard way).
And so the dilemma…do I hang plastic like I usually do and section off only a quarter of the greenhouse to heat? This is what I have done in past years. If I section off the “starts quarter” now, I’m throwing in the towel on the cukes I planted. 50 plants=$50. They’re a buck a seed. Not cheap. I also figure I will have spent close to $300 on heat for the week. Half of that(or less) would’ve been spent anyway on the starts section, but let’s just say its split half and half. That’s $150+$50= $200 lost. Not bad. If I continue to heat the whole thing and the cukes end up dying, I lose more than that. I still have almost 100 cucumbers in 50 cell trays that need to get out. At this point, I’m REALLY glad I didn’t plant them all on Saturday. I’m thinking of transplanting them into 8″ plastic nursery pots and keeping them in there for a couple-two-tree weeks until the temps have come up significantly. I’m wary though, because the word around town is that cucumbers don’t really like having their roots messed with, so it may be a dicey venture. But at this point, it seems like my best shot. Even if I do that and they all die, I’ll have lost $150 on the seed and $150 on the propane. I can live with a $300 loss. This is farming, right. $300 is probably OK in the grand scheme of things.
I went ahead and transplanted a couple plants this evening to see how they’d do. Whatever happens, the ones in the 50-cell trays are on the verge of yellowing and have roots coming out the bottom of the cells, so something needs to happen soon. What will it be?!! Stay tuned….
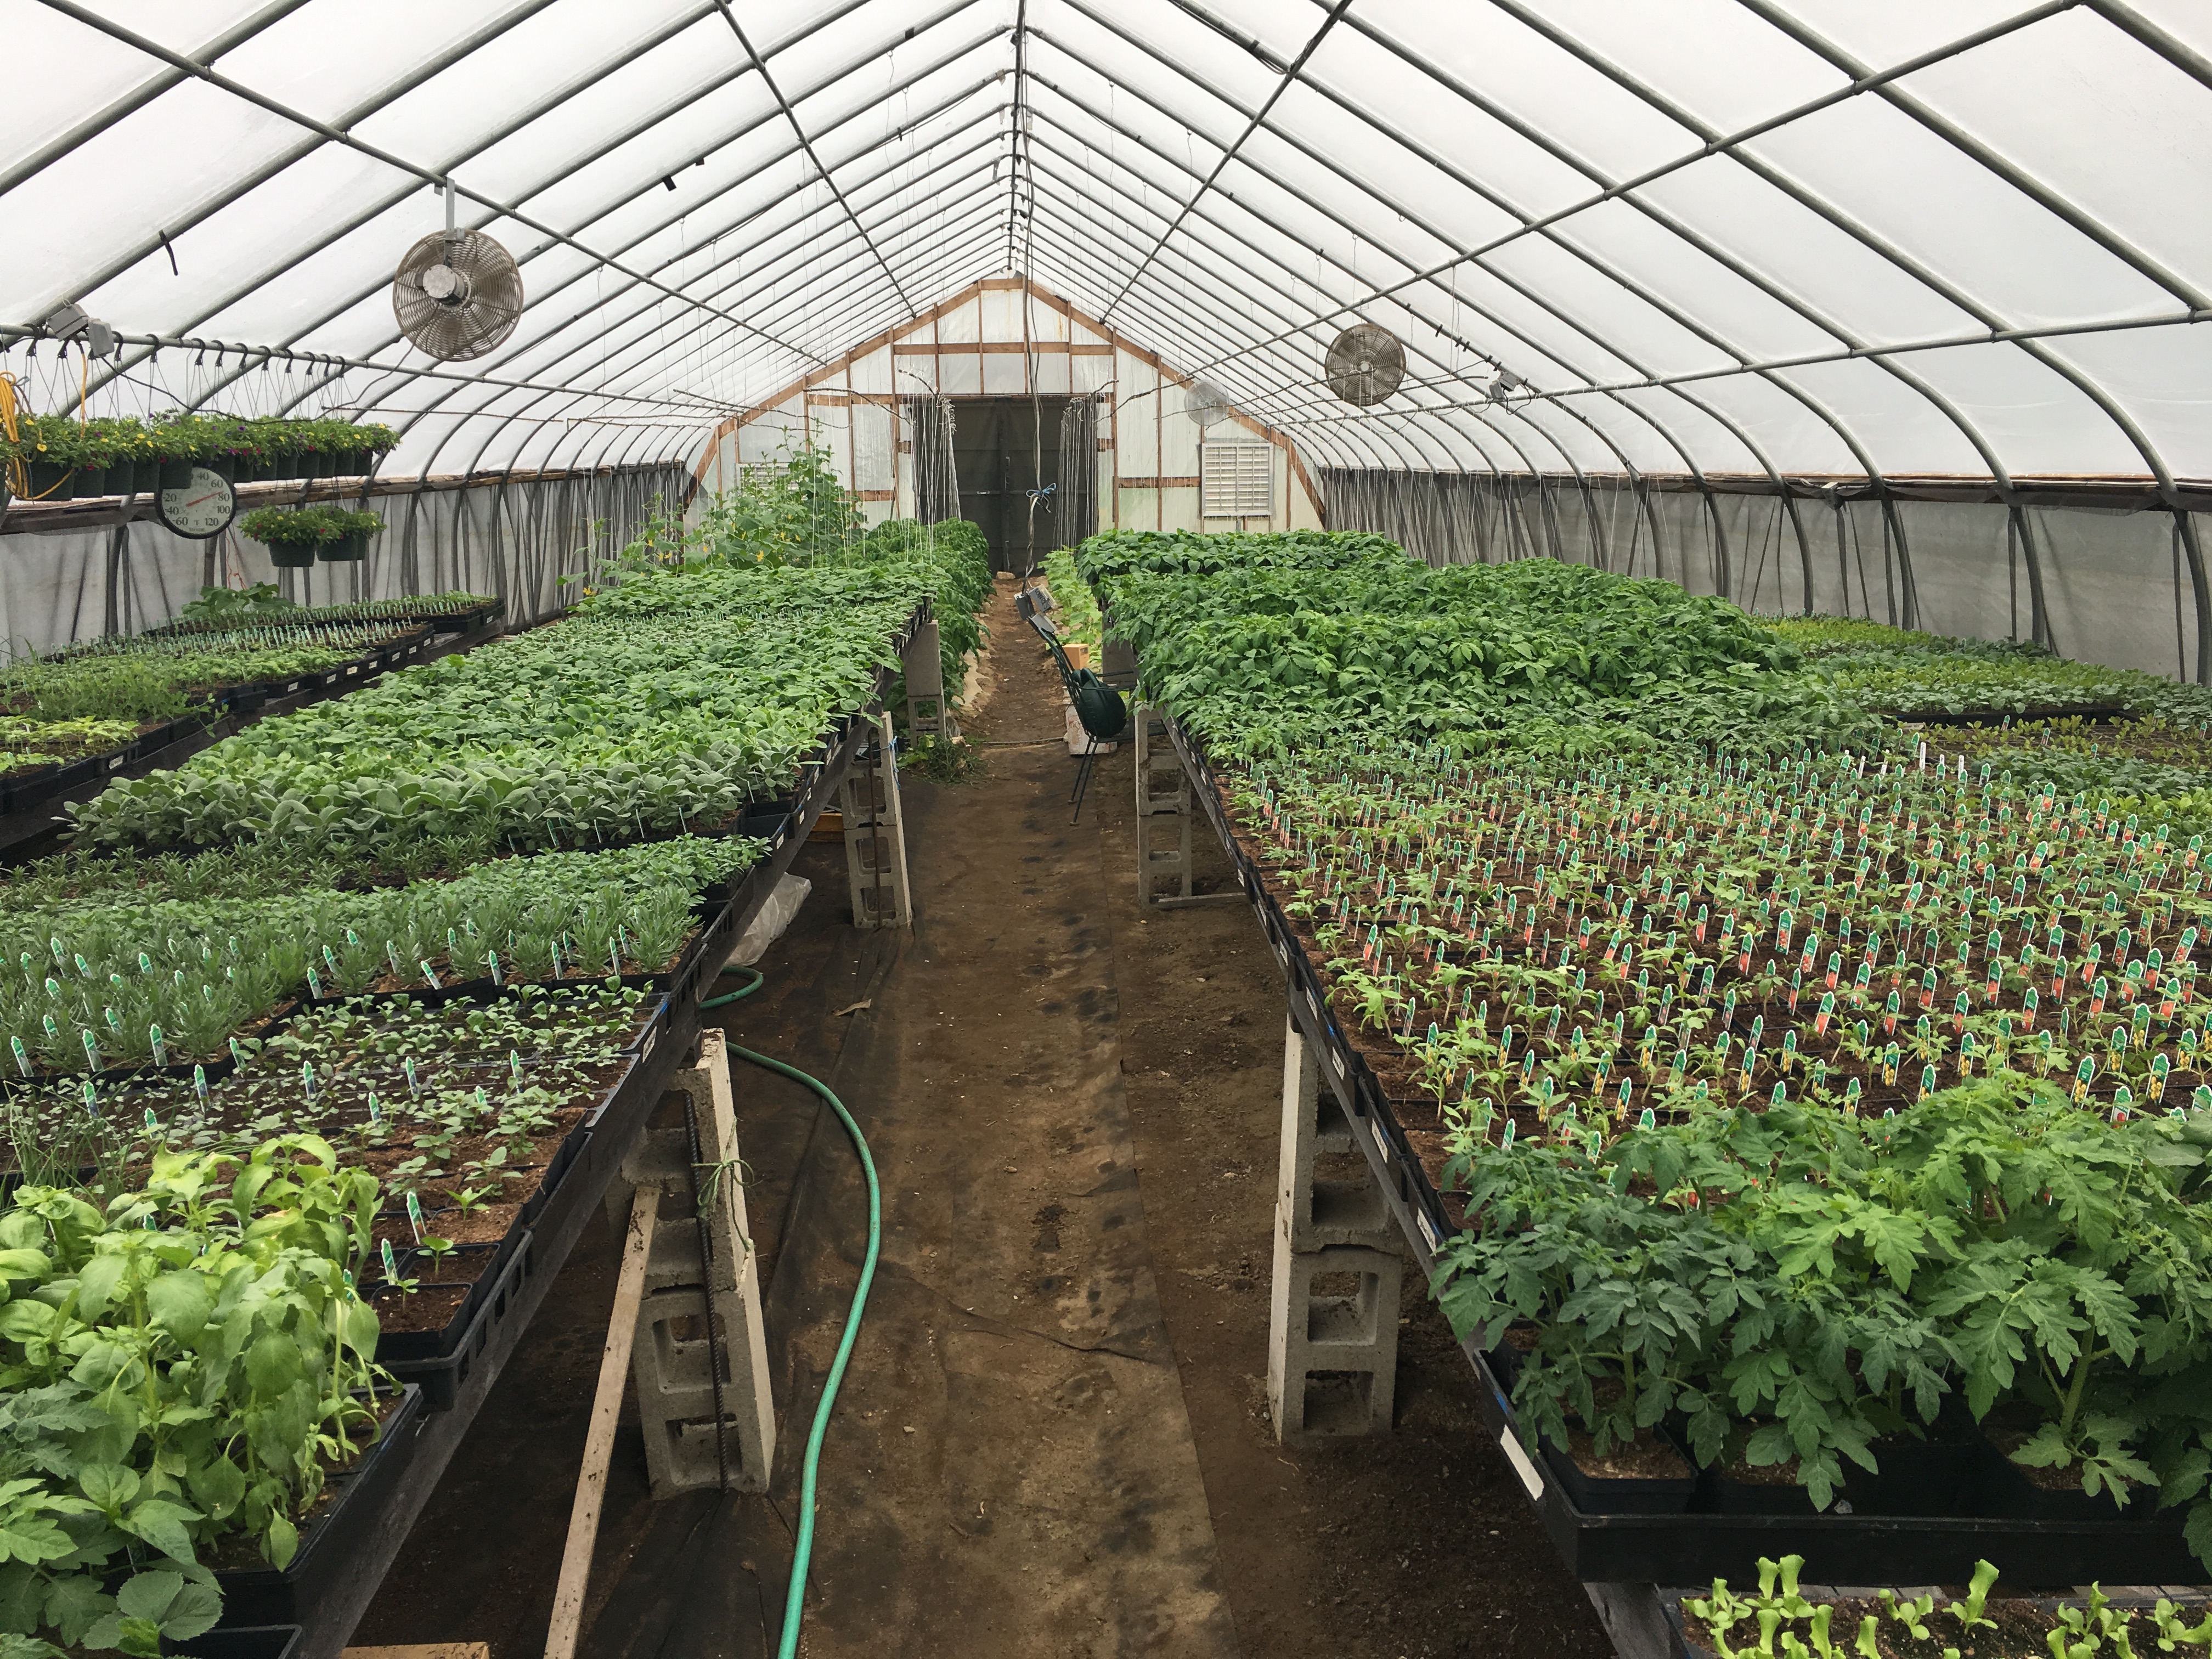
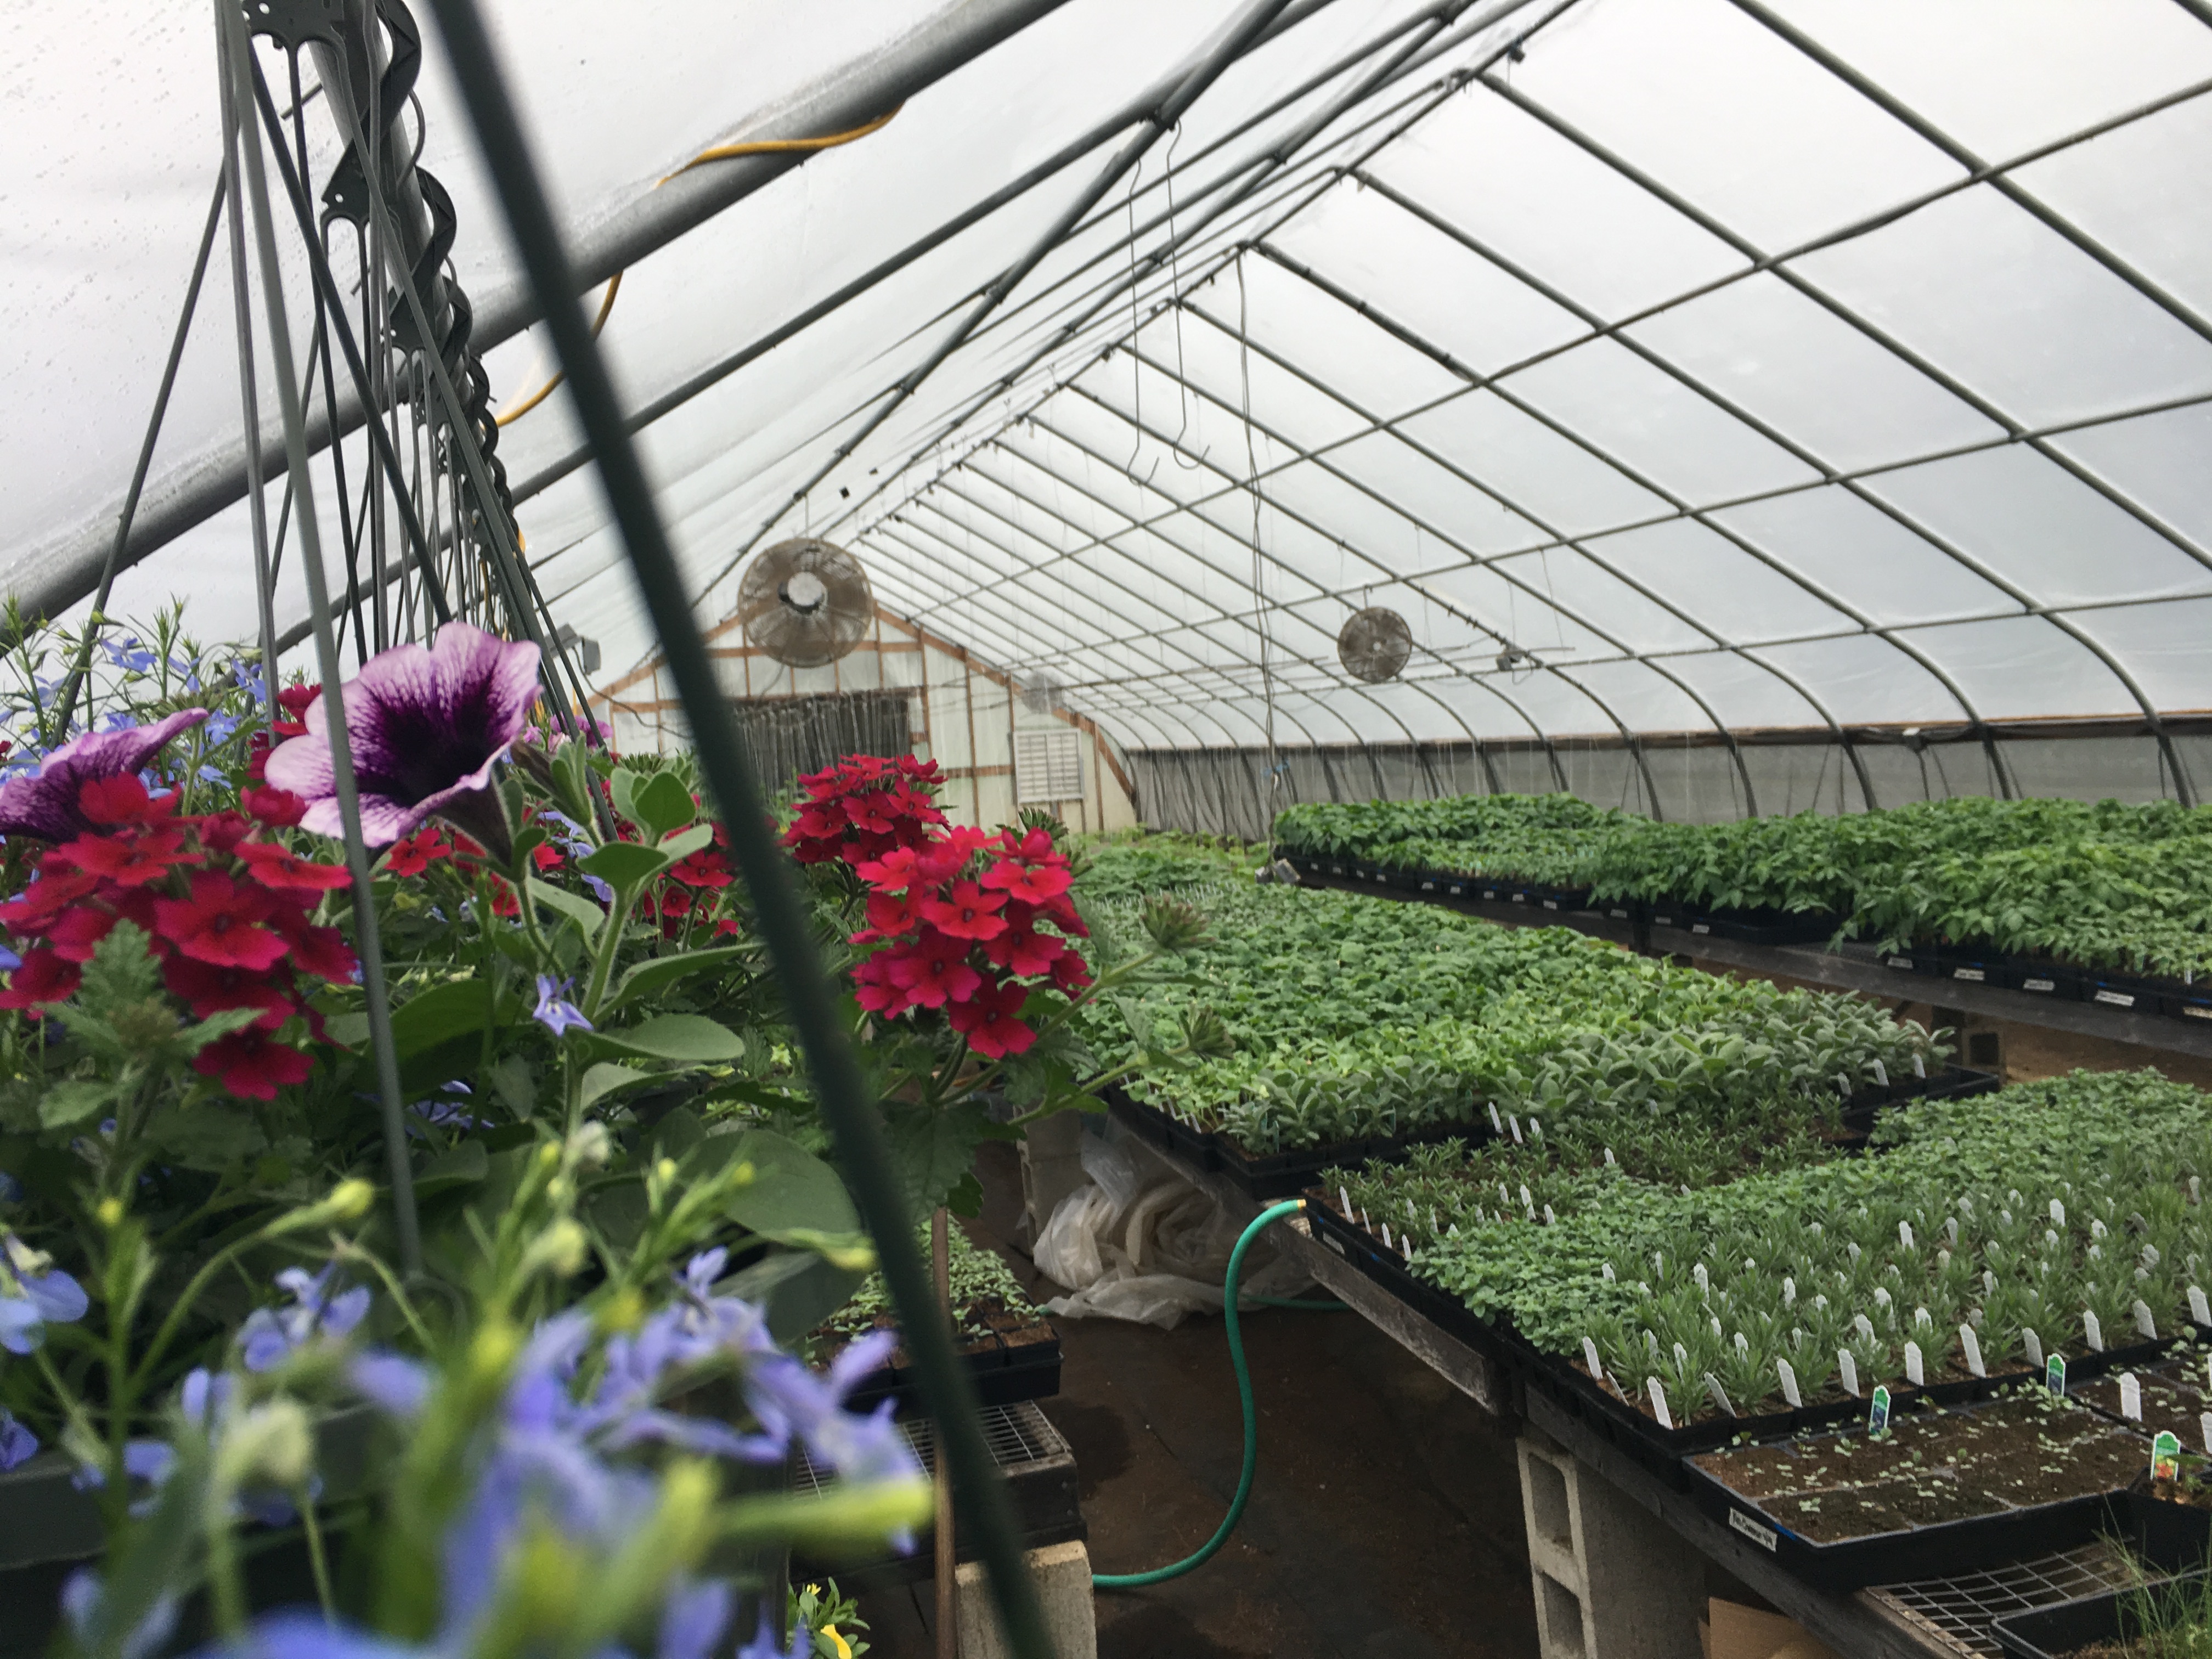
Meanwhile, everything else looks pretty good right now.
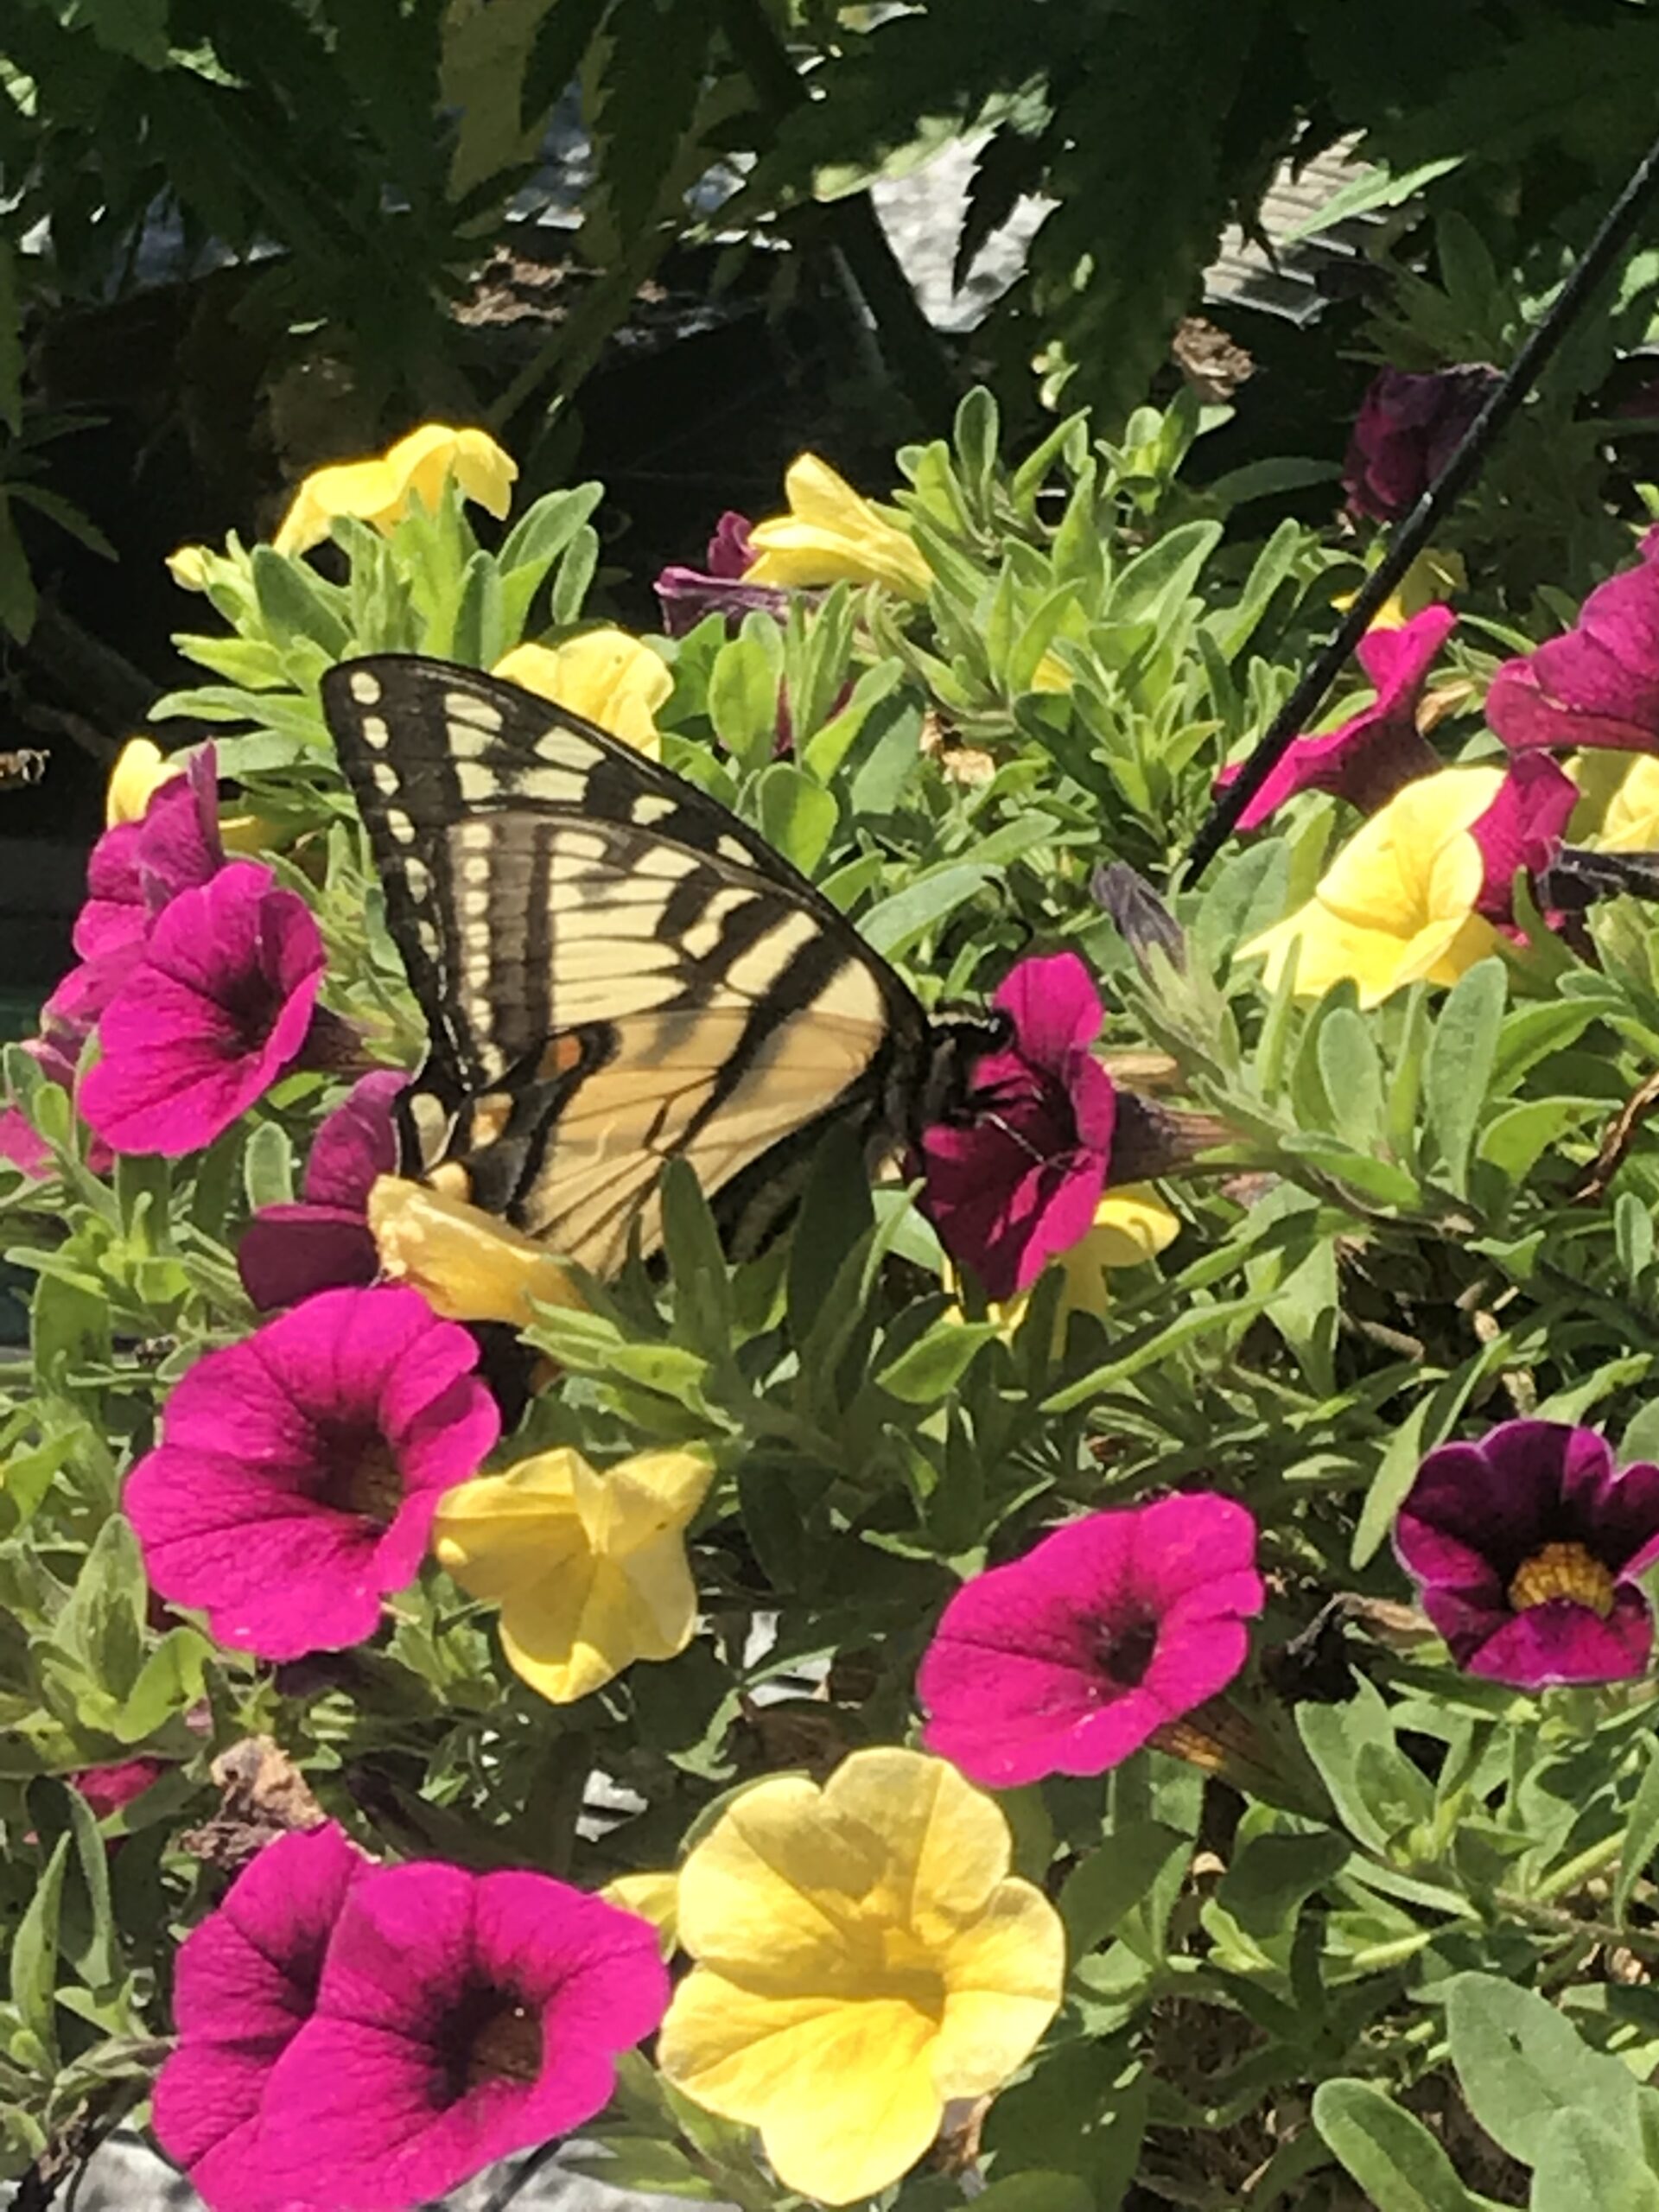
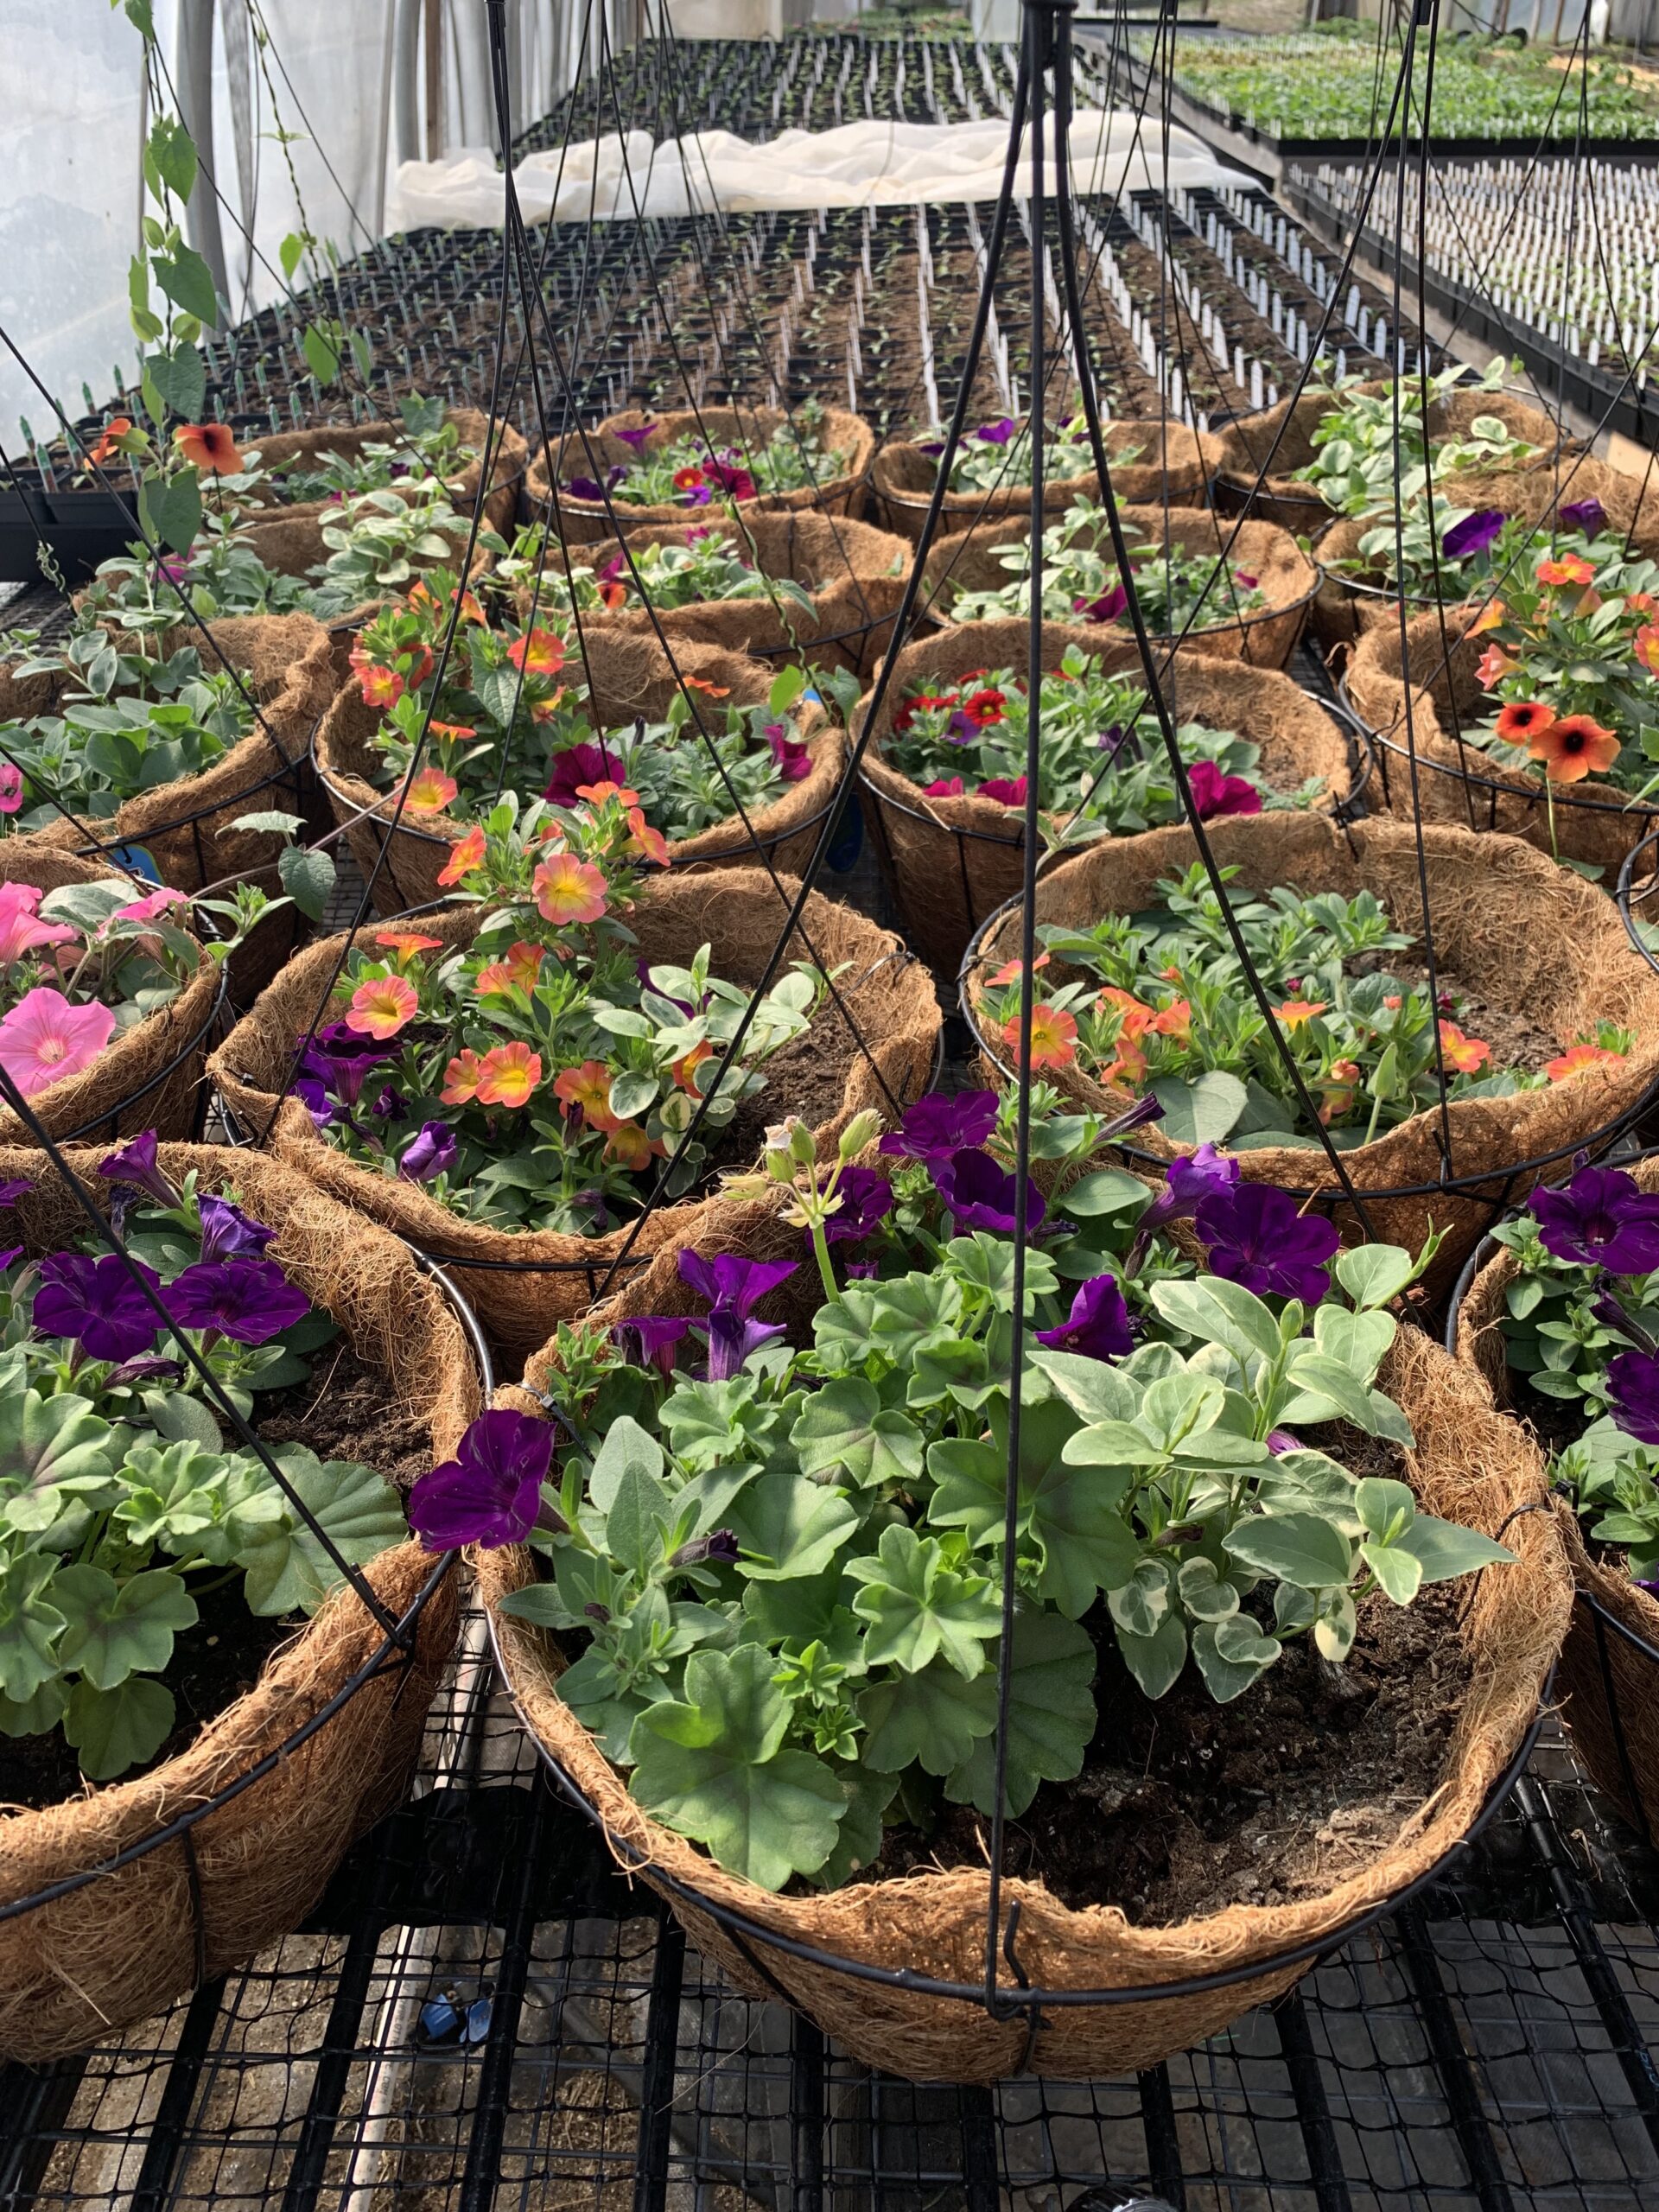
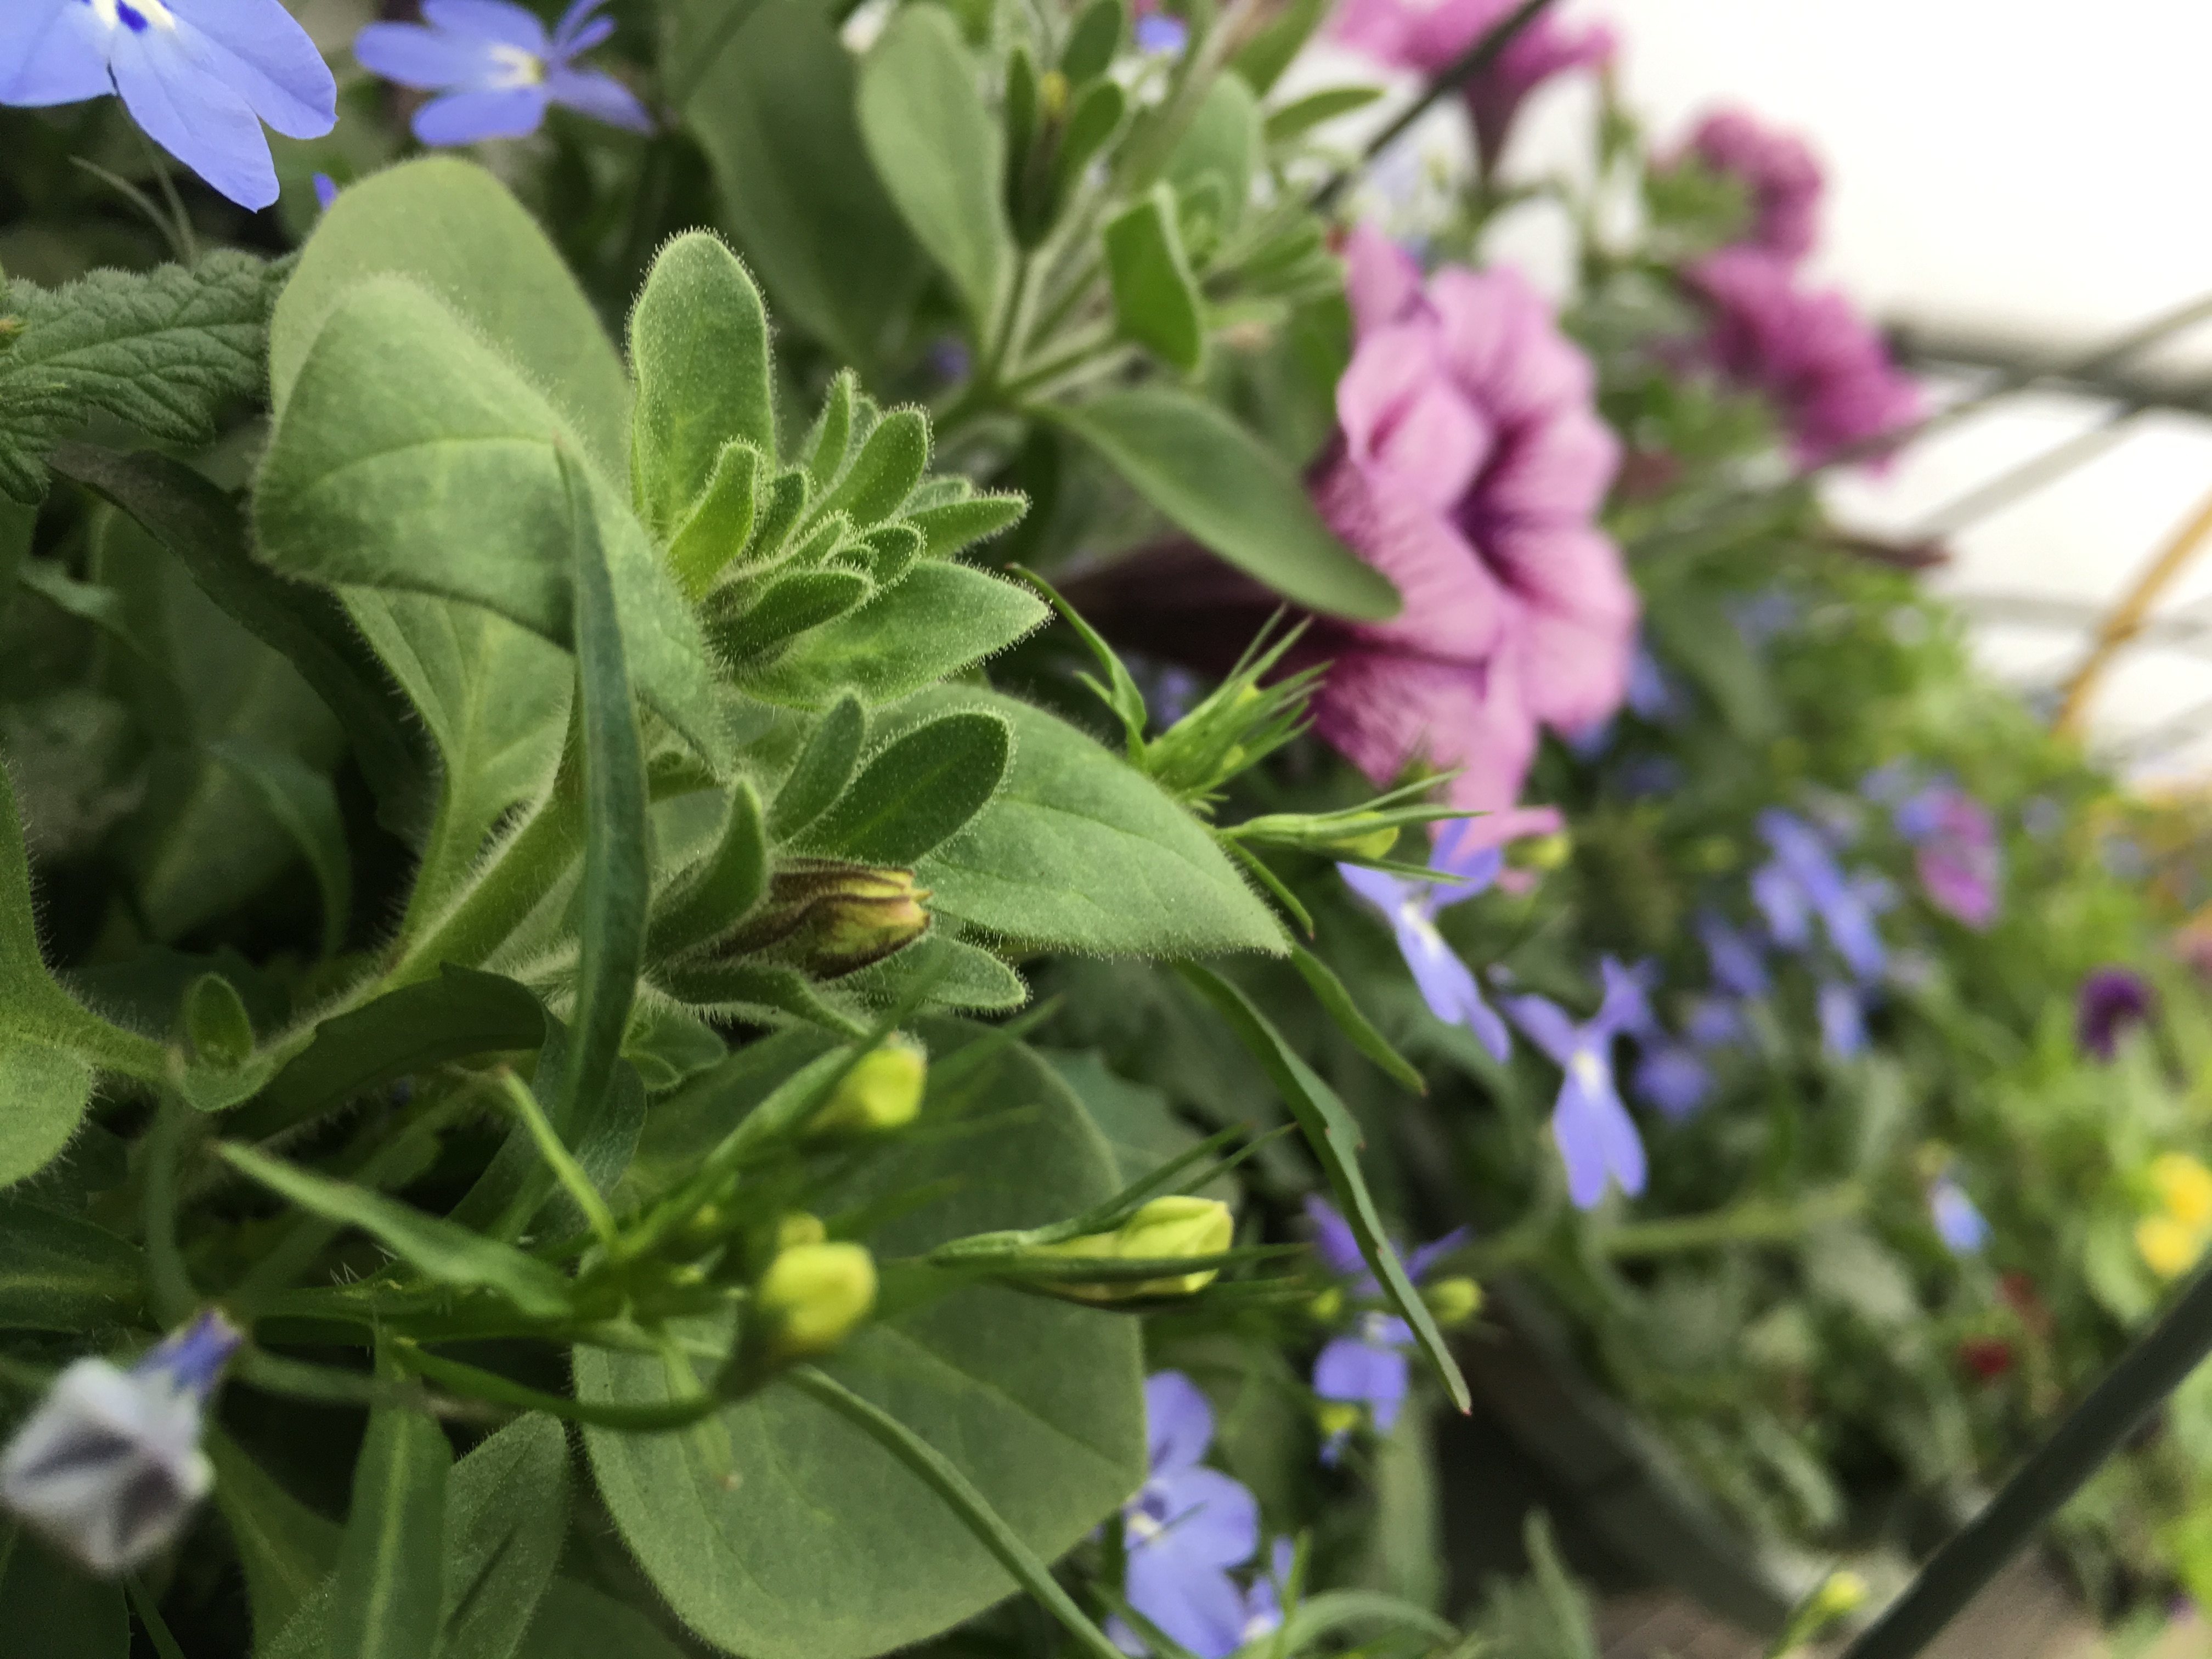
Doing flower baskets again this year. We skipped them last year because they didn’t really make money a couple years ago, but we missed them beautifying up the greenhouse last spring, so what the hell? We’ll do them again this year and hopefully at least break even and have a pretty greenhouse.
That’s all for now. If you’ve read all this, you’re a good man Charlie Brown. Hopefully my story of the Telltale Cucumbers will be informative to someone somewhere at some point. Hopefully I get around to posting more about them as the story unfolds.
Carry on, my sisters and brethren.